

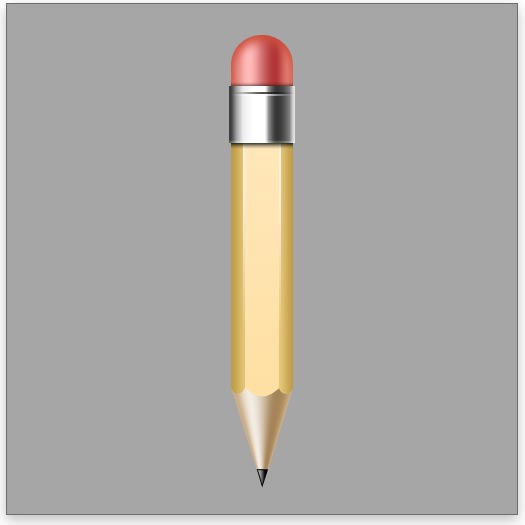
Preview
Resources
- Font: Adine Kirnberg Script by David Rakowski
Step 1: Set up the document
Create a new Photoshop document (Ctrl/Cmd + N) with settings similar to the image below. 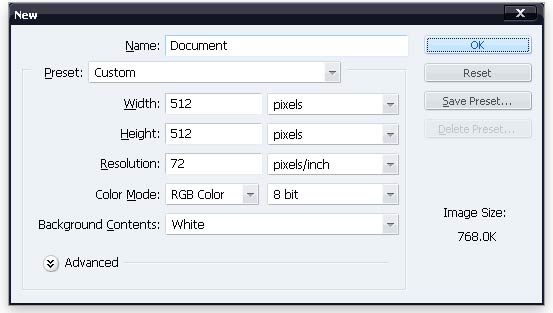 For convenience, fill the default Background layer with a shade of gray by selecting the entire canvas (Ctrl/Cmd + A) and then using the Fill command (Ctrl/Cmd + F5). Also, position some guides at the center of canvas to help you make symmetrical shapes.
Step 2: Create the paper icon
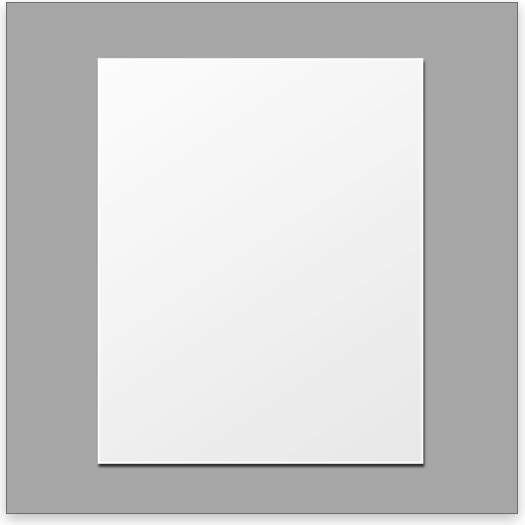
To maintain the document’s organization, create a new layer group that will contain the paper icon; you can name it “Document“. Set white (#ffffff) as your foreground color, then select the Rectangle Tool (U). Create a white rectangle shape (use the following image as a guideline). 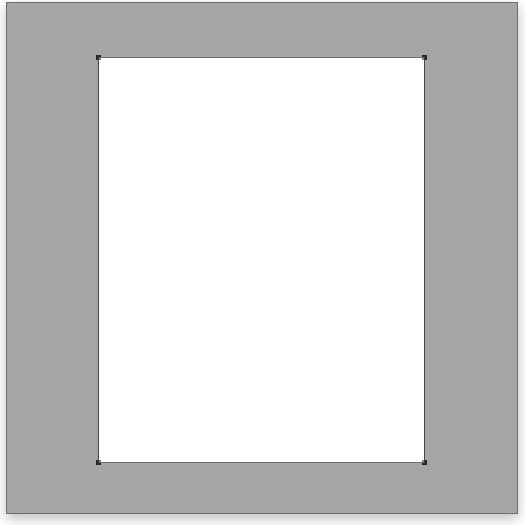 Give this rectangle shape layer a Drop Shadow layer style; you can do this by double-clicking on the shape layer in the Layers Panel, which will open the Layer Styles dialog window.
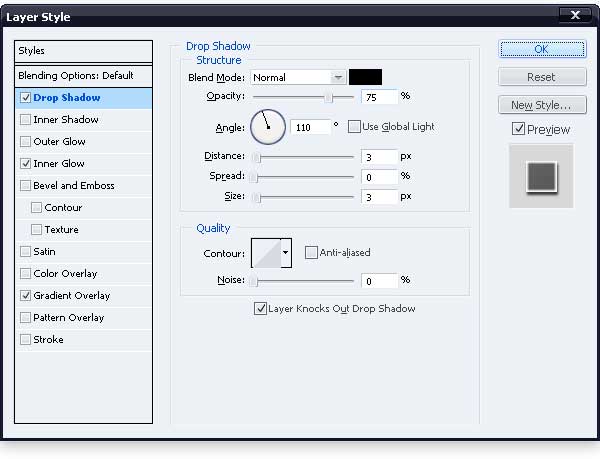 Also, add an Inner Glow layer style.
 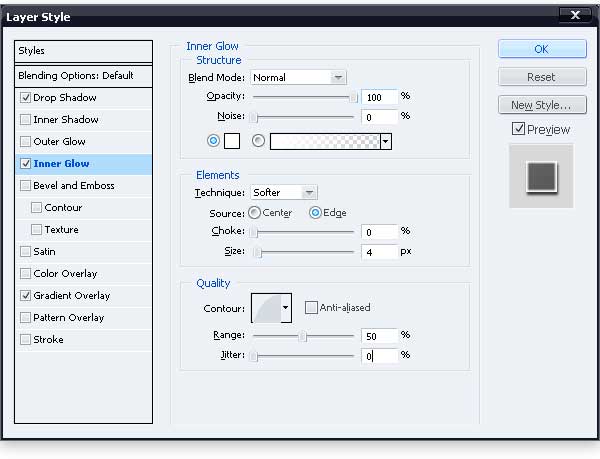 The third and last layer style you want to apply is a standard black-to-white- Gradient Overlay.
Step 3: Put some text on the paper
Grab the Horizontal Type Tool (T) and select a font of your choice.
In this tutorial, I used a calligraphic-styled font called Adine Kirnberg Script. In the Character Panel (Window > Character), set up your font settings as shown below. 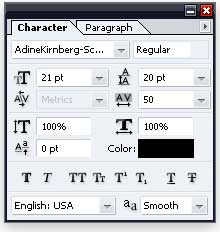 With the Horizontal Type Tool (T) still selected, click and drag a rectangle as illustrated in the following image; doing this defines the boundaries of our text.
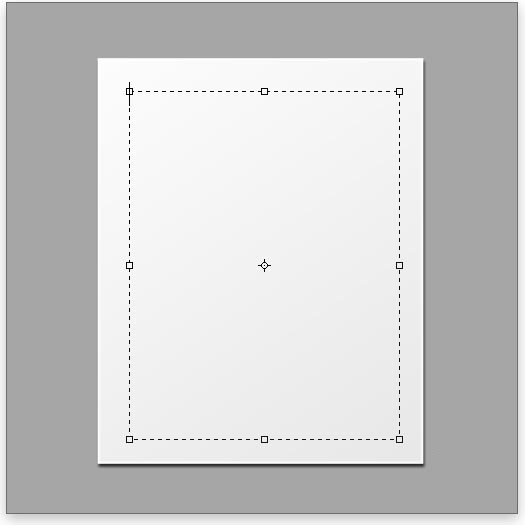 Next, paste (Ctrl/Cmd + V) some dummy text—such as Lorem Ipsum text or text that you have handy—inside the paper.
 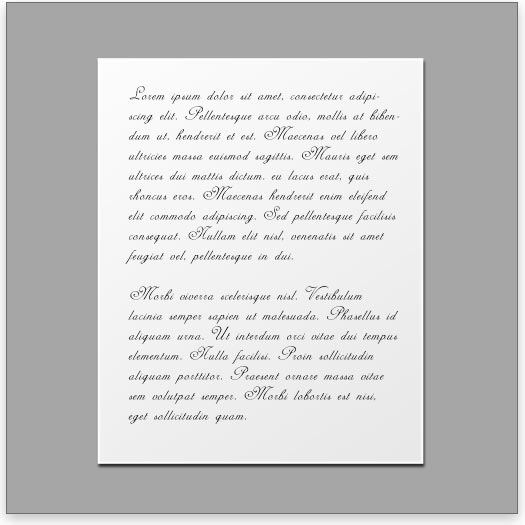 When you are done with the text, go to Layer > Type > Convert to Shape. Duplicate the text layer (Ctrl/Cmd + J) and reduce the duplicated text layer’s opacity to 40%.
Step 4: Use the Free Transform command on the “Document” layer group
Assuming that the paper and both text layers that we just created are all inside the “Document” layer group, choose said group in the Layers Panel. With the “Document” layer group selected, go to Edit > Transform > Rotate. Rotate the document about 15o clockwise (CW).

Step 5: Create the tip of the pencil
Now that we are done with the paper icon, it’s time to move onto the pencil icon. To keep organized and so that the paper icon does not distract you, hide the “Document” layer group and create a new layer group above it named “Pencil“. With the Pen Tool (P), create a triangular shape with its tip pointing downward like the one shown below. 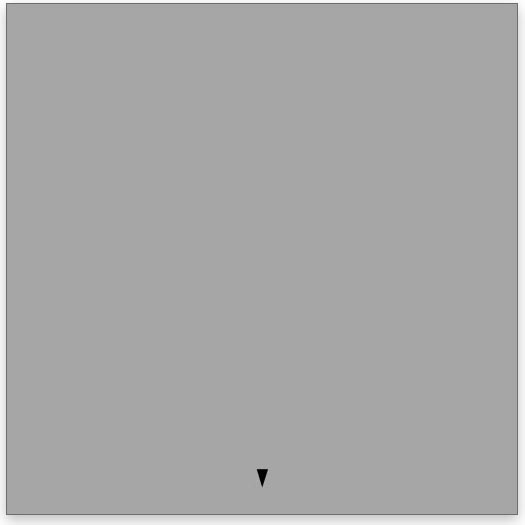 Next, add a Gradient Overlay layer style to the tip of the pencil.
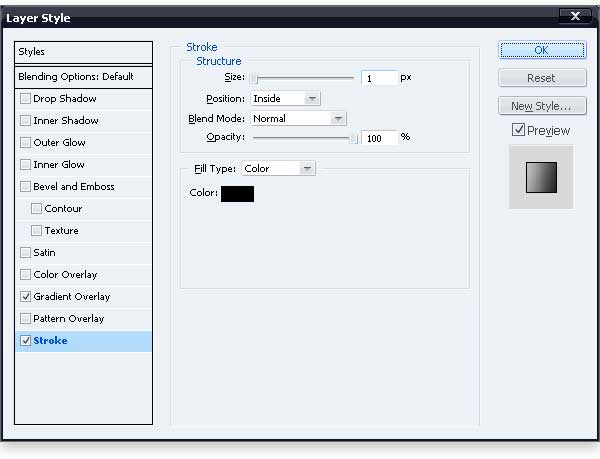
 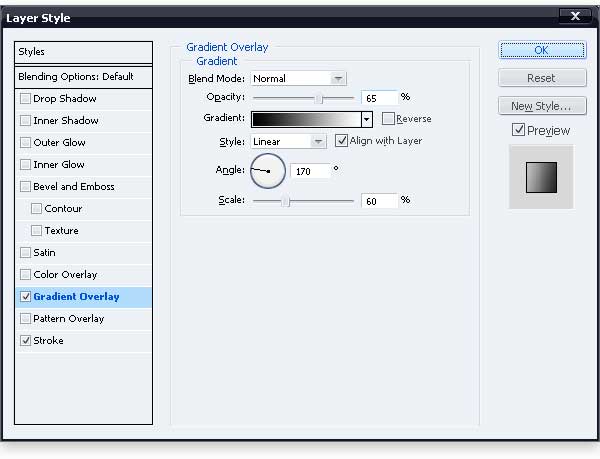 Also, add a Stroke layer style to the tip of the pencil.
Step 6: Make the wooden part of the pencil tip
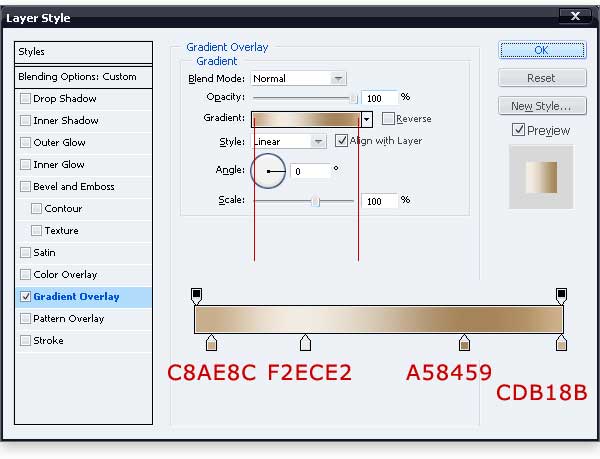
Create a new layer and then use the Rectangular Marquee Tool (M) to perform a rectangular selection on the new layer, positioned above the tip of the pencil on the canvas. With the rectangular selection made, fill (Edit > Fill) the selected area with any color. 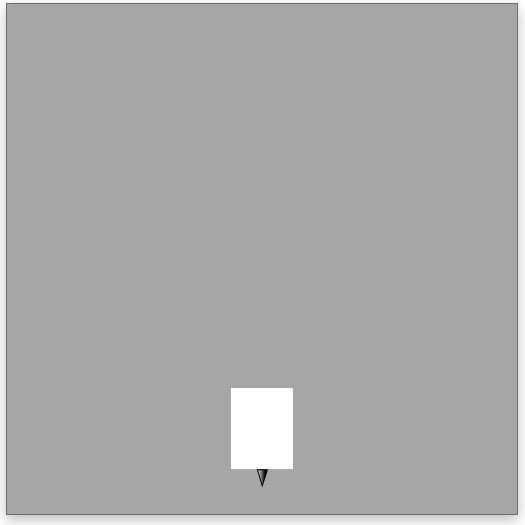 To add color to the rectangular shape, we’ll use a Gradient Overlay layer style.
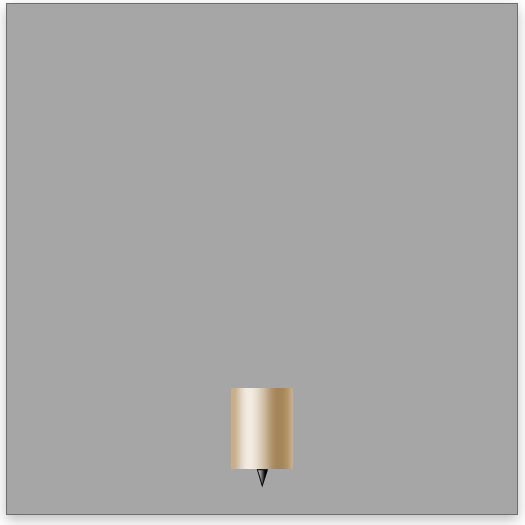 Next, create a new blank layer on top of the rectangular shape and then merge the two layers (Ctrl/Cmd + E). This flattens the shape so that when we transform it, the layer styles don’t shift. With the merged layer selected, go to Edit > Transform > Perspective and drag any lower corner towards the middle to create a triangular shape.

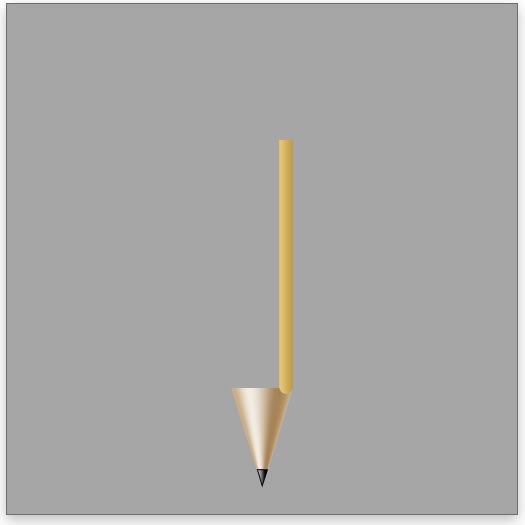
Step 7: Draw the shaft of the pencil
Use the Pen Tool (P) to create a rectangular shape as shown. 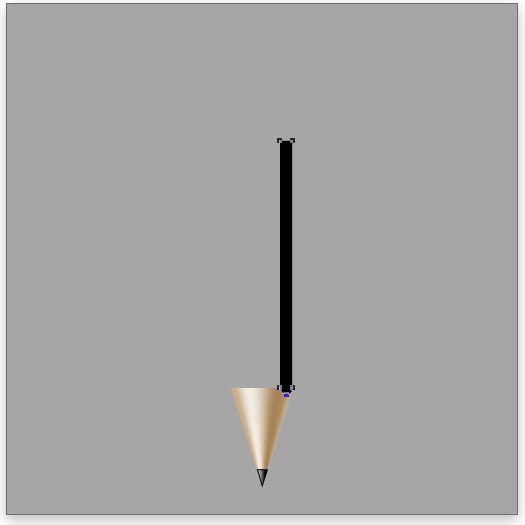 Give the shape a yellowish-gold Gradient Overlay.
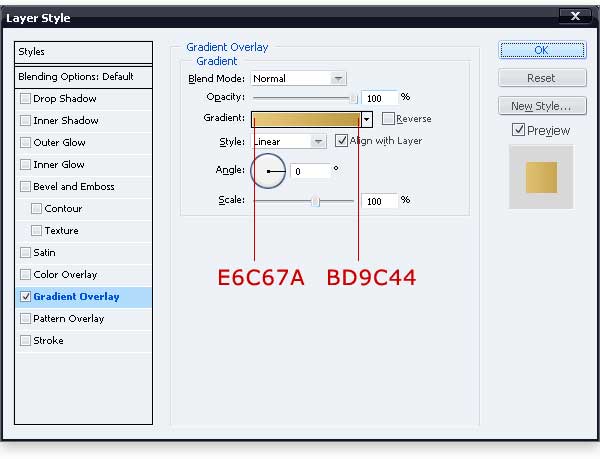
 Duplicate the layer (Ctrl/Cmd + J) and go to Edit > Transform >Flip Horizontal.
Move the duplicated layer to the opposite side of the pencil and reverse its Gradient Overlay layer style by double-clicking on the layer in the Layers Panel and editing the Gradient Overlay settings so that the Reverse option is ticked. 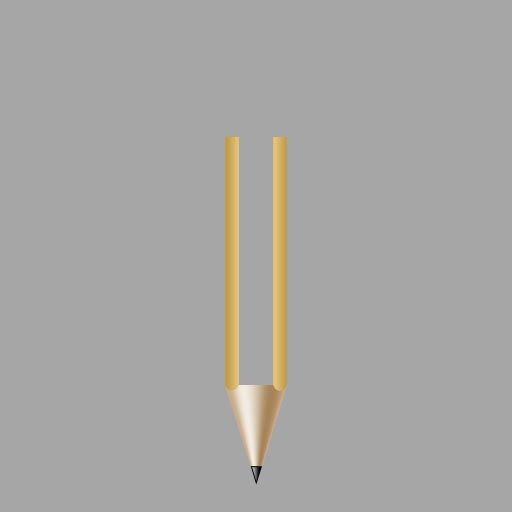 Make a similar shape using the Pen Tool (P) in the middle of the two rectangles we just drew using any foreground color.
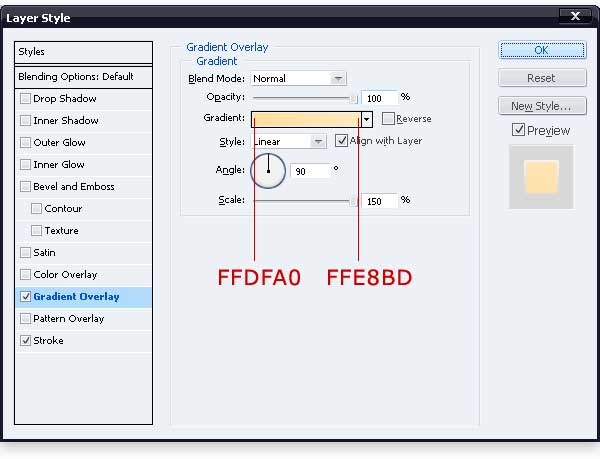
 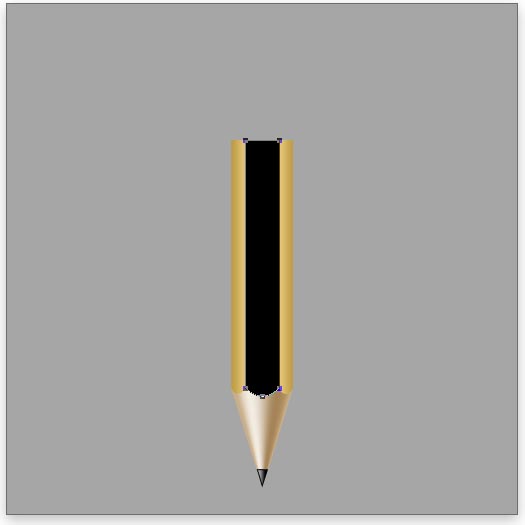 To give the new rectangular shape some color, add the following Gradient Overlay options settings.
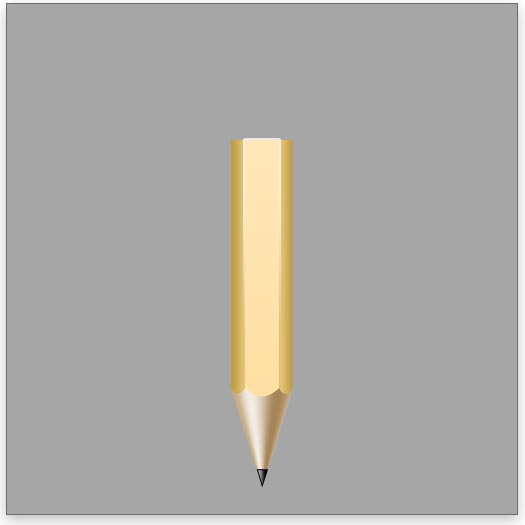
 To give the shaft a nice, 3D look that makes it look like a standard yellow pencil, apply a Stroke layer style onto the shape.
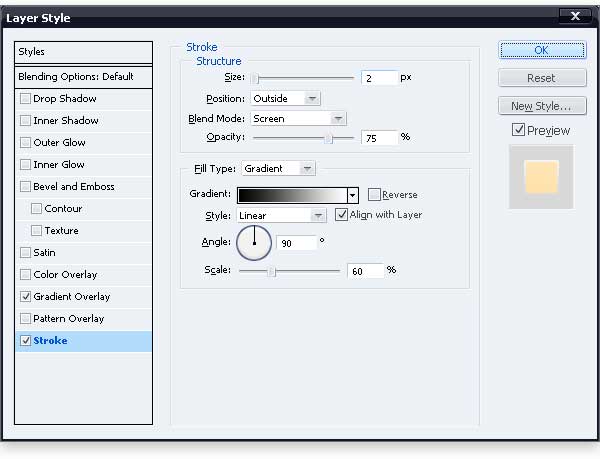
Step 8: Create the pencil’s eraser
We will now move up the pencil by creating the eraser. To create the eraser shape, first select the Rounded Rectangle Tool (U) and set its Radius option to 60px.
Draw a rounded rectangle shape as shown below, just above the pencil’s shaft. 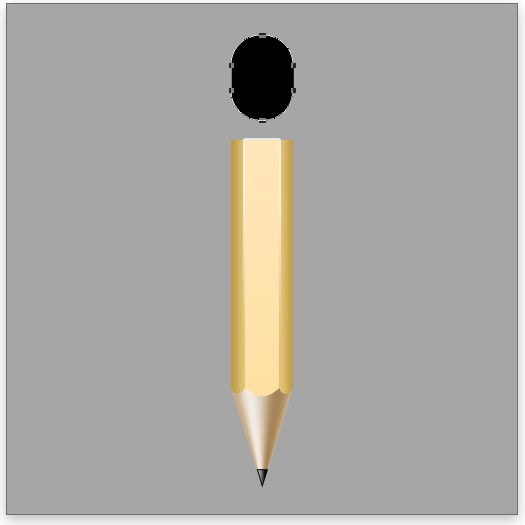 Give the eraser a 3D look and feel that’s consistent with the rest of the icon using a Gradient Overlay layer style.
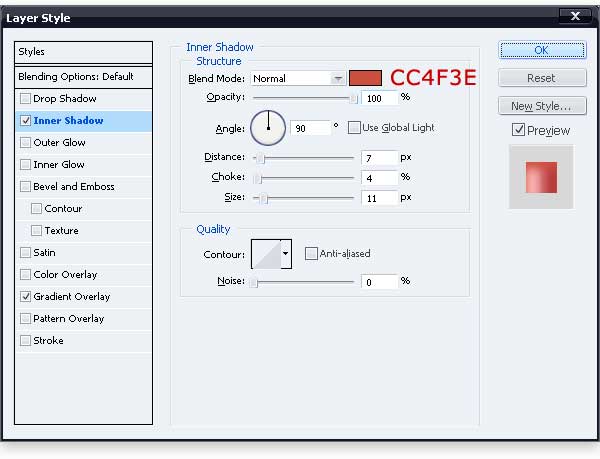
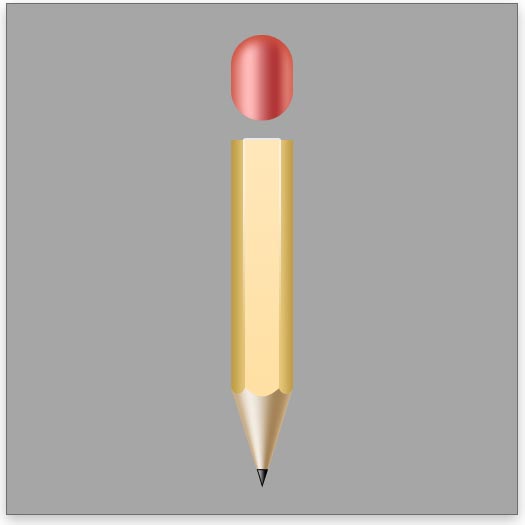
 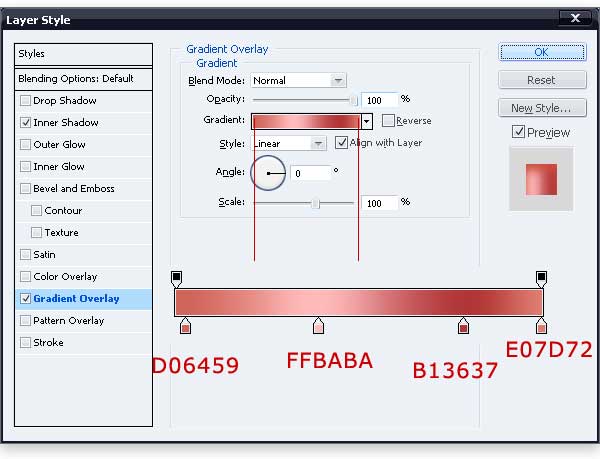 Give the eraser a 3D reddish-pink emboss using the Inner Shadow layer style.
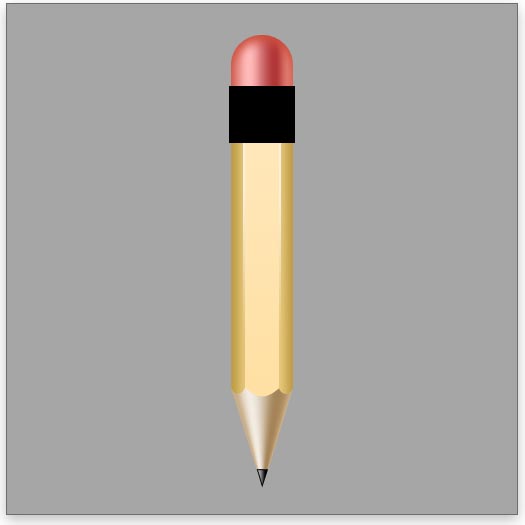
Step 9: Create the silver band around the eraser
The next element we will create is the metallic band that wraps around the eraser. Create a new layer and then choose the Rectangular Marquee Tool (M). Create a rectangular marquee selection shaped like a band, and then fill it with any color (shown below).
 Give the filled rectangular area an Inner Shadow.
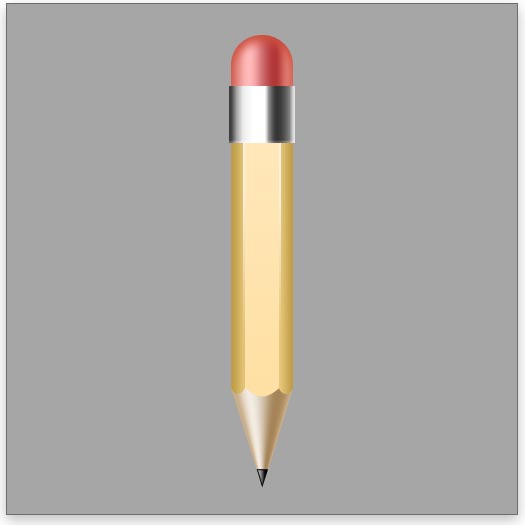
 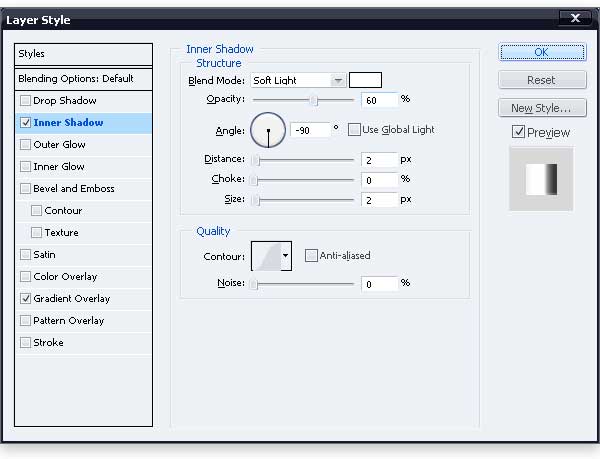 To give the band its metallic color, use a Gradient Overlay with different shades of gray, white, and black.
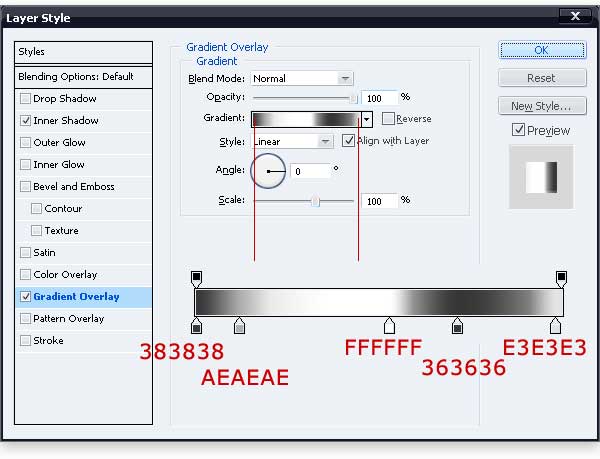
Step 10: Add shadow to the band
To stylize the pencil and give it some detail, we will cast a subtle shadow at the bottom of the metallic band.
To start, create a new layer and place it below “band” layer. Ctrl/Cmd + click on the “band” layer in the Layers Panel to create a marquee selection around it. Move the marquee selection 2px down using your down arrow key.
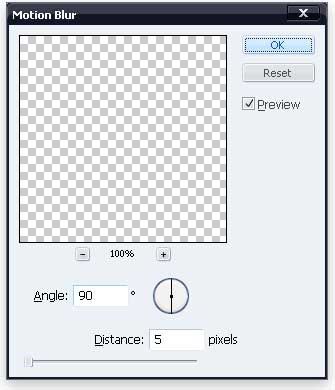
Next, fill the selection with black (#000000) on the newly-created layer. After filling in the marquee selection, deselect it (Ctrl/Cmd + D).  Apply Filter > Blur > Motion Blur onto the filled marquee selection with the settings shown below.
 Make a duplicate copy of the layer with the Motion Blur on it (Ctrl/Cmd + J) and reduce the opacity of the duplicated layer to 50%.
Step 11: Make ridges on the band
We will continue to work on the metallic band by adding some more details to it. To start, create a new layer, then use the Rectangular Marquee Tool (M) to create two 1-pixel selections; fill the top one with black (#000000) and the bottom one with white (#ffffff).
 With the layer selected in the Layers Panel, go to Layer > Add Layer Mask > Reveal All. Apply a reflected white-to-black gradient on the layer mask as demonstrated below.
 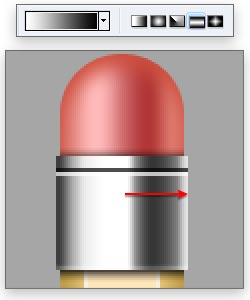 Reduce the layer’s opacity to 80% so a little bit of the metallic band shows through the ridges.
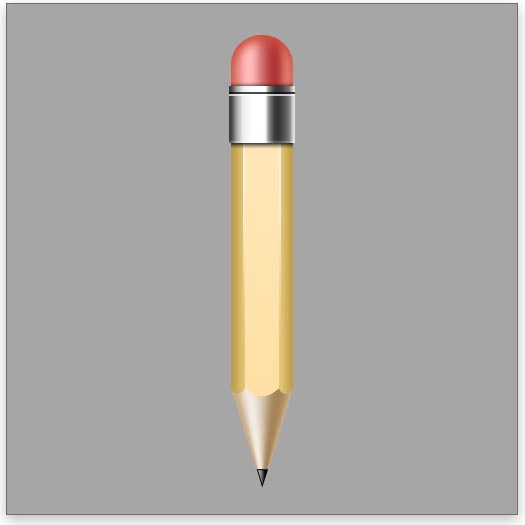
 Create copies of this “ridge” layer by duplicating it several times (Ctrl/Cmd + J). Use the Move Tool (V) to position the duplicated layers similar to what is shown below.
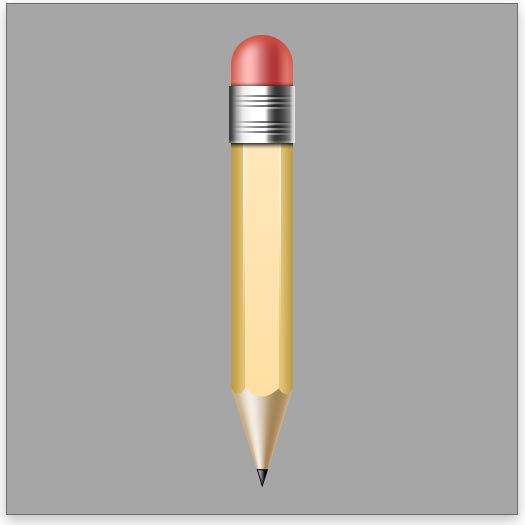
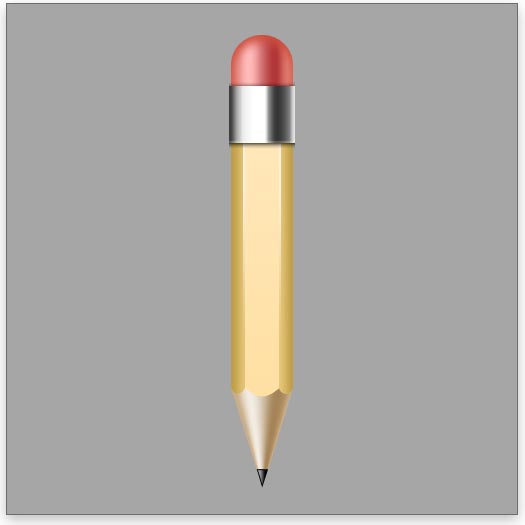
Step 12: Finalize the icon
To finish our Paper and Pen icon, we will compose and position our icon.
Start by un-hiding the “Document” layer group. Right-click on the “Pencil” layer group and choose “Duplicate Group” from the contextual menu that appears. Hide the original “Pencil” layer group (we will keep it as a backup copy in case you would like to edit it later).
Select the duplicated “Pencil” group and press Ctrl/Cmd + E to merge all the layers inside it. Scale down the pencil to about 70% using the Edit > Transform > Scale command or the Free Transform (Ctrl/Cmd + T) command. Then rotate it about 60o using the Edit > Transform > Rotate command or the Free Transform (Ctrl/Cmd + T) command.
Use the Move Tool (V) to position the pencil at a location in the canvas that looks good to you. 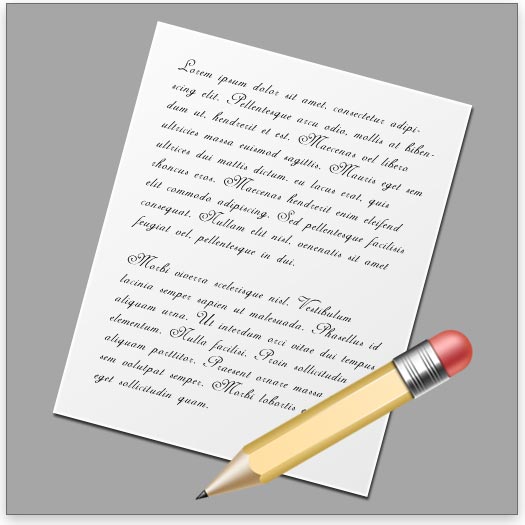 To finish up the paper and pen icon, give the pencil a nice shadow using a Drop Shadow layer style.
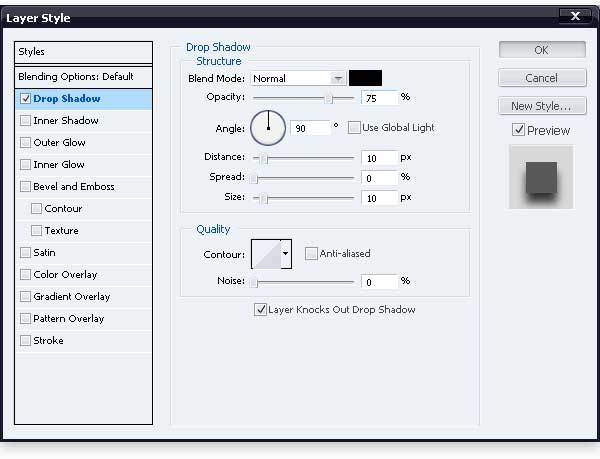
Conclusion
That’s all she wrote!
In this tutorial, I showed you how to create a nice paper and 3D pencil icon that you can use in a variety of applications. We covered many techniques using only basic Photoshop tools and commands to create both the paper and pencil. We applied several layer styles to get the 3D look on the pencil and used some clever Transform commands to make our drawing quicker and uniform.
I hope you enjoyed the tutorial and if it has inspired you in any way, please feel free to show us your work in the Design Instruct Flickr group.
Download Source Files
- pencil_paper_icon (ZIP, 1.9 MB)
-
 Trevin serves as the VP of Marketing at WebFX. He has worked on over 450 marketing campaigns and has been building websites for over 25 years. His work has been featured by Search Engine Land, USA Today, Fast Company and Inc.
 -

WebFX is a full-service marketing agency with 1,100+ client reviews and a 4.9-star rating on Clutch! Find out how our expert team and revenue-accelerating tech can drive results for you! Learn more
Make estimating web design costs easy
Website design costs can be tricky to nail down. Get an instant estimate for a custom web design with our free website design cost calculator!
Try Our Free Web Design Cost Calculator
Table of Contents
- Preview
- Resources
- Step 1: Set Up the Document
- Step 2: Create the Paper Icon
- Step 3: Put Some Text on the Paper
- Step 4: Use the Free Transform Command on the “Document” Layer Group
- Step 5: Create the Tip of the Pencil
- Step 6: Make the Wooden Part of the Pencil Tip
- Step 7: Draw the Shaft of the Pencil
- Step 8: Create the Pencil’s Eraser
- Step 9: Create the Silver Band Around the Eraser
- Step 10: Add Shadow to the Band
- Step 11: Make Ridges on the Band
- Step 12: Finalize the Icon
- Conclusion
- Download Source Files
Share this article


Web Design Calculator
Use our free tool to get a free, instant quote in under 60 seconds.
View Web Design CalculatorMake estimating web design costs easy
Website design costs can be tricky to nail down. Get an instant estimate for a custom web design with our free website design cost calculator!
Try Our Free Web Design Cost Calculator


