
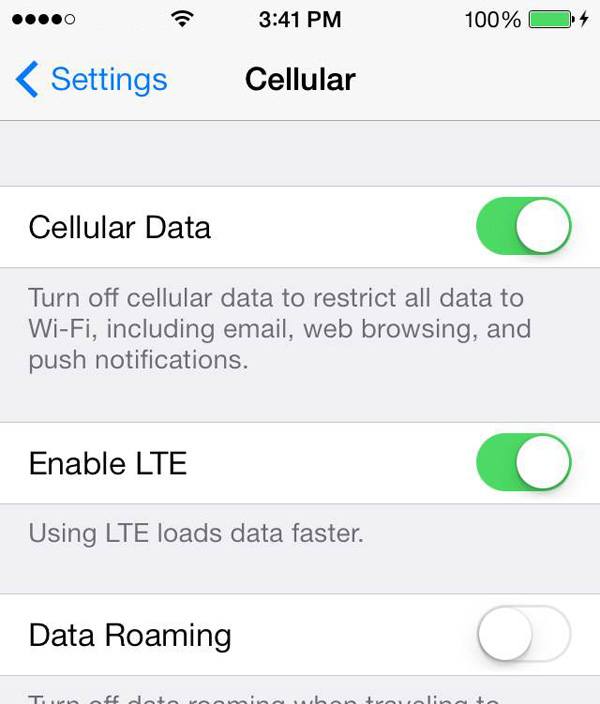
Here’s a screenshot of native iOS 7 switch controls on iPhone 5:
So how do we get switch controls like the ones in native iOS 7 apps in our HTML web forms?
Lucky for us a new open source project called Switchery was just released.
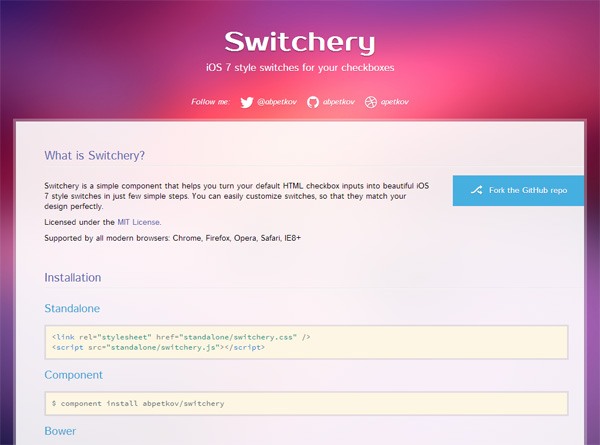
Switchery is on GitHub under the MIT open source license. The creator of Switchery is Alexander Petkov, a web designer and front-end web developer from Bulgaria.
Adding iOS 7 Switch Controls to Your Forms
Implementation of Switchery is super easy. There are several ways to do it.
I’ll show you one way.
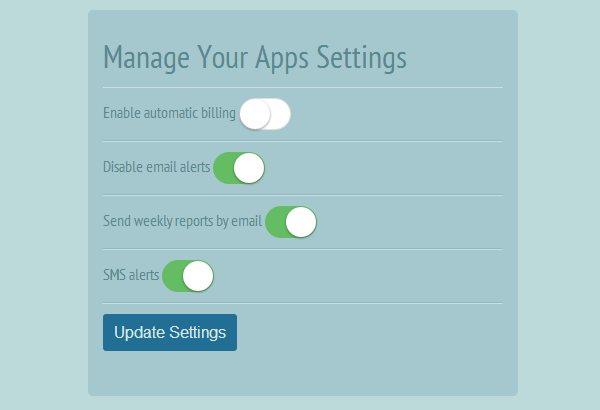
This is what we’ll make:
Install Switchery
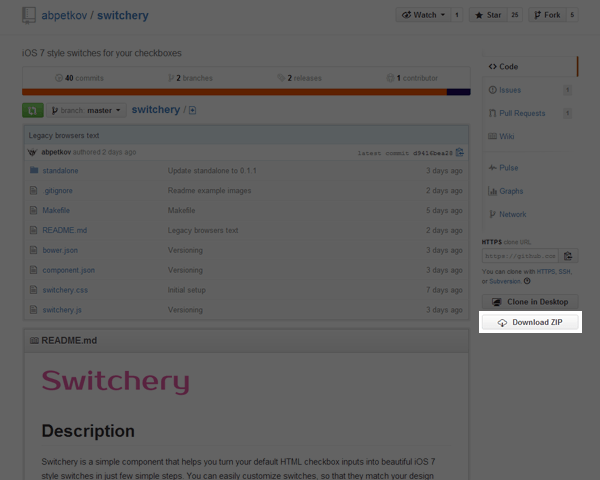
You can download the most recent version of Switchery at the project’s GitHub page.
When you’re on the GitHub web page, just click on the “Download ZIP” button in the sidebar:
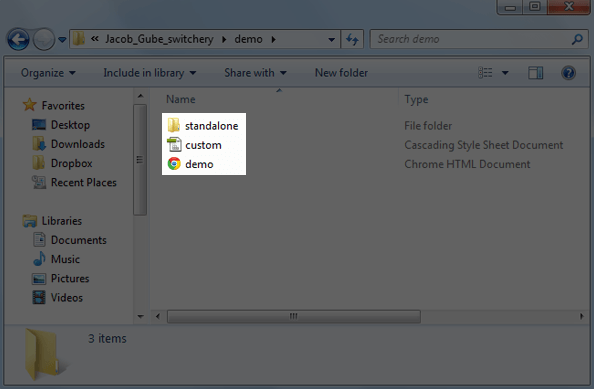
Open the ZIP file and move the standalone folder to your working directory.
Below, you can see in our working directory that I also created a file called demo.html and custom.css for my own custom CSS. We will put our markup inside demo.html.
Reference the Switchery Files in the HTML Document
Inside the <head> element, reference the two Switchery files like so:
<head> <link rel="stylesheet" href="standalone/switchery.css"> <script src="standalone/switchery.js"></script> <head>
Initialize Switchery
You can do this step in a separate JavaScript file, which is a good practice for modularity.
However, for this tutorial, I just placed my code inside a <script> tag right before the closing </body> tag. Why did I put it at the end?
Placing inline scripts at the end of HTML document improves page load speed.
<script type="text/javascript"> var Switchery = require('switchery'); var elems = Array.prototype.slice.call(document.querySelectorAll('.switchery')); elems.forEach(function(html) { var switchery = new Switchery(html); }); </script> </body>The code above allows us to create multiple switches simply by giving our checkbox elements a class of switchery.
Create the Form’s HTML
Switchery converts your ordinary HTML checkbox input elements into switches. In this example, the checkbox must have a class of switchery for it to become a switch control.
I just created a simple web form with two checkboxes and a submit button. This is the markup of my <form> element:
 <form> <p> <label for="setting1">Enable automatic billing</label> <input type="checkbox" class="switchery" name="setting1" /> </p> <p> <label for="setting2">Disable email alerts</label> <input type="checkbox" class="switchery" checked name="setting1" /> </p> <input type="button" value="Update Settings" />
</form>
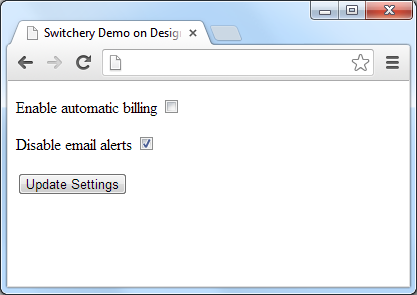
This is what the form would look like without Switchery:
With Switchery, this is how it looks:

Add Some CSS to Make Things Look Prettier
After writing some CSS style rules just to make things look prettier and adding a couple more iOS 7 style switch controls, here’s the final result:
If you’d like to see how I made my web form look like the image above, you can review the demo.html and custom.css files by downloading the source of this tutorial.
Further Customizations
You can also change the color and the animation speed of the switch controls.
Go to the official Switchery website to learn how.
-
 Trevin serves as the VP of Marketing at WebFX. He has worked on over 450 marketing campaigns and has been building websites for over 25 years. His work has been featured by Search Engine Land, USA Today, Fast Company and Inc.
 -

WebFX is a full-service marketing agency with 1,100+ client reviews and a 4.9-star rating on Clutch! Find out how our expert team and revenue-accelerating tech can drive results for you! Learn more
Make estimating web design costs easy
Website design costs can be tricky to nail down. Get an instant estimate for a custom web design with our free website design cost calculator!
Try Our Free Web Design Cost Calculator
Share this article


Web Design Calculator
Use our free tool to get a free, instant quote in under 60 seconds.
View Web Design CalculatorMake estimating web design costs easy
Website design costs can be tricky to nail down. Get an instant estimate for a custom web design with our free website design cost calculator!
Try Our Free Web Design Cost Calculator


