
In this Photoshop type treatment tutorial for beginners, you’ll discover a quick and easy process for making captivating gradient text. Be sure to check out the Gradient Typography in Web Design showcase for inspiration.
Final Result
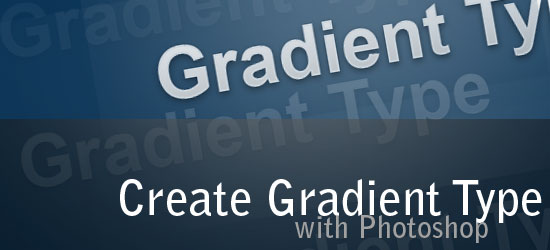
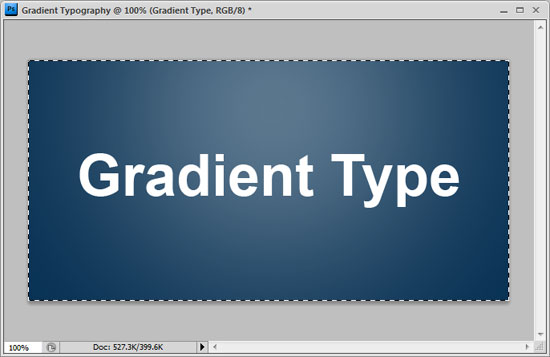
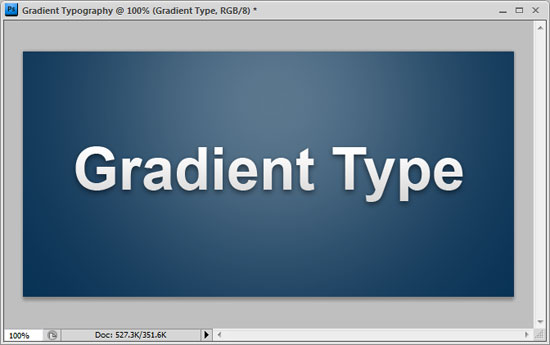
Below, you can see what we’ll be creating together. You can click on the image to see the full-resolution version.

Set up the Photoshop document
1 To start, let’s set up the Photoshop document.
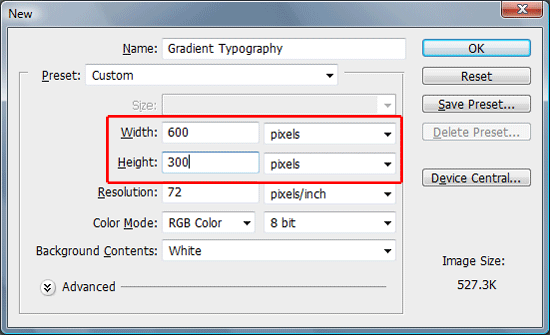
In Photoshop, Press Ctrl + N to create a new document (this should open the New Document dialog box). We’ll create a rectangular canvas that’s 600px wide and 300px tall.
Design the background of the text
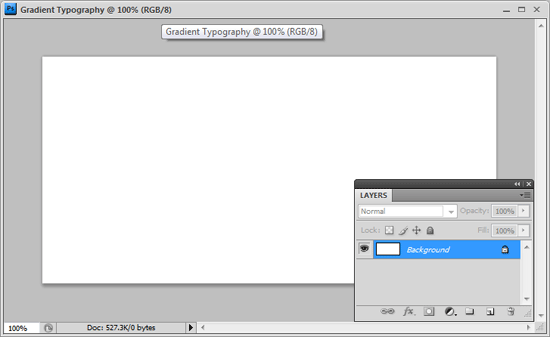
2 We’ll use a dark blue background. First, we’ll need to make the Background layer editable because it’s locked by default.
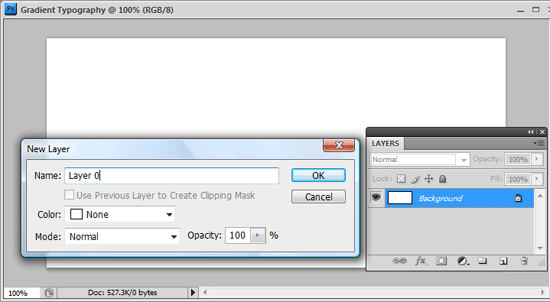
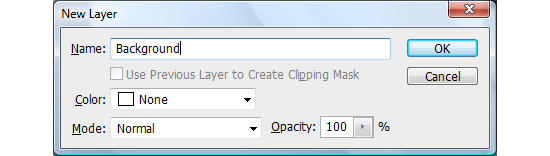
Double-click on the Background layer in the Layers Panel to open the New Layer dialog box. By default, the Name option is set to Layer 0, but to keep things organized, name it to something more descriptive like Background.
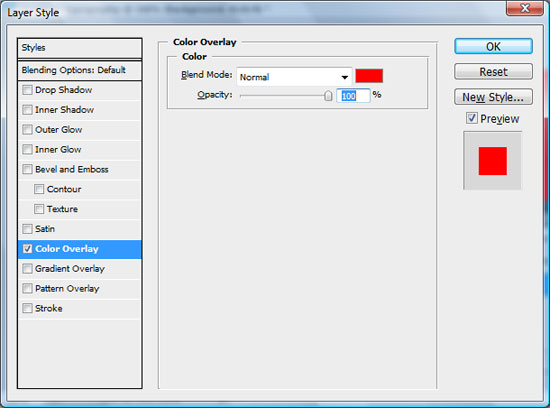
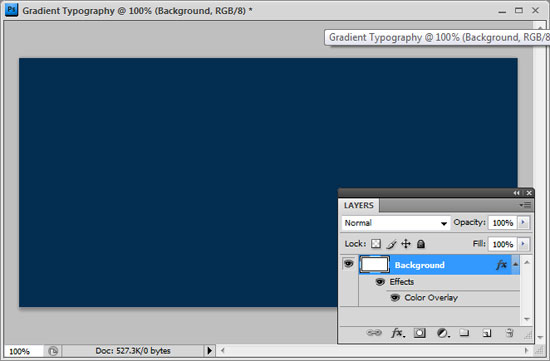
3 We’ll apply a color overlay layer style onto the Background layer. Start by double-clicking on the Background layer’s thumbnail in the Layers Panel to open up the Layer Styles dialog box.
Check the Color Overlay box to apply the layer style.
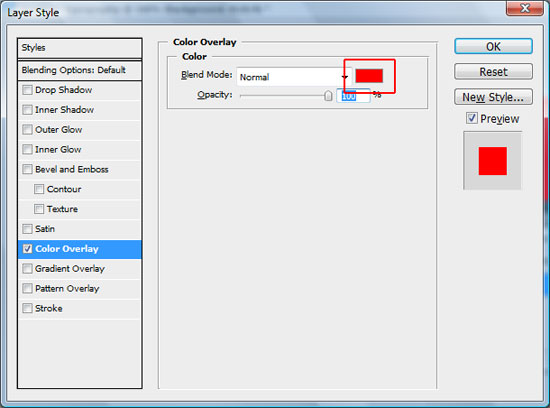
4 Change the color overlay by clicking on the Set color of overlay option which will open the Select overlay color dialog box for you to choose your colors in.
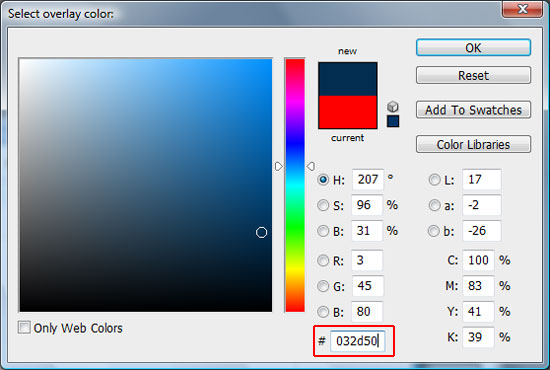
5 In the Select overlay color dialog box, choose a dark color. I’ve chosen a dark blue color (#032d50).
Create a lighting effect in the background
6 The background should now be a dark blue color. Let’s make it a little bit more interesting by creating some lighting.
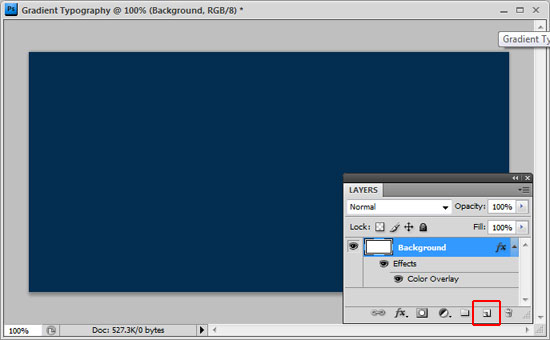
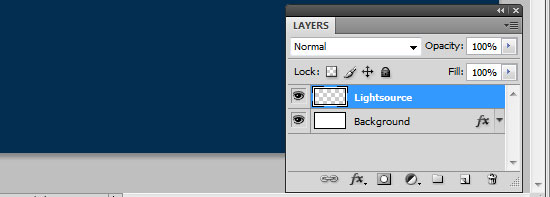
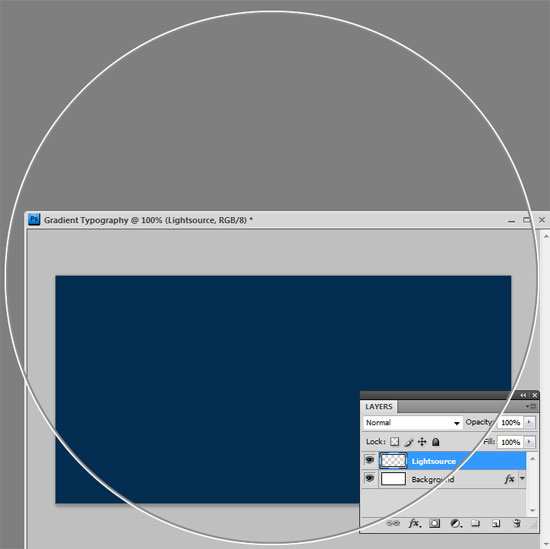
First, create a new layer by clicking on the Create a new layer icon at the bottom of the Layers Panel. Then rename the new layer (by default it’ll be Layer 1) to something intuitive like Lightsource.
7 Set your Foreground color in the Tools Panel to white (#ffffff). Grab the Brush Tool (B) from the Tools Panel.
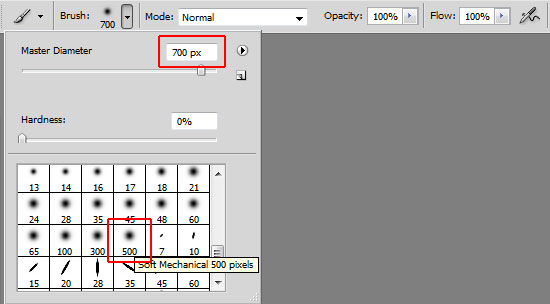
8 In the Options bar, open the Brush Preset picker by clicking on the downward pointing arrow.
Scroll down and select the Soft Mechanical 500 pixels Brush (or choose any brush tip that has a soft edge). Adjust the Master Diameter option to a large value, 700px will do the trick.
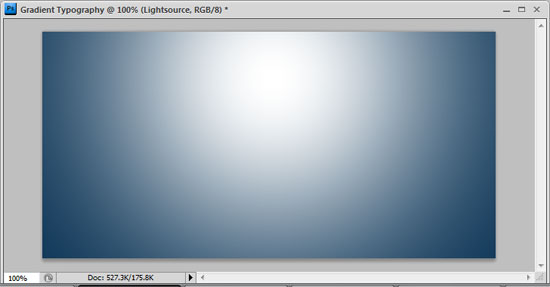
9 In the Layers Panel, make sure you’re still on the Lightsource layer. With the Brush Tool, click somewhere in the middle of your canvas to apply the brush.
It’s OK if the brush edge is outside of the canvas, it’ll create a nice effect that way.
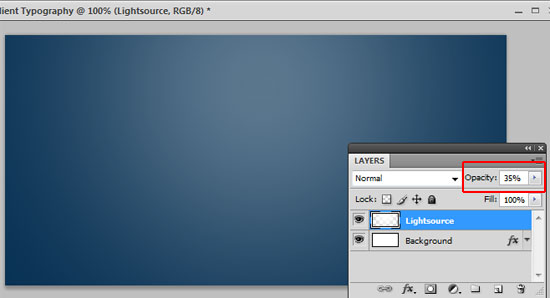
10 The brush is too prominent so we’ll want to lower the layer opacity to make the lighting effect subtler. Lower the Opacity of the Lightsource layer to somewhere around 35% in the Layers Panel.
Placing the text on the canvas
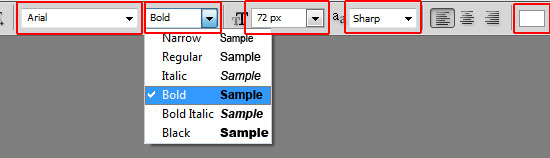
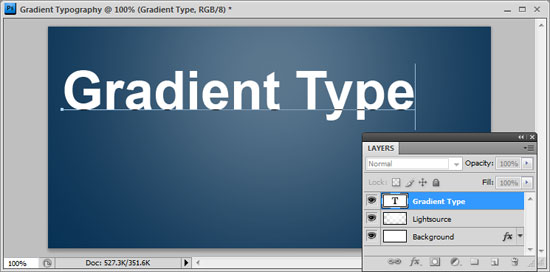
11 Let’s type in the text that will have the gradient effect. We’ll use a bold sans-serif font–Arial–which really works well with the gradient typography style.
Begin by choosing the Horizontal Type Tool (T) in the Tools Panel. Then in the Options bar, select Arial, set the font size to 72px, set the anti-aliasing method option to Sharp, and choose a color that we can easily see, such as white (#ffffff) (it doesn’t matter what color we choose now because the gradient overlay that we’ll be applying later on will take care of this).
12 Type some words onto the Canvas like “Gradient Type“. Don’t worry where it is on the canvas because we’ll center it in the next step.
Centering the text
13 To center the text horizontally, first create a marquee selection around the entire canvas by pressing Ctrl + A (or going to Select > Select All).
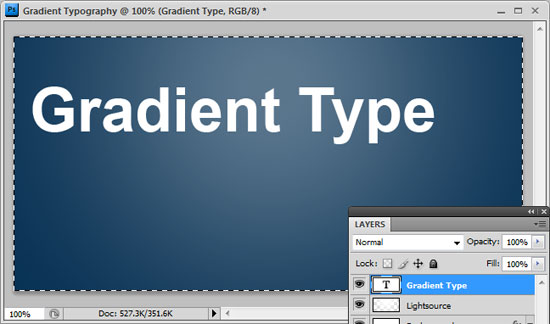
14 With the Gradient Type text layer the active layer in the Layers Panel, go to Layers > Align Layers to Selection > Horizontal Centers.
This should center the text in the horizontal middle of your canvas.

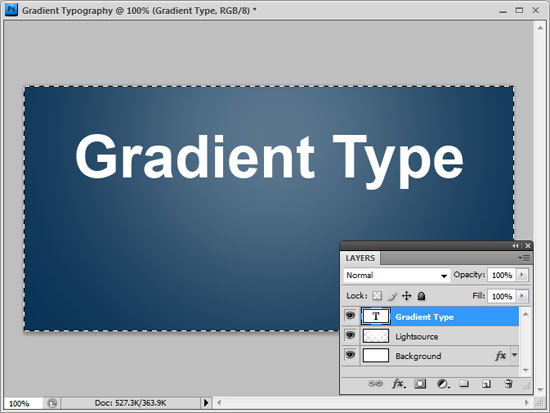
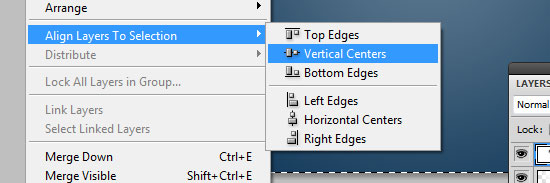
15 Next, we’ll want to center our text vertically as well. The rectangular marquee selection around the canvas should still be active, but it not, make sure it is (and press Ctrl + A if it isn’t) and then go to Layers Align Layers to Selection > Vertical Centers.
Applying the layer styles for the gradient type effect
16 Time to actually create the gradient type effect. Double-click on the Gradient Type text layer in the Layers Panel to open the Layer Styles Dialog box.
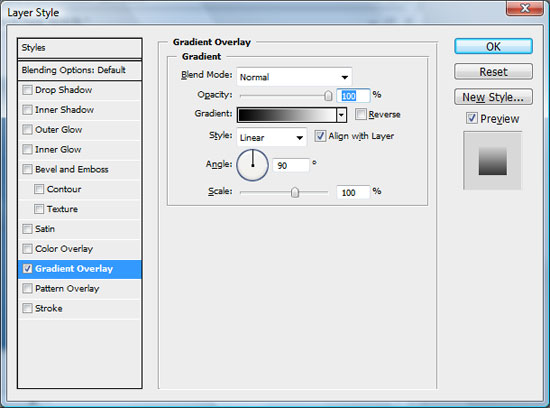
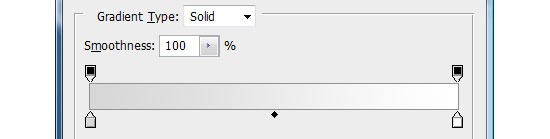
17 First layer style we’ll add to our text is a gradient overlay.
We’ll want a color transition that’s white at the top and light gray at the bottom. It will be a subtle gradient type effect. So click on the Gradient Overlay checkbox to apply it.
By default, it will be a Black to White color transition, so we’ll need to modify it.
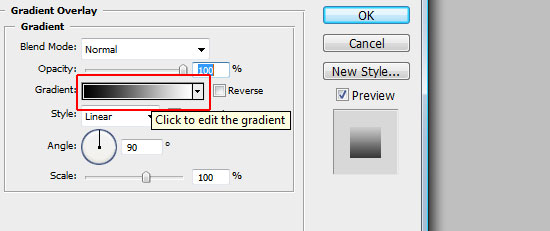
18 Click on the Gradient option to open the Gradient Editor dialog box.
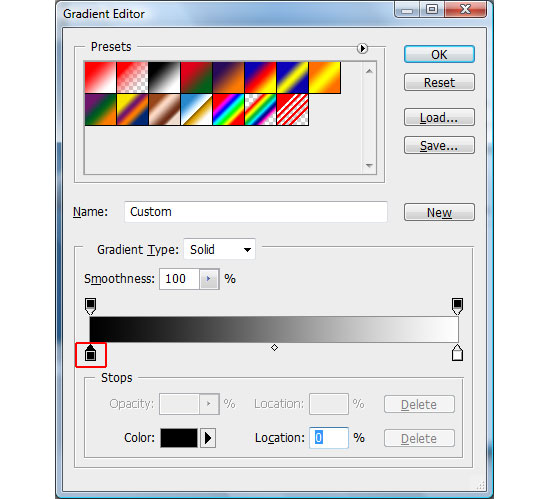
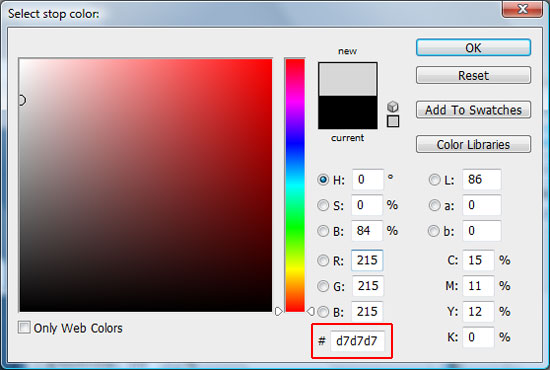
19 In the Gradient Editor, click on the left color stop to open the Select stop color dialog box. Change the color to a light gray color (#d7d7d7). Make sure that the right color stop is white (#ffffff), by the default it’s white, but in case you have changed the settings, you should verify.
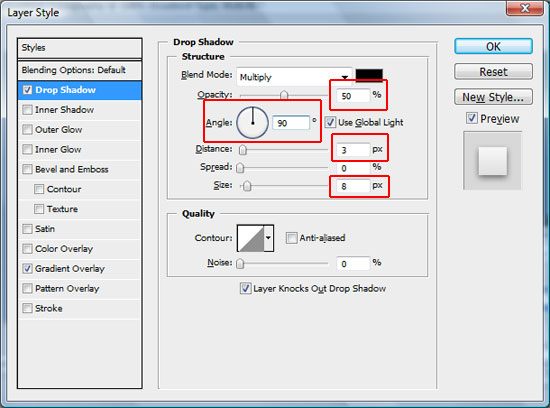
20 Next, we’ll add a drop shadow layer style.
Check the box beside Drop Shadow. Lower the Opacity of the drop shadow to about 50% so that it’s subtler. Change the Angle of the drop shadow to 90% so that our light source comes from the top of the canvas.
Set the Distance to 3px (which means the drop shadow is offset by 3px at the bottom of the text) and the Size to about 8px. Play around with the settings to see what works best for you.
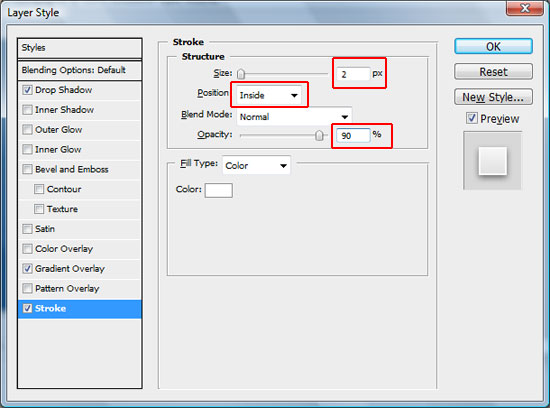
21 The final layer style we’ll apply is a white inner stroke. This is a subtle effect but really helps complete the whole gradient text effect.
Open the Layer Styles dialog box again by double-clicking on the Gradient Type text layer. Check the box beside Stroke. Set the Stroke Size option to 2px.
Set the Position option to Inner so that it’s applied at the inner edge of the type. Finally, lower the Opacity percentage just a tad, to about 90% So that the stroke is not too overpowering.
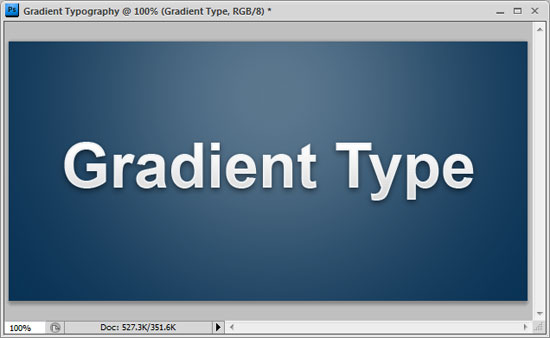
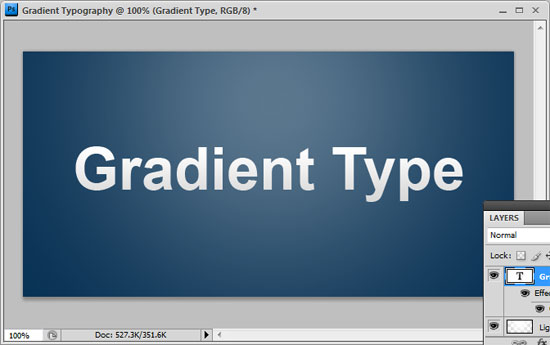
We’re done!
That’s it, below, you’ll see what I ended up with. I hope you enjoyed this tutorial and learned a trick or two!

Contribute to the Six Revisions Flickr group
If you liked this tutorial and you followed along with it, please show your appreciation by including a screen capture of your final result in the Six Revisions Flickr group – we’re trying to build the collection so that we, as a community, can see each other’s work.
Download the source file
If you’d like to download the Photoshop source file used in this tutorial, grab it as an archived ZIP file below.
- gradient-typography.zip (ZIP, 0.2MB)
Related Content
-
 President of WebFX. Bill has over 25 years of experience in the Internet marketing industry specializing in SEO, UX, information architecture, marketing automation and more. William’s background in scientific computing and education from Shippensburg and MIT provided the foundation for MarketingCloudFX and other key research and development projects at WebFX.
 -

WebFX is a full-service marketing agency with 1,100+ client reviews and a 4.9-star rating on Clutch! Find out how our expert team and revenue-accelerating tech can drive results for you! Learn more
Make estimating web design costs easy
Website design costs can be tricky to nail down. Get an instant estimate for a custom web design with our free website design cost calculator!
Try Our Free Web Design Cost Calculator
Share this article


Web Design Calculator
Use our free tool to get a free, instant quote in under 60 seconds.
View Web Design CalculatorMake estimating web design costs easy
Website design costs can be tricky to nail down. Get an instant estimate for a custom web design with our free website design cost calculator!
Try Our Free Web Design Cost Calculator


