
A lot of people take photos with their phones. In fact, the iPhone is the most popular camera on the planet at the moment. And while there are a lot of pretty nifty accessories you can buy for your phone photography needs, we still haven’t found a practical enough tripod for our phones that warranted a purchase with our hard-earned cash.
Until now… What we wanted was a tripod we can carry with us at all times. This means it needed to be tiny.
It had to be easy to use and be able to accommodate many types of smartphones. We believe we came up with a pretty simple solution. Not to mention that it was free and took about 10 minutes to make.
Materials:
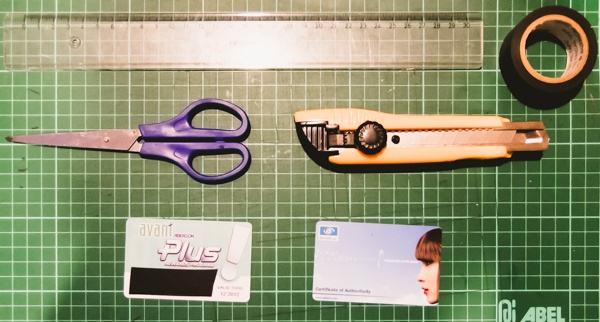
- 2 expired or de-activated plastic cards (much like ATM cards or gift cards).
- Ruler
- A marker.
- Box cutter or Exacto knife or scissors or any cutting tool that will get the job done
- Sand paper (optional but highly recommended)
- electrical tape (optional)
As you can see from the materials list, this is going to be the simplest, most idiot-proof, DIY smartphone tripod tutorial ever made.
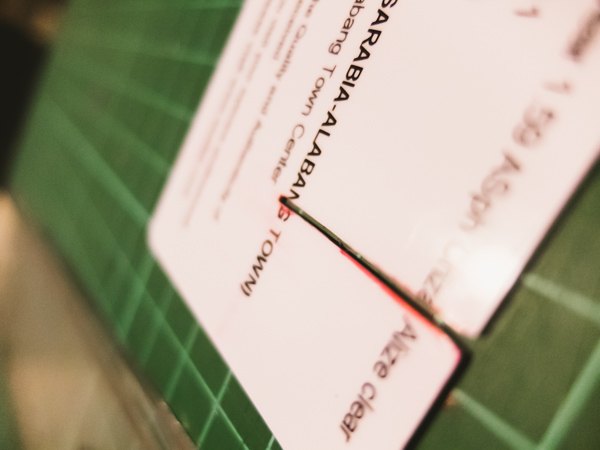
Step 1: Making the Intersection
This is the most critical step. Measure 2cm from one end of your cards.
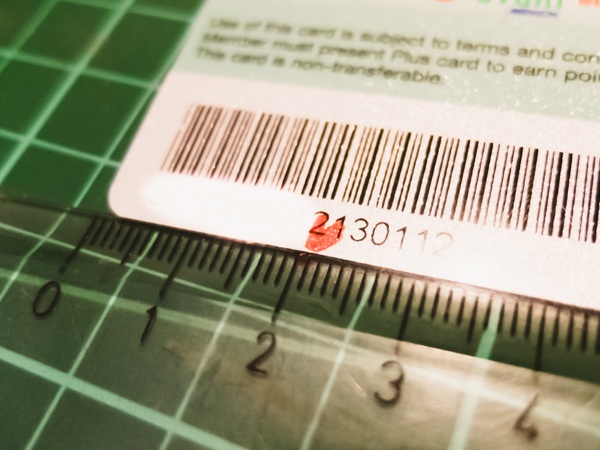 You’ll need to make a slit that travels exactly half the width of both your plastic cards at this 2cm mark. My cards measured 85mm x 54mm. Therefore, half of the width of my cards are at 27mm.
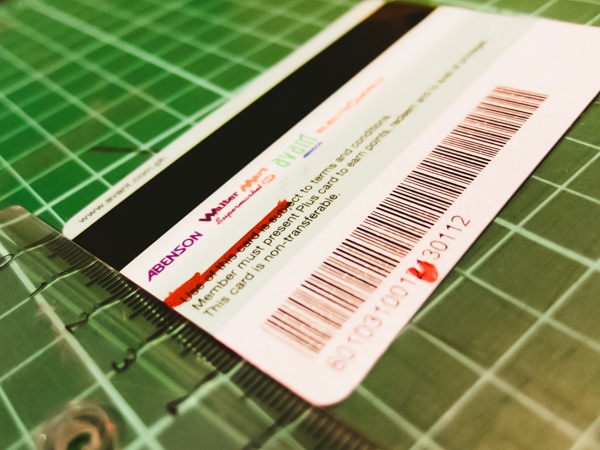 The slits should have enough room to accomodate the thickness of the cards. I suggest using the boxcutter or Exacto knife to make straight cuts.
 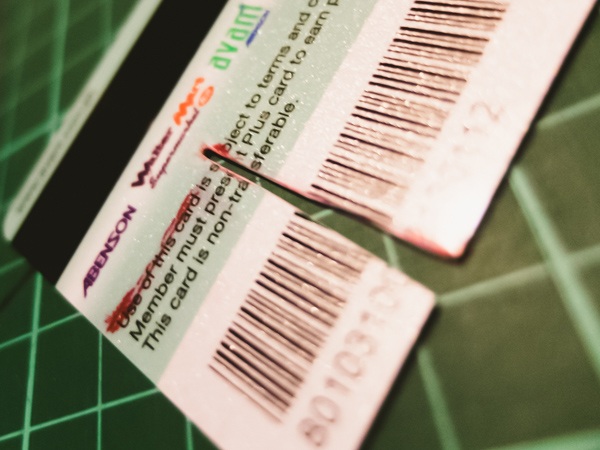 When you’ve made the slits, you can use sand paper to smooth out the edges so that the cards fit better together.
Step 2: Cut Out the Phone Holder.
Measure 1cm from the opposite side of the slit you just made. 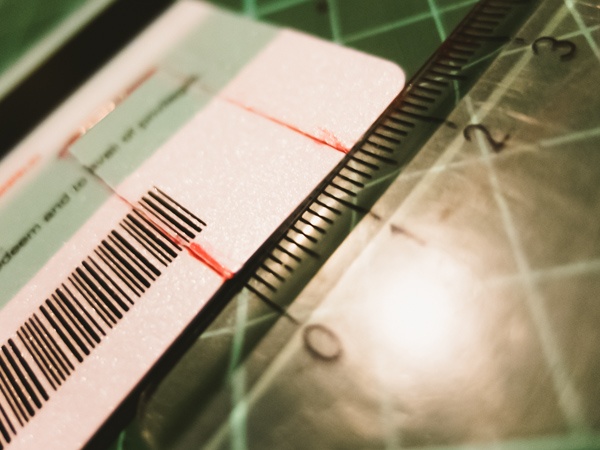 You’ll need to cut out a 1.5cm x 3cm piece of plastic. On the other card, you’ll need to make the same sized cut-out on the opposite side of the card.
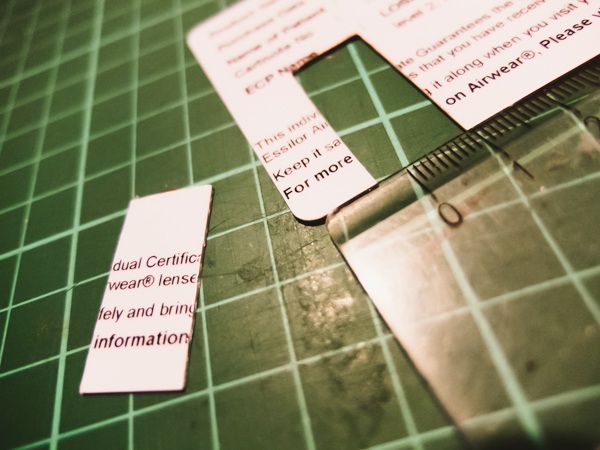 You should have two cards that look like this. Notice that they are not mirror images of each other.
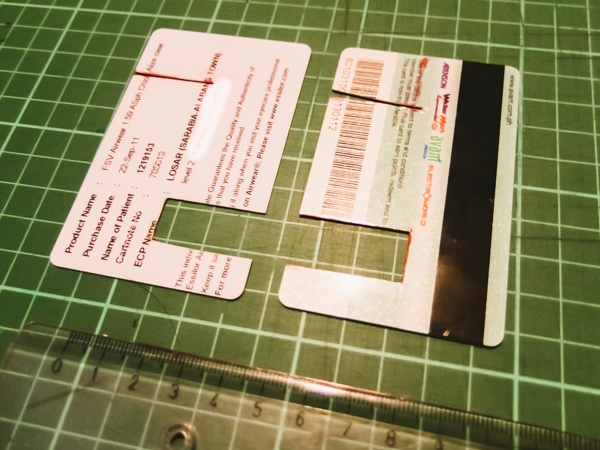
Step 3: Assembling the Tripod.
Insert the two slits into each other.
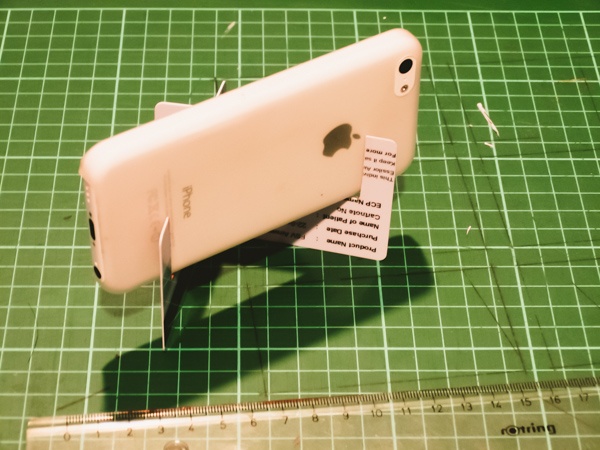
It should look like this. 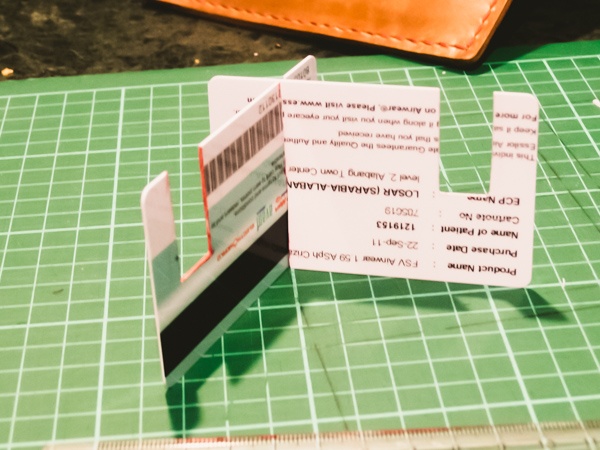 Place phone in the holder like so. It doesn’t look like much but once you place your phone in the holder, the tripod becomes pretty sturdy.
 Start taking photos.
 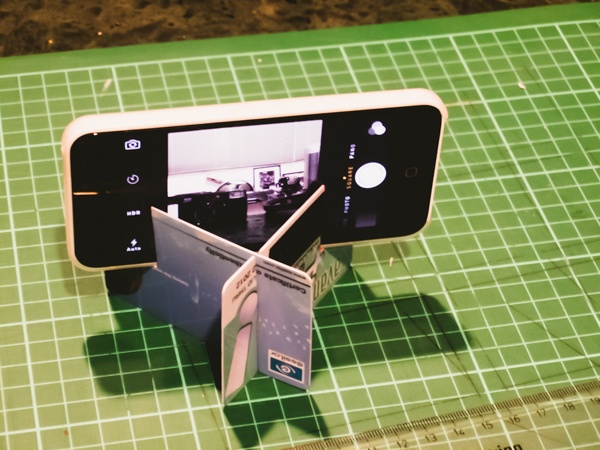 You can squeeze the two cards together and place your phone in portrait orientation like this.
 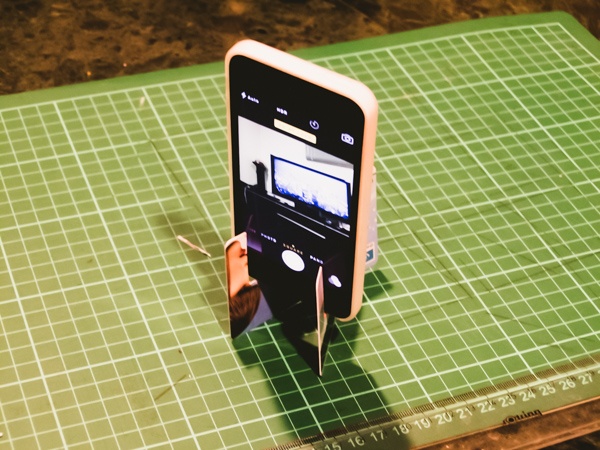 It may not be too pretty to look at but we found this to be a very elegant solution.
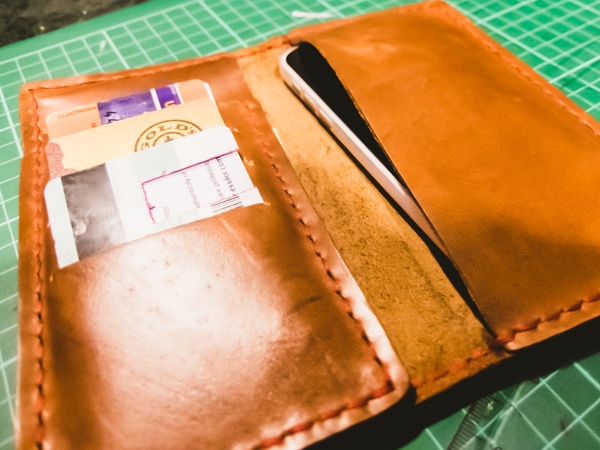
The whole point of having a tripod that fits in your wallet is that, just like your phone, you can carry it with you all the time. When you need it, you’ll have it. If you don’t need it, it just sits quietly in your wallet.
 Now, you can get some great steady shots wherever you are. We encourage you to make your own improvements to the design to fit your needs.
Tips:
- Use your phone’s timer to prevent any movement caused by your hands. Your iPhone’s included headphone with in-line remote can also serve as a remote cable release when plugged into your iPhone.
- The key to making this tripod is to make the intersection of the cards straight and tight.
- If you can’t make straight cuts or if the cuts are too narrow, use sand paper to even out the cuts.
- If the slits are too wide, your tripod will be unstable. Use the electrical tape to add some material to the slits to tighten them up.
- You can spray paint the cards to make the tripod look less DIY.
- Experiment with the cut of the “holder” to accommodate more angles and phone dimensions.
Tell us what you think in the comments section below.
-
 Trevin serves as the VP of Marketing at WebFX. He has worked on over 450 marketing campaigns and has been building websites for over 25 years. His work has been featured by Search Engine Land, USA Today, Fast Company and Inc.
 -

WebFX is a full-service marketing agency with 1,100+ client reviews and a 4.9-star rating on Clutch! Find out how our expert team and revenue-accelerating tech can drive results for you! Learn more
Make estimating web design costs easy
Website design costs can be tricky to nail down. Get an instant estimate for a custom web design with our free website design cost calculator!
Try Our Free Web Design Cost Calculator
Share this article


Web Design Calculator
Use our free tool to get a free, instant quote in under 60 seconds.
View Web Design CalculatorMake estimating web design costs easy
Website design costs can be tricky to nail down. Get an instant estimate for a custom web design with our free website design cost calculator!
Try Our Free Web Design Cost Calculator


