

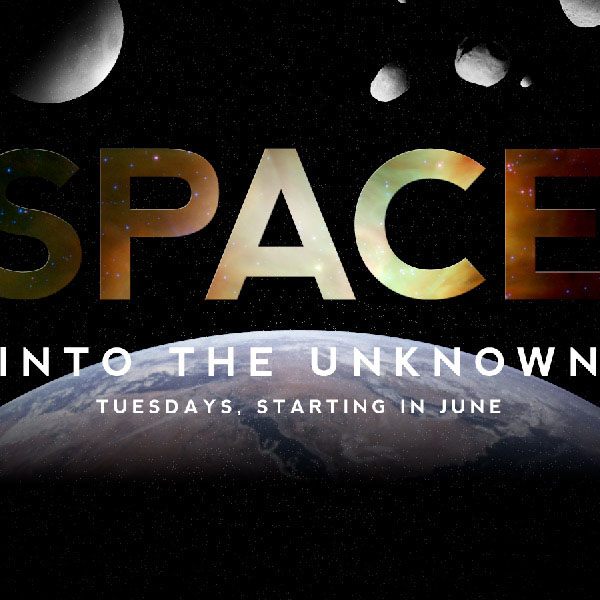
Preview
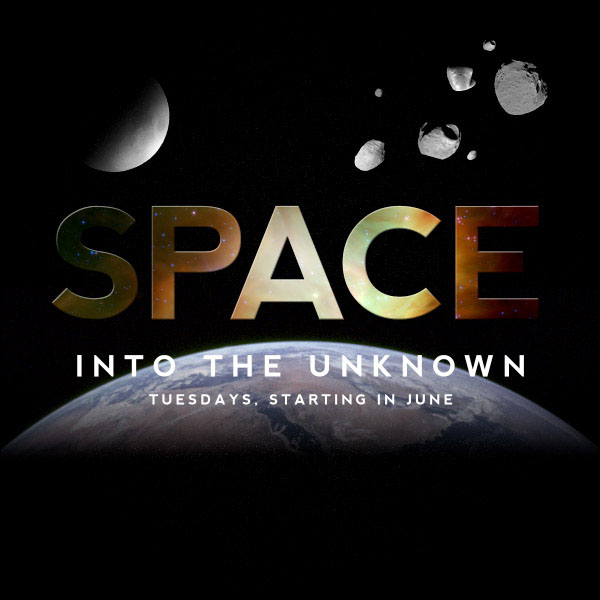
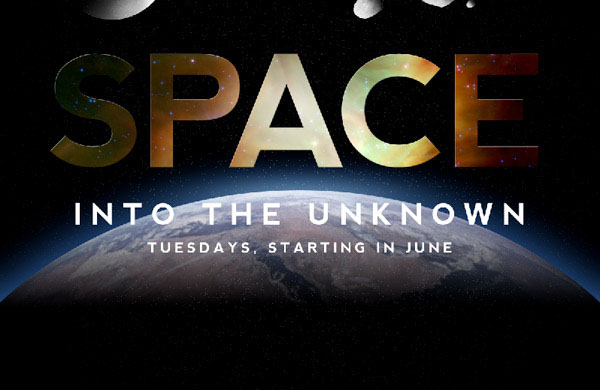
Click on the preview image below to see our finished result in its full scale. 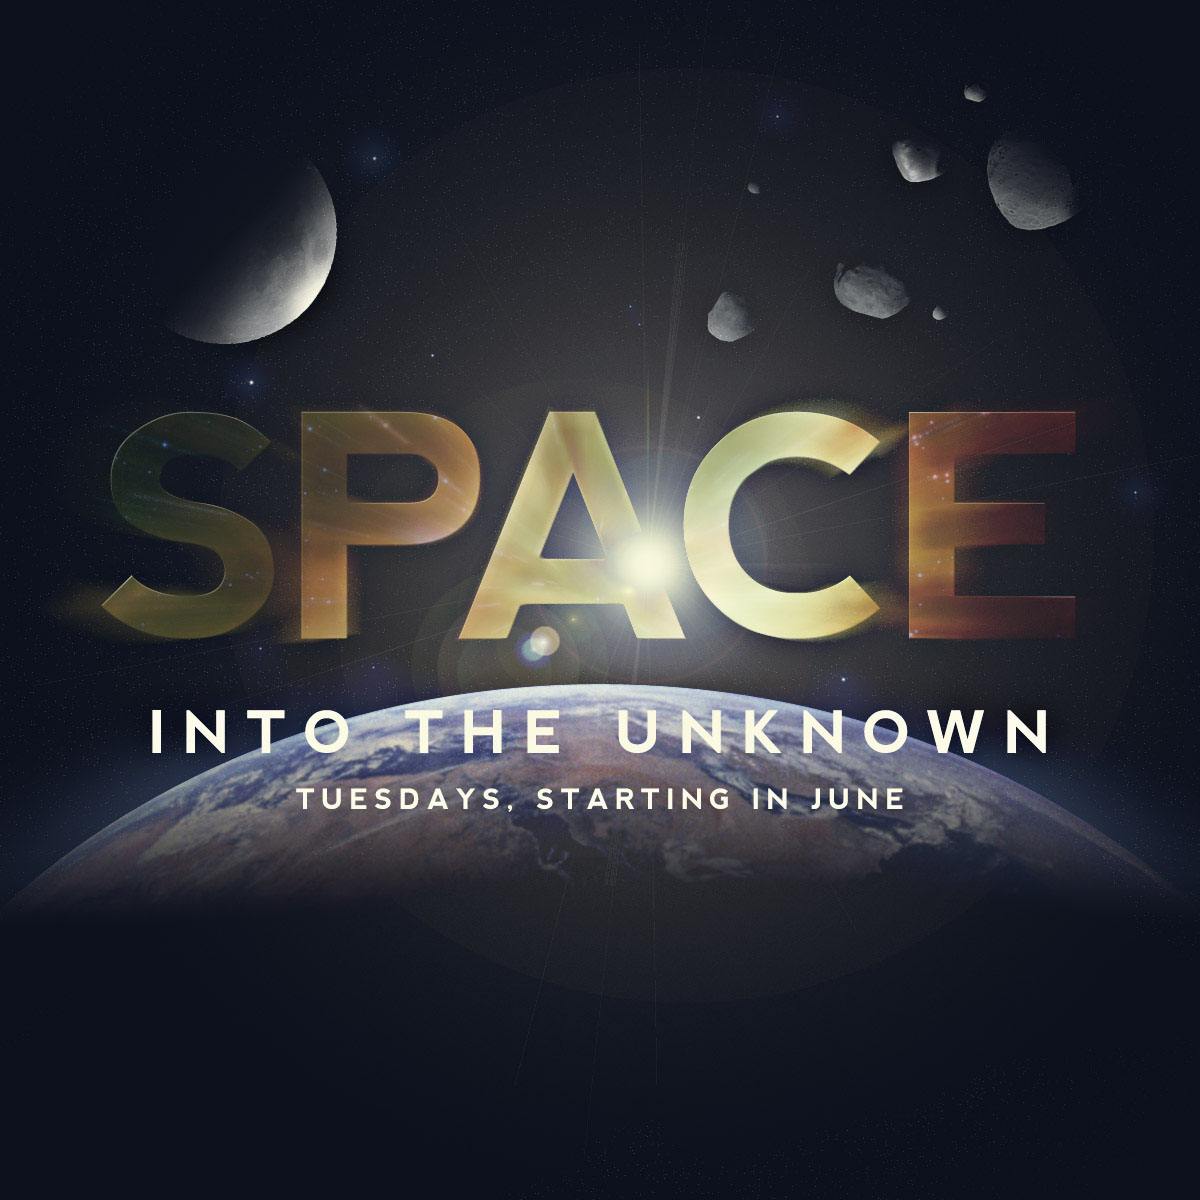
Tutorial Resources
- Free font: Nevis by Ed Merritt
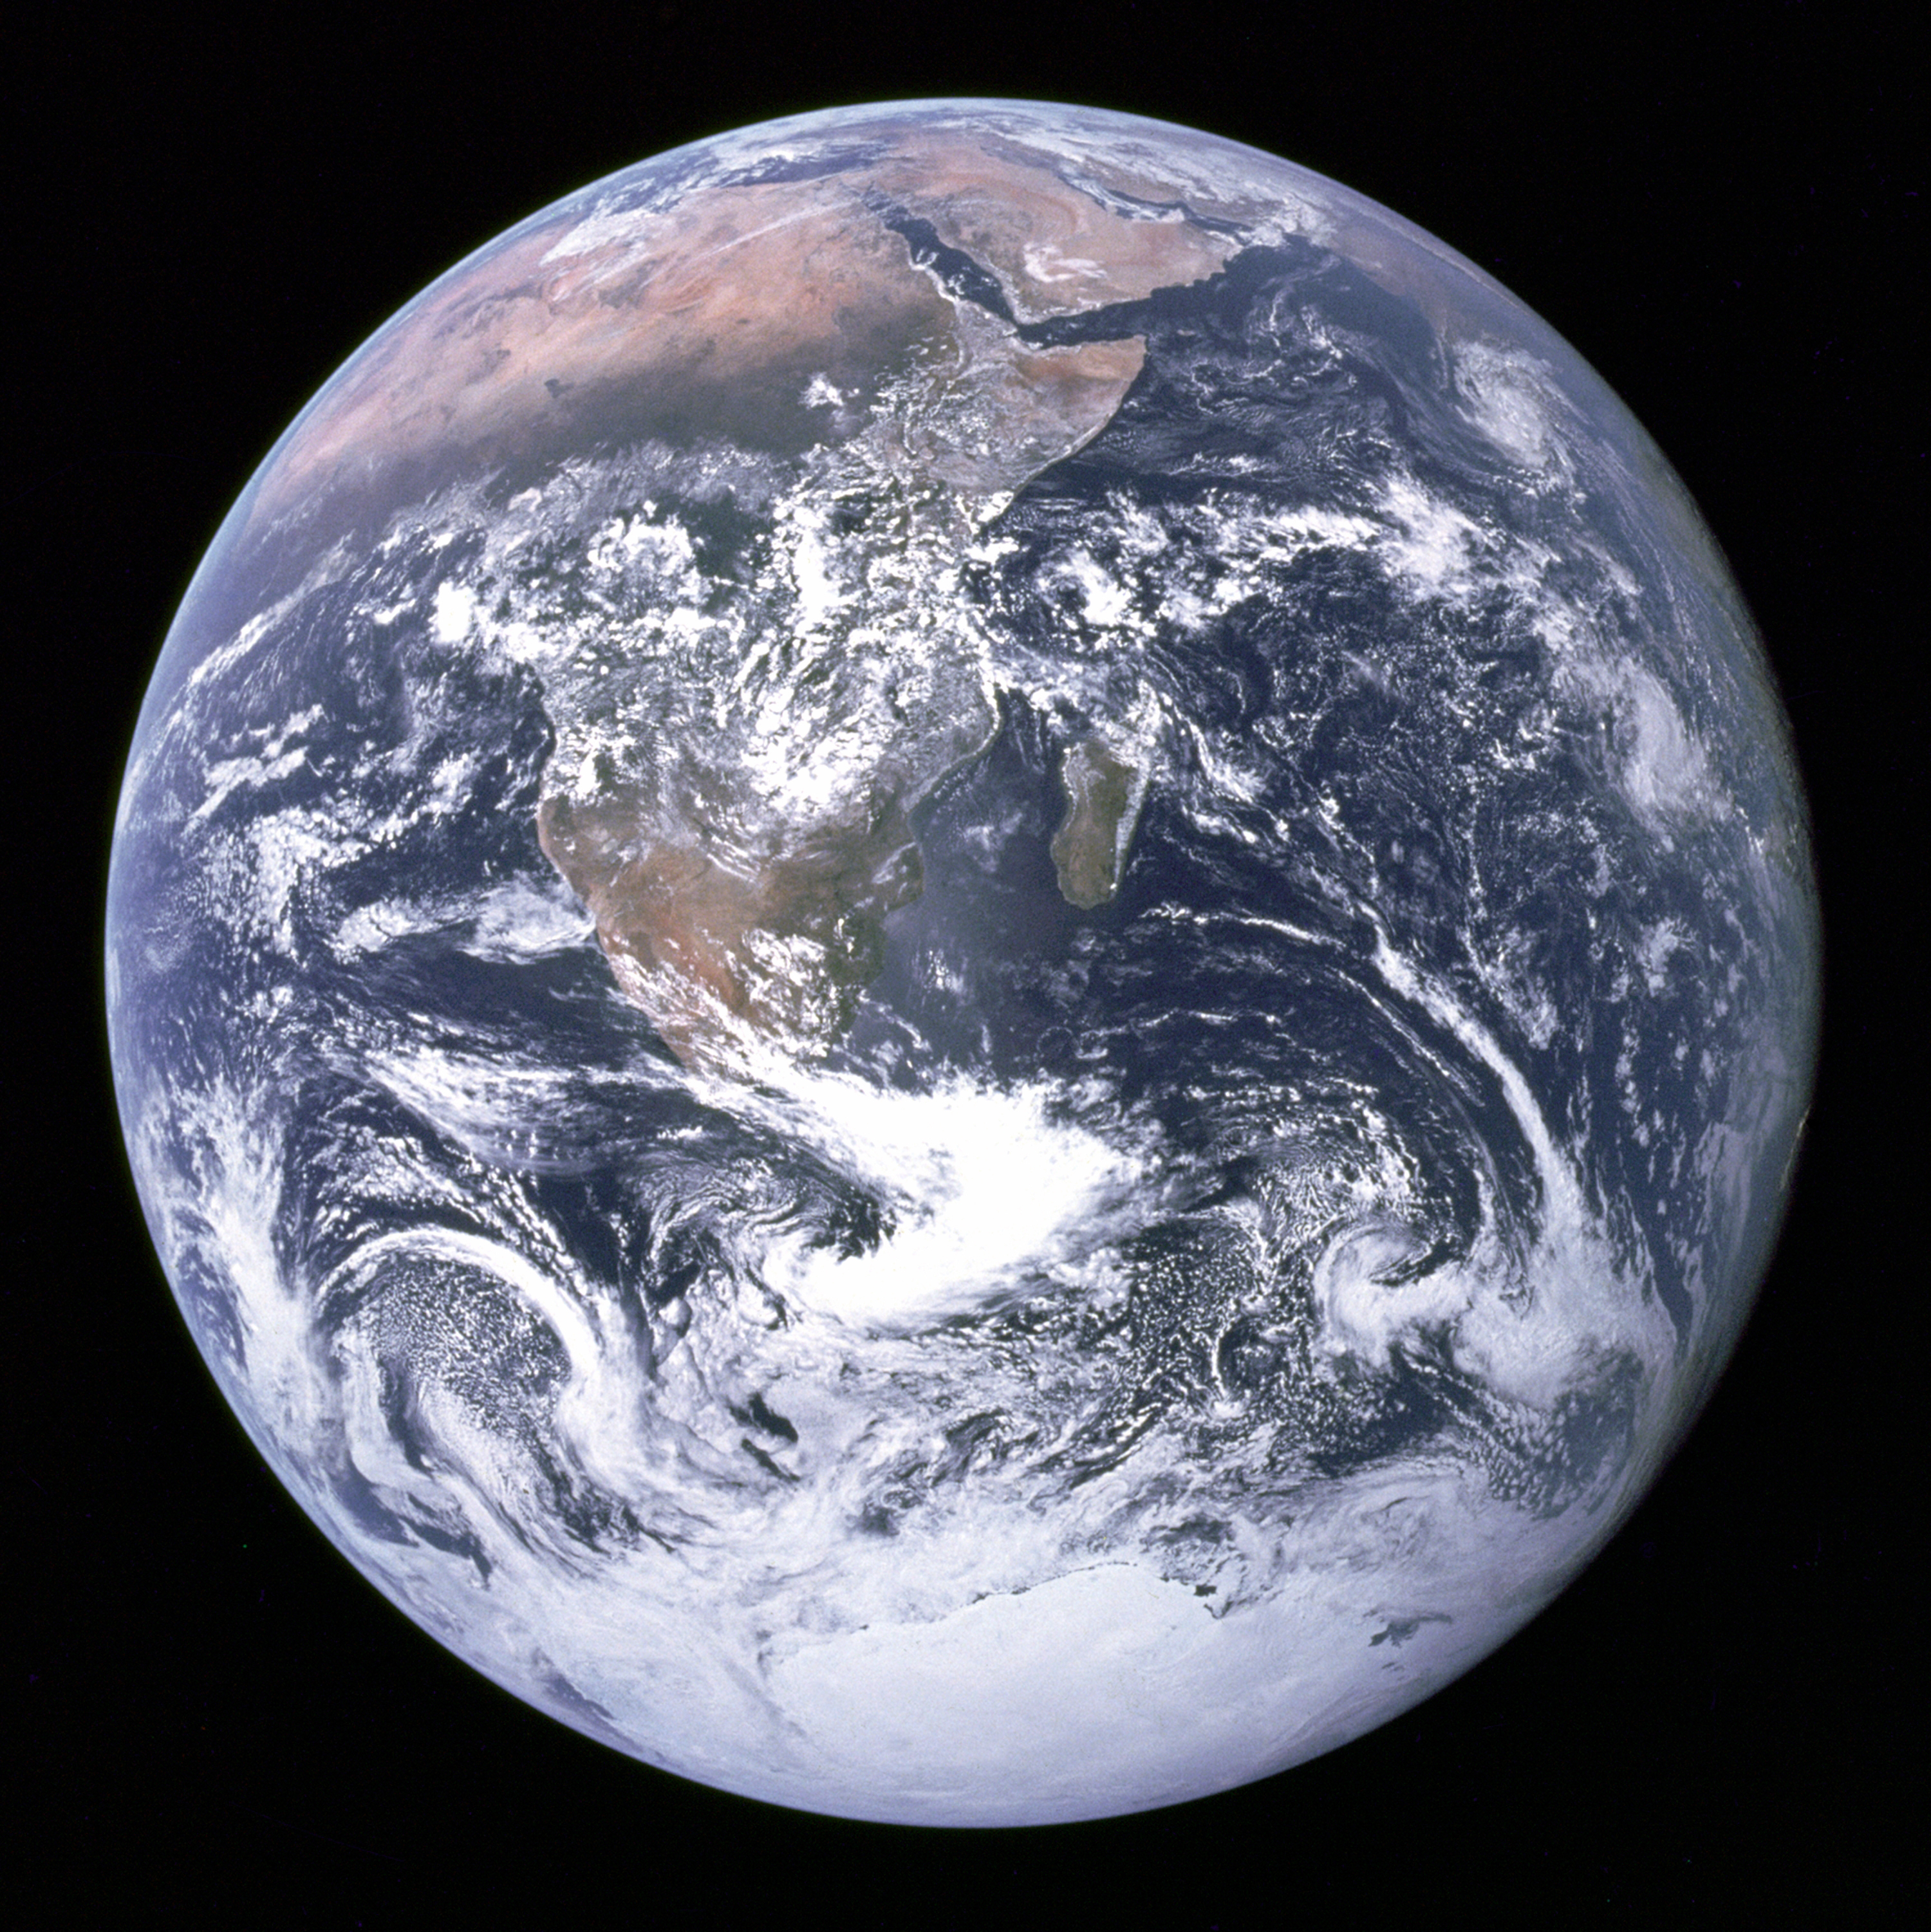
- Free stock image: Earth – The_Earth_seen_from_Apollo_17 by NASA (License)
- Free stock image: Moon – The Moon Luc Viatour by Luc Viatour (License)
- Free stock image: Asteroid 1- Phobos-viking1 by Pko (License)
- Free stock image: Asteroid 2 – Phobos_moon_(large) by Pko (License)
- Free stock image: Asteroid 3 – Phobos_deimos_diff by Pko (License)
- Free texture: Perseus’ Stellar Neighbors by NASA/L. Cieza (License)
Step 1: Create a New Document
First, let’s open up Photoshop and create a new 1200×1200 px document. Fill the document with black (#000000) by going to Edit > Fill and changing the Use option to Black. 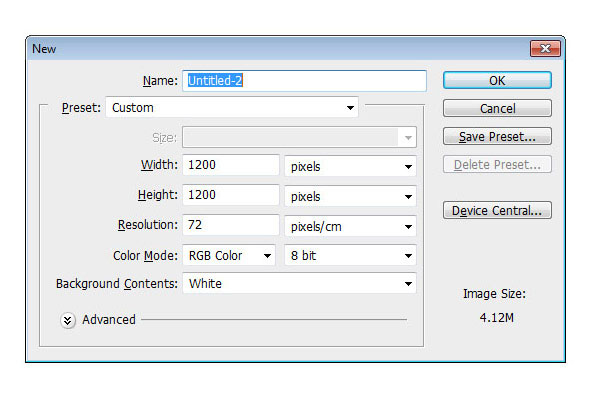
Step 2: Add the Text
Now we are going to start laying out of our poster by adding some text using the Horizontal Type Tool (T).
I am using the font Nevis with the main headline being “SPACE”. The second line is the tagline of the poster, “INTO THE UNKNOWN”. And for the third line, type “TUESDAYS, STARTING IN JUNE”. Please feel free to use a typeface and text content of your own choosing. Have the “SPACE” text (the first line) on a different text layer than the second and third lines of text because it will receive a special text effect treatment later on. 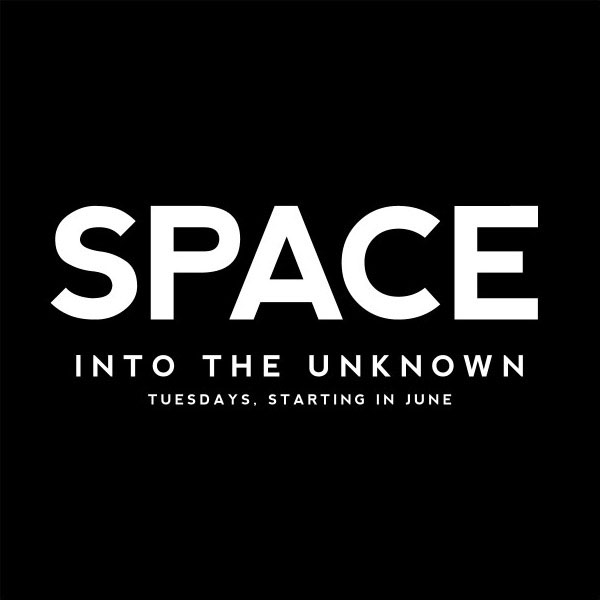
Step 3: Give the Text a Texture
To get our “SPACE” background, download this space texture and bring it into our document.
Move the texture above the “SPACE” text and go to Layer > Create Clipping Mask. This will create a mask so that just the texture above the text is showing. 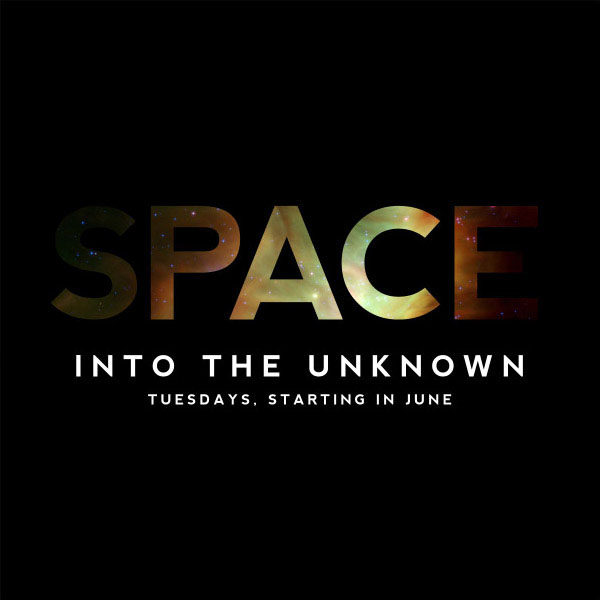
Step 4: Add Earth
Now, we want to start setting up the different design elements surrounding the text, starting with the earth.
So first, open up the earth image and place it into our Photoshop document at about 70% of its original size (you can use Image > Image Size to rescale it before putting it in your Photoshop document). In the Layers Panel, place the earth layer so that it is just above the background layer and under the second and third row of text. 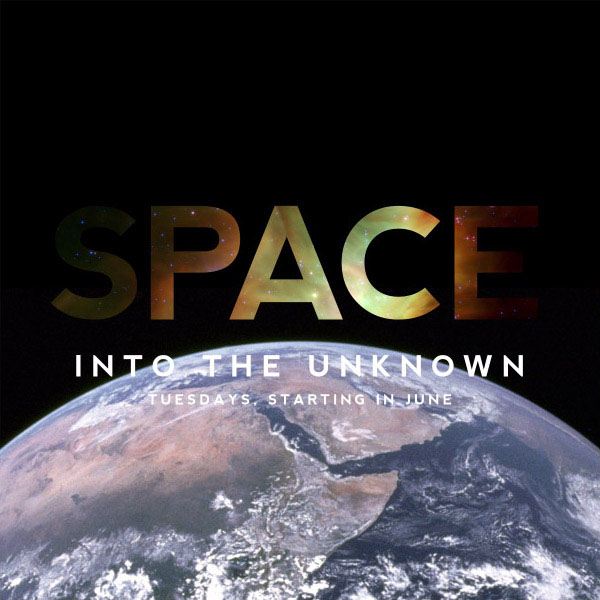
Step 5: Add the Moon
Bring in the moon image from Wikimedia.
Shrink down the moon either by resizing the image (Alt/Option + Ctrl/Cmd + I) prior to putting it in our canvas or directly placing it in our document and using the Free Transform command (Ctrl/Cmd + T). Adjust the angle by rotating it using the Free Transform command (Ctrl/Cmd + T) so the bright side is facing the center of “SPACE” — this is where our light source will be coming from. 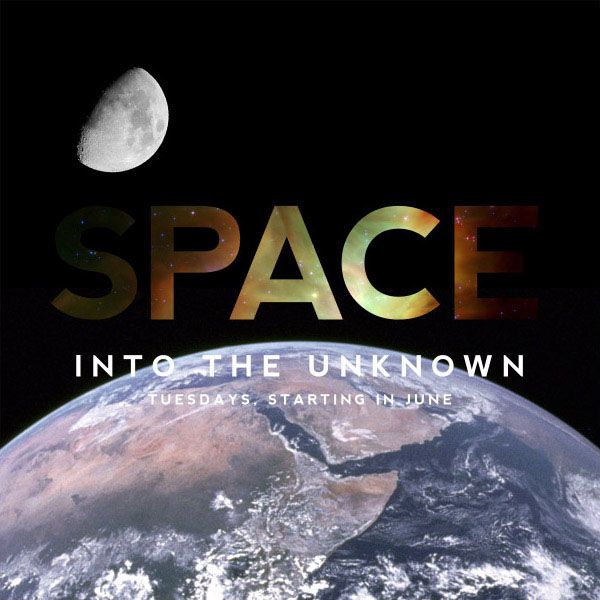
Step 6: Add the Asteroids
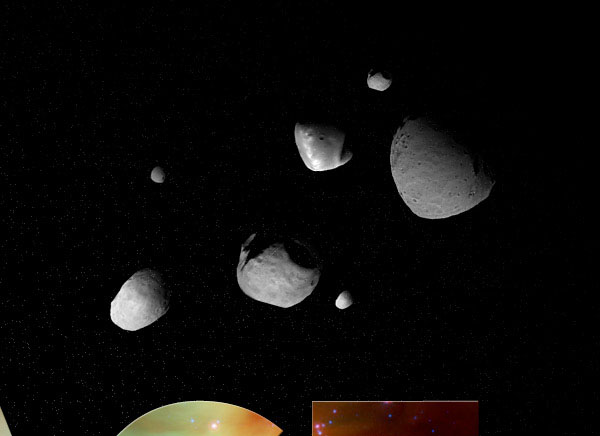
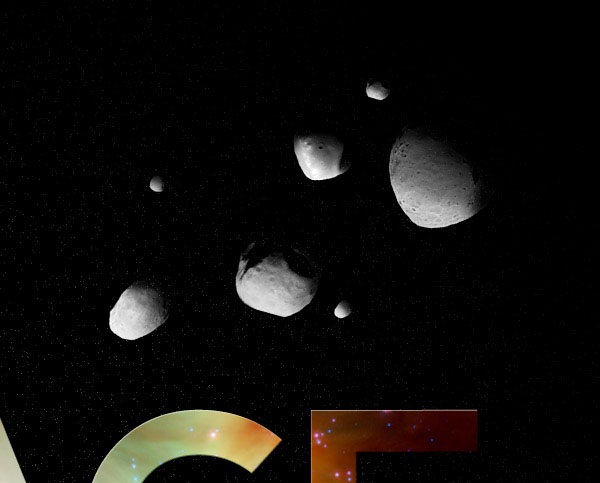
Open the three asteroid images from the Tutorial Resources listing above, shrink them down with the Free Transform command (Ctrl/Cmd + T) and arrange them randomly on the canvas.
Make sure to angle them so that the bright areas are facing towards the middle of the document. 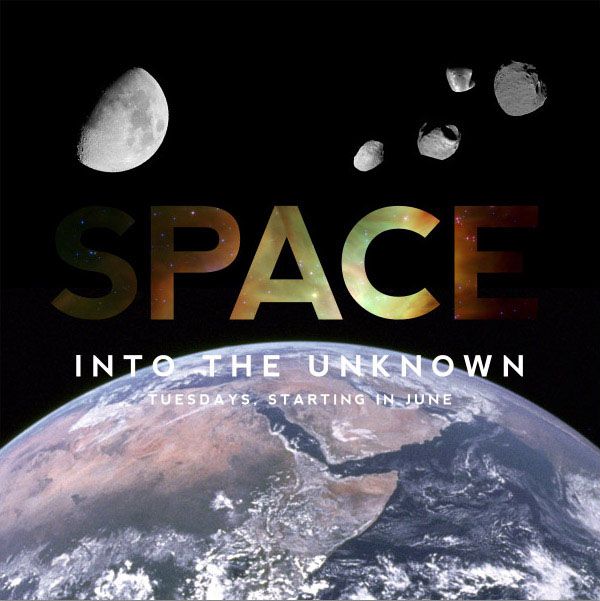
Step 7: Adding Smaller Asteroids
To add more asteroids, duplicate the layers (Ctrl/Cmd + J) of the ones that are already in the document and shrink them down using the Free Transform command (Ctrl/Cmd + T). 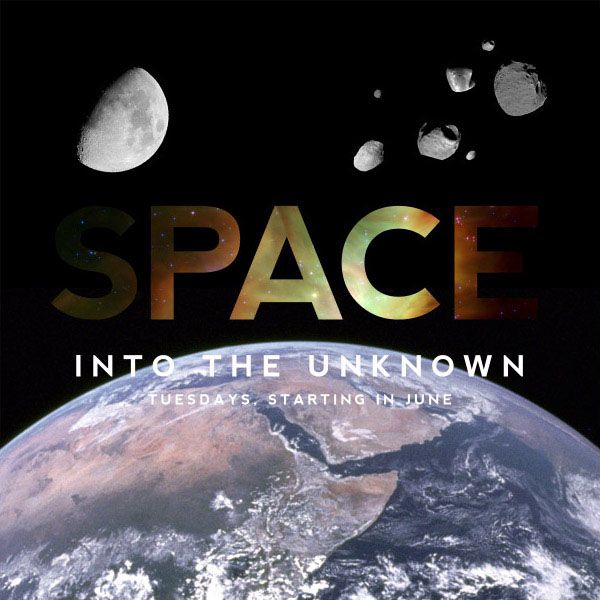
Step 8: Organize our Layers and Create Some Stars
Now that we have our layout set up, we are going to go ahead and make some stars.
First, we need to organize our layers (if you haven’t been organizing them thus far) so that we can maintain order in our work. Create a new layer group by going to Layer > New > Group; call this group “asteroids”. Afterwards, put all the asteroid layers inside that group. Also, put the earth layer and moon layer in their own separate groups. OK, now we can start working on our stars.
Create a new layer (Layer > New >Layer) and place it just above the background layer in the Layers Panel. Fill the stars layer with black by going to Select > All (Ctrl/Cmd + A) to select the entire canvas and then choosing Edit > Fill (Shift + F5). In Fill dialog window that appears, choose Black as the Use option.
Go to Filter > Noise >Add Noise. Change the Amount to 25%, pick Uniform for the Distribution option, and make sure the Monochromatic option is selected. Press OK to apply the filter.
Next, change the blend mode of the stars layer to Screen in the Layers Panel. This probably looks kind of weird and unnatural with the earth, moon and asteroids having black borders around them, but we will fix all of that later. 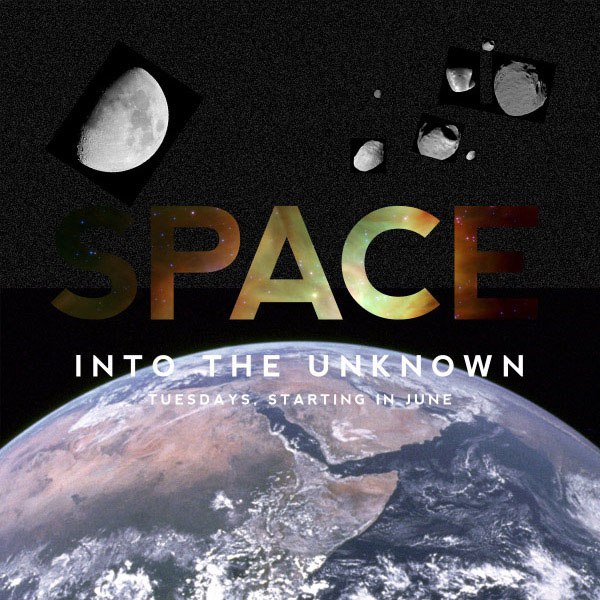
Step 9: Reduce the Prominence of the Stars
Zoom in to 100% (Ctrl/Cmd + 1) and then open up the Levels image adjustment dialog window (Ctrl/Cmd + L).
We are zooming in to see the stars better. Adjust the Input Levels to get rid of a lot of the stars we created, leaving only a few of them behind. 
Step 10: Fading Out the Stars
We are going to get rid of the stars on the edge of our canvas.
To start, click on the stars layer in the Layers Panel to make it the active layer. Then, choose Layer > Layer Mask > Reveal All. Now, we are going to create a center point by clicking and dragging a vertical guide to the middle.
It should snap in place – if not, make sure you have Snap activated in the View menu (or press Shift + Ctrl/Cmd + ; to toggle Snap). Drag a horizontal guide to the middle as well. The vertical and horizontal guide intersection should be the absolute center of our canvas.
 Activate the Gradient Tool (G), pick the Black, White Preset for the gradient, select Radial Gradient as the gradient type, and check the Reverse option (you can do all of this in the Options Bar). Click and drag the gradient from the middle out to one of the corners. This will mask out the stars on the outer edges and fade them back in as you get to the middle.
This will help improve the focal point of our piece towards the center of the canvas.
Step 11: Fade Out Earth
Let’s work on the earth. Go to Layer > Layer Mask > Reveal All to add a mask to our layer.
Use the same option settings for the Gradient Tool (G) from fading out the stars in the previous step. Click and drag the gradient so the bottom fades out. 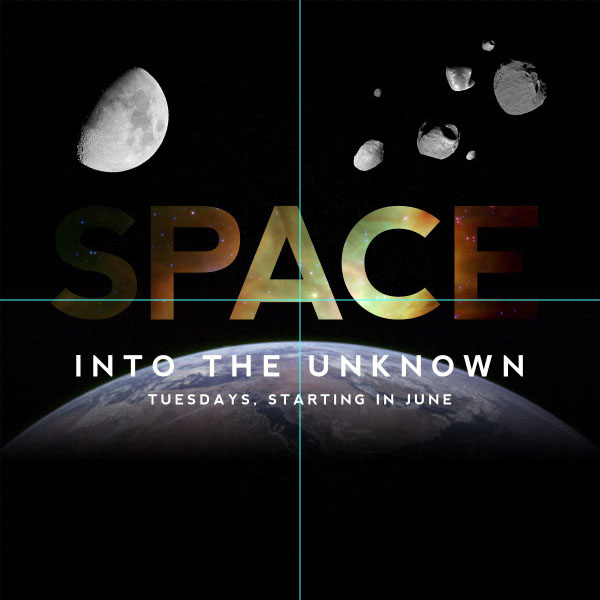
Step 12: Fade Out the Moon and Give it a Shine
Add a layer mask to the moon like in previous steps and then use the Gradient Tool (G) again so the top left side disappears.
Drop the Opacity of the moon layer down to about 40%. Now that we have added the mask to the moon, we are going to add some shine to it. Create a new layer (Ctrl/Cmd + Shift + N), click on the Brush Tool (B) in the Tools Panel and use a brush with about a 70 px Master Diameter and 0% Hardness.
With the Brush Tool, paint a white stroke on the bottom right side of the moon. Once done, change the blend mode of the layer to Overlay in the Layers Panel. 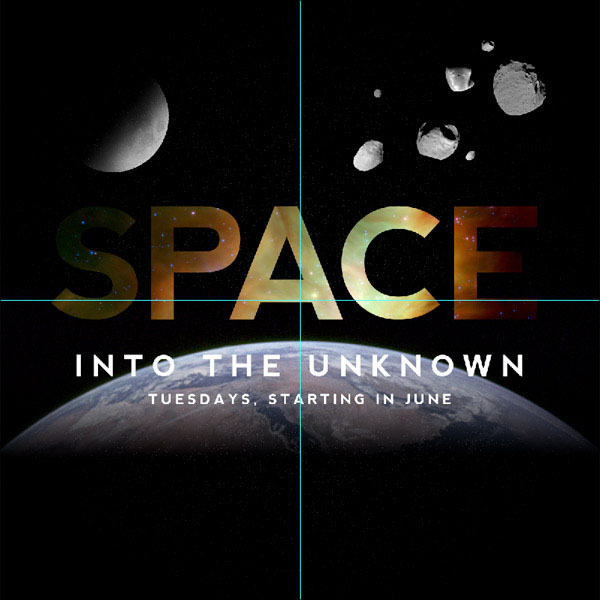
Step 13: Add a Moon Glow
Using the same Brush option settings and technique, paint a glow on the moon again, except this time, make it a bit smaller and in the middle of the previous shine we made.
This makes the light more intense in the center of the shine. 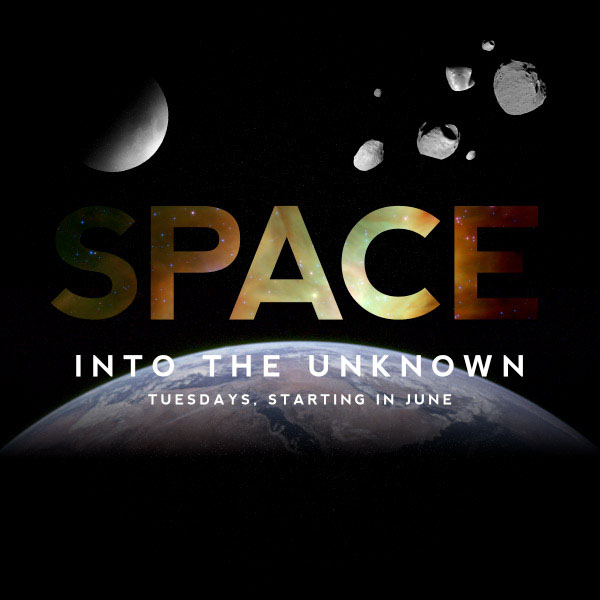
Step 14: Add Some Text Styles
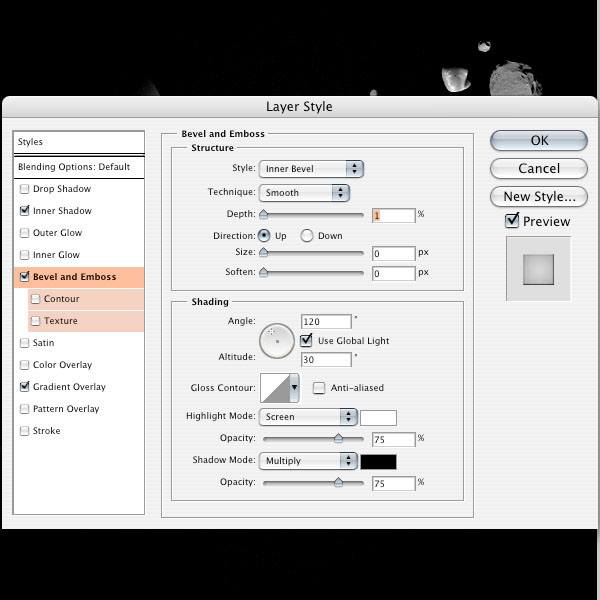
We are now going to add some styles to the text to make them stand out. Go to Layer > Layer Style > Bevel and Emboss to give our text a little bit of an edge.
 Now go to Layer > Layer Style > Gradient Overlay to give the center of the text a sort of glow since this is where the light will be coming from.
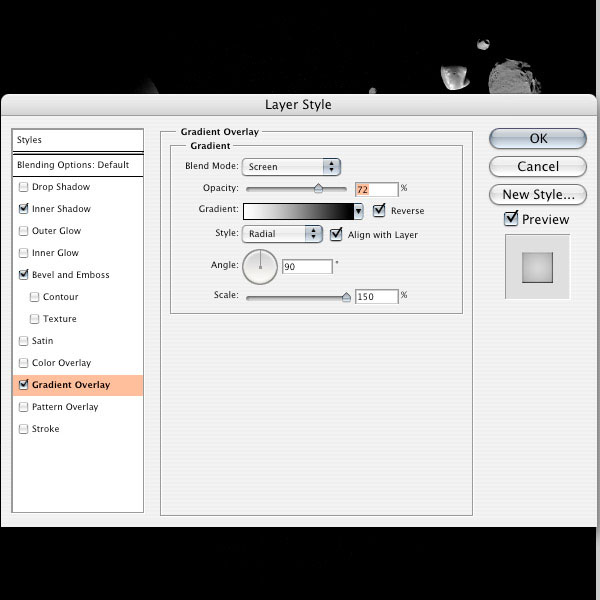
Step 15: Fade out the Asteroids
We are going to change the blend mode of all the asteroids on the right side of the canvas and the moon layer to Screen, which we do in the Layers Panel. Changing the blend mode will make all our darker colors disappear, leaving in lighter colors.
For each one of the asteroid layers, add a layer mask by going to Layer > Layer Mask > Reveal All. Use the Gradient Tool (G) just like before and mask out the top right of the asteroids so the light source is coming from just the bottom left sides of them. For added realism, you can use the Brush Tool (B) with Black as your Foreground color at 50% Opacity to curve the edges of the shadow so that they aren’t as straight.
Step 16: Give the Asteroids a Glow
We are going to add the light shine like we did on the moon on our asteroids. Start by creating a new layer (Ctrl/Cmd + Shift + N) and then use the Brush Tool (B) with a white brush to paint on the bottom left sides of the asteroids. After painting with the Brush Tool (B), change the blend mode of the layer to Overlay and also drop the Opacity down to around 50%.
Step 17: Cropping the Earth
We will smoothen the edges of the earth and remove the black border around it. We want to use Ellipse Tool (U) to make a circle over the earth so that a little bit of the earth is sticking out above. Ctrl/Cmd + click on the ellipse layer to load a selection around the ellipse and then choose Select > Inverse to invert the selection.
With the inverted selection still active, click on the earth layer in the Layers Panel to make it the active layer and then hit Delete to remove the areas within the inverted selection. 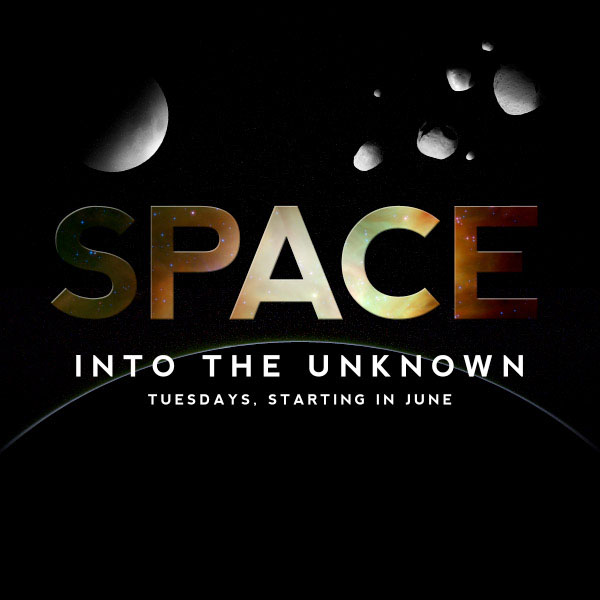
Step 18: Give the Earth a Glow
Let’s make our earth graphic more interesting by adding a glow/shine on it. We are going to add a glow on the top center part of the earth.
Create a new layer by pressing Ctrl/Cmd + Shift + N for the glow. Use a 125 px wide brush (B) with white as your Foreground color and then click once at the top center of the earth. 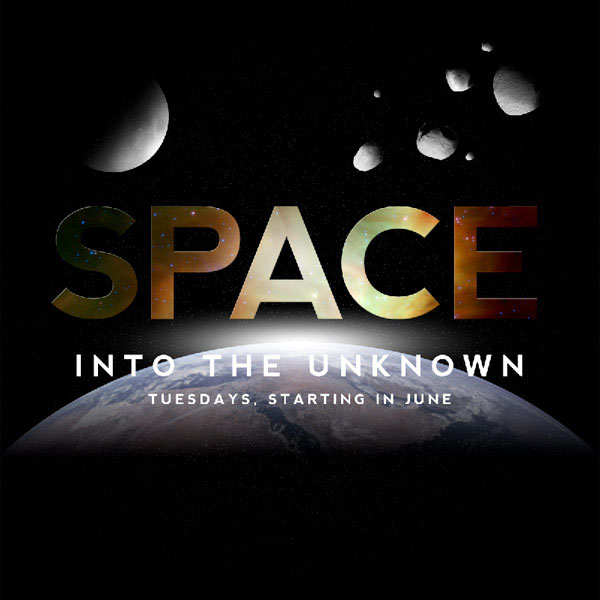 Afterwards, switch the blend mode of the layer to Soft Light in the Layers Panel.
Step 19: Add an Outer Glow to the Earth
Continuing on to further enhancing our earth graphic, we will add a light glow around its edges. Click on the earth layer in the Layers Panel to make it the active layer and then go to Select > Load Selection – this will result in opening the Load Selection dialog window. For the Channels option in the dialog window, pick the transparency from its dropdown menu.
Doing this should select the earth in your canvas. Next, create a new layer and fill the selection on this new layer with a blue color (#2F529D). Deselect your selection (Select > Deselect or press Ctrl/Cmd + D).
Go to Filter > Blur >Gaussian Blur and change the Radius to 46 px, then press OK to apply the filter. 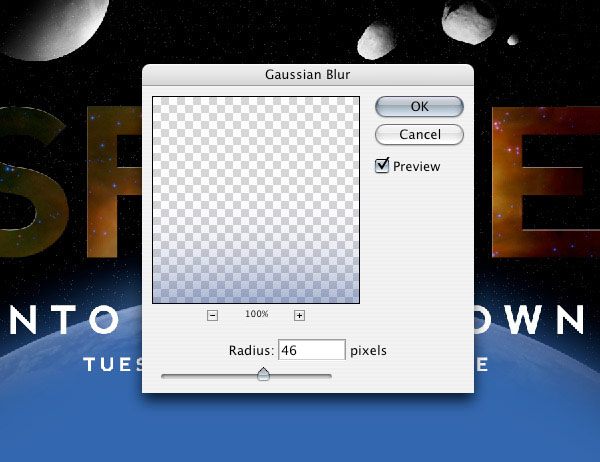 Load the earth layer selection again (Select > Load Selection) and then click on the blue layer in the Layers Panel to make it the active layer. Press Delete (or choose Edit > Clear) to get rid of all the blue overlapping onto the earth graphic, giving us an outer glow effect around the earth.
 Next, choose Layer > Layer Mask > Reveal All. Use the Gradient Tool (G) with the Black, White gradient preset to mask the earth layer so that the dark part of the earth doesn’t glow. Then make sure that this layer is above the white glow on the earth.
Step 20: Adjust the Color Saturation of the Earth
Let us adjust the saturation of the earth layer to make the colors richer/more vibrant. Click on the earth layer in the Layers Panel and then click on the Add fill or adjustment layer icon at the bottom of the Panel. In the menu that appears, choose Hue/Saturation.
In the Hue/Saturation dialog window, change the Saturation to +50. 
Step 21: Brighten Up the Text Using Curves Image Adjustment
We are going to make the texture of our text stand out a little bit more with Curves image adjustment. Make sure that the texture layer of the text is selected in the Layers Panel, then choose Image > Adjustments > Curves (Ctrl/Cmd + M). In the Curves dialog window, adjust your curves to brighten up the texture’s text.

Step 22: Add a Blur Effect to the Text
Let’s give our text a sort of motion blur/shine to further enhance the type treatment. Click on the text layer and go to Select > Load Selection to make a selection around our text. Now click on the text’s texture layer in the Layers Panel to activate it and then duplicate the selection in a new layer by pressing Ctrl/Cmd + J.
Apply a radial blur filter on the duplicated layer by going to Filter > Blur > Radial Blur. Set the Amount to 50 and pick Zoom for the Blur Method. 
Step 23: Add a Lens Flare
Now we are going to add a lens flare somewhere around the middle of our “SPACE” text to help draw the eyes of the viewer to it more.
First, we want to put some guides where the flare is going to be to make it easier to apply the filter. Drag out horizontal and vertical guides from the Ruler (View > Rulers). Position them so that the intersection of the horizontal and vertical guides will be the source of the lens flare.
Next up: Create a new layer and then fill it with black. Afterwards, apply the lens flare filter on the new layer filled with black by choosing Filter > Render > Lens Flare. Once you get the flare where you want it, press OK to apply the filter.
Change the blend mode of the layer with the lens flare to Lighten in the Layers Panel to soften up the effect. 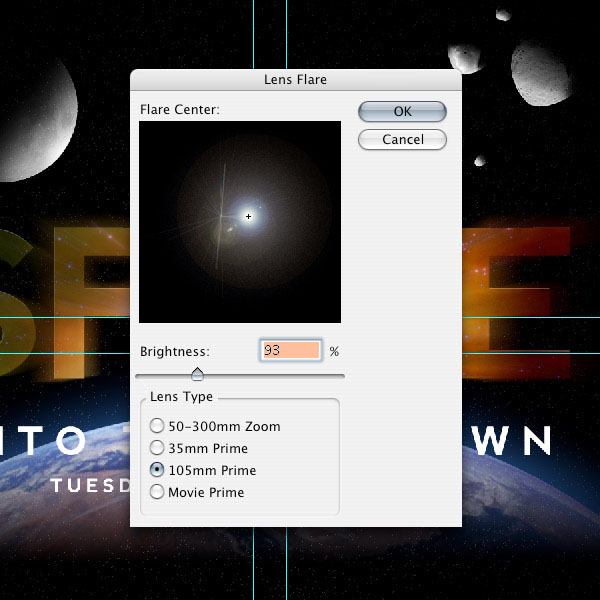
Step 24: Add More Stars
Create a new layer just above the asteroid layer group. We are going to manually make a few stars that are of varying sizes.
Use a white brush with 25% Hardness. Create some stars by varying the width of the brush tip between 3 px and 5 px randomly and applying the brush stroke with one mouse click all around our canvas. 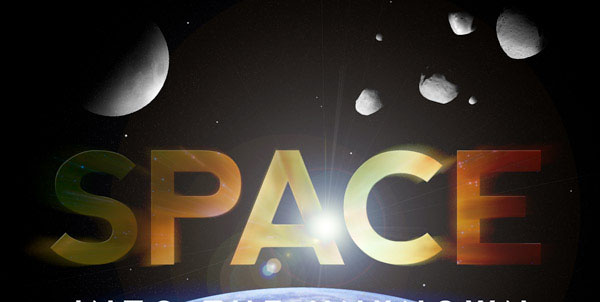
Step 25: Give the Stars an Inner and Outer Glow
We are going to make our bigger stars glow.
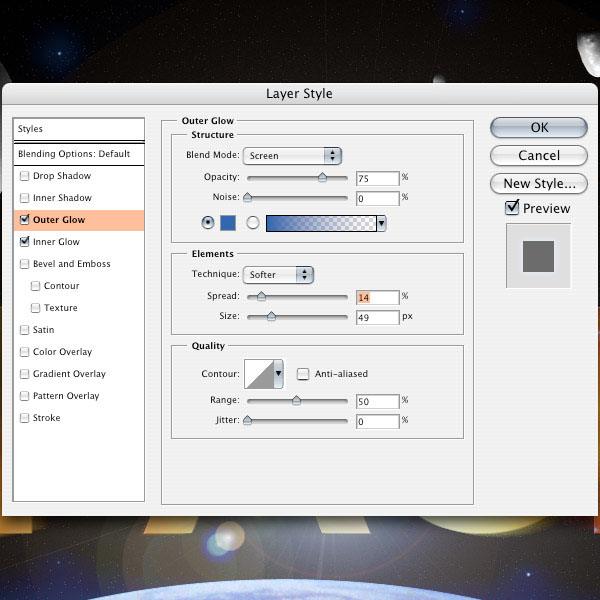
Make sure that the stars layer is still the active layer in the Layers Panel. Give the layer an outer glow layer style by going to Layer > Layer Styles > Outer Glow. For consistency, use the same blue color ((#2F529D) as the outer glow on the earth graphic.
 We are also going to add an inner glow layer style with that same blue color.
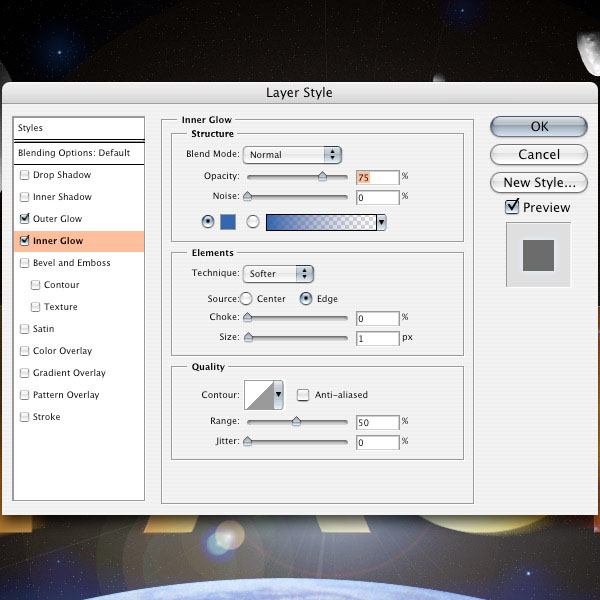
Step 26: Adding Color the Asteroids and Moon
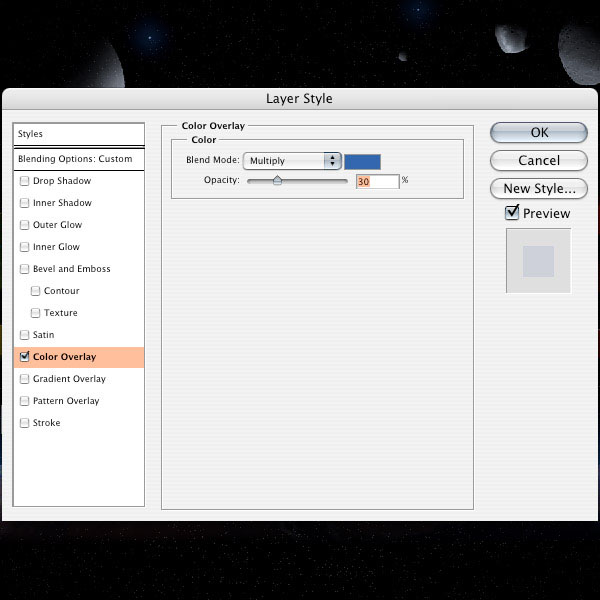
Let’s adjust the asteroids a little more to help them blend into their background. First, drop the Opacity of the layers to 50%.
Now, go to Layer > Layer Style > Color Overlay and change their colors to blue (#2F529D). You might notice that the color overlay makes them way too blue, so set the Blend Mode option to Multiply and the Opacity option to 30%. Do the same thing for the moon layer.

Step 27: Adjusting the Color of the Entire Poster
Let us enhance our entire scene’s color by applying a couple of adjustment layers. Our goal for this step is to give the poster a more consistent color theme and also help set the mood of the piece. Make sure that the adjustments are the topmost layers.
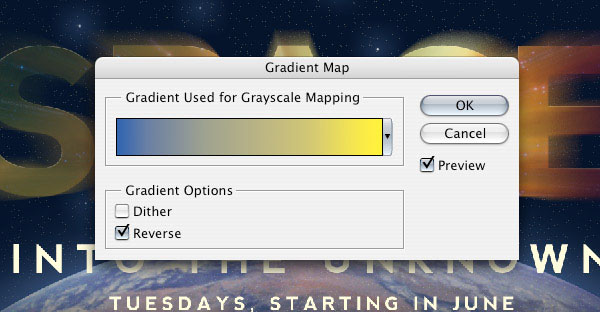
Go to Layer > New Adjustment Layer > Gradient Map. Pick a Blue to Yellow gradient. Drop the Opacity of the adjustment layer down to about 20%.
 Afterwards, go to Layer > New Adjustment Layer >Hue/Saturation to add a Hue/Saturation adjustment layer. Set the Saturation level to -30.
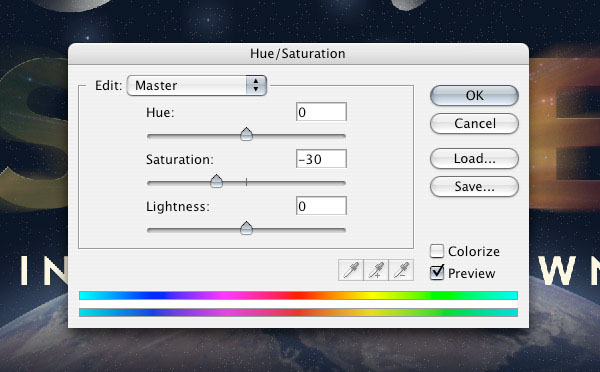
Step 28: Remove Some Stars in Front of Our Planetary Objects
Looking at our piece, you may notice that there are stars on top of our earth. We want to get rid of these because it doesn’t look right. We also want to get rid of these guys on the asteroids and moon.
Click on the mask that’s already on the stars layer to make it our active layer. Using a black brush, start painting away the stars on top the earth, moon and asteroids. 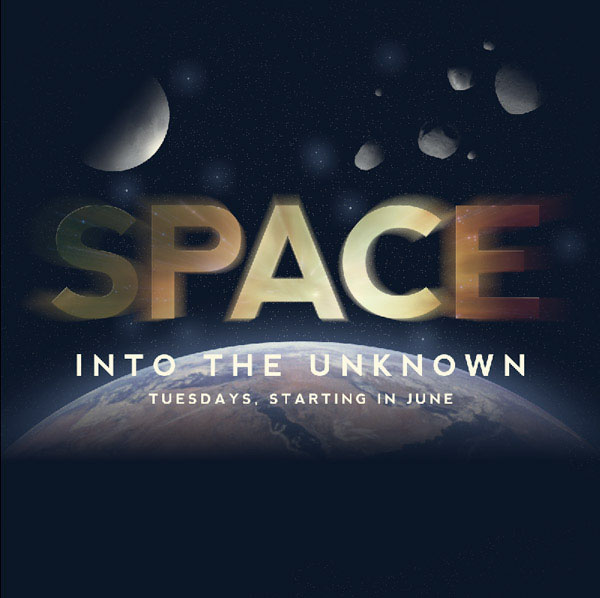
Step 29: Add a High Pass Filter
As a finale, let’s further enhance our poster with a final effect.
You may wish to save your document before continuing. Go to Layer > Flatten Image. Now duplicate the flattened layer by pressing Ctrl/Cmd + J.
On the duplicated layer, go to Filter > Other > High Pass. Finally, change the blend mode of the dupilcated layer with the High Pass filter to Soft Light. 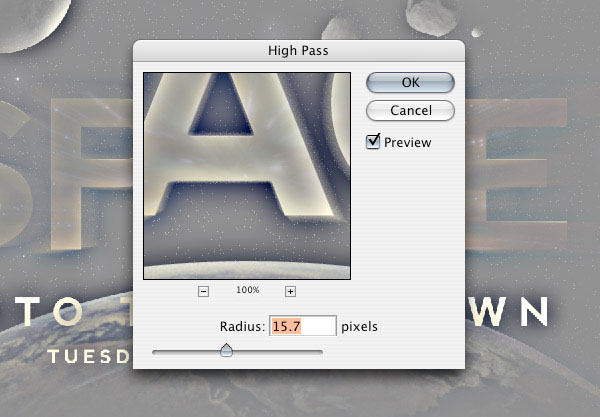
Tutorial Summary
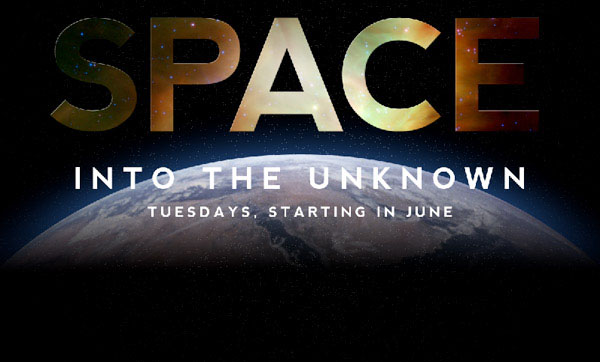
In this Photoshop tutorial, we created a space-themed poster that emphasizes the type with a special text treatment.
We composed our background with space elements such as stars, asteroids, the moon, and the earth. We used a variety of techniques such as applying layer adjustments, creating stars using the Noise filter (as well as manually painting bigger stars), and glow effects on certain elements of the poster. I hope you enjoyed the tutorial and please leave your comments and questions below!
Download Tutorial Source Files
- space_themed_poster (ZIP, 14.6 MB)
-
 Trevin serves as the VP of Marketing at WebFX. He has worked on over 450 marketing campaigns and has been building websites for over 25 years. His work has been featured by Search Engine Land, USA Today, Fast Company and Inc.
 -

WebFX is a full-service marketing agency with 1,100+ client reviews and a 4.9-star rating on Clutch! Find out how our expert team and revenue-accelerating tech can drive results for you! Learn more
Make estimating web design costs easy
Website design costs can be tricky to nail down. Get an instant estimate for a custom web design with our free website design cost calculator!
Try Our Free Web Design Cost Calculator
Table of Contents
- Preview
- Tutorial Resources
- Step 1: Create a New Document
- Step 2: Add the Text
- Step 3: Give the Text a Texture
- Step 4: Add Earth
- Step 5: Add the Moon
- Step 6: Add the Asteroids
- Step 7: Adding Smaller Asteroids
- Step 8: Organize Our Layers and Create Some Stars
- Step 9: Reduce the Prominence of the Stars
- Step 10: Fading out the Stars
- Step 11: Fade out Earth
- Step 12: Fade out the Moon and Give It a Shine
- Step 13: Add a Moon Glow
- Step 14: Add Some Text Styles
- Step 15: Fade out the Asteroids
- Step 16: Give the Asteroids a Glow
- Step 17: Cropping the Earth
- Step 18: Give the Earth a Glow
- Step 19: Add an Outer Glow to the Earth
- Step 20: Adjust the Color Saturation of the Earth
- Step 21: Brighten Up the Text Using Curves Image Adjustment
- Step 22: Add a Blur Effect to the Text
- Step 23: Add a Lens Flare
- Step 24: Add More Stars
- Step 25: Give the Stars an Inner and Outer Glow
- Step 26: Adding Color the Asteroids and Moon
- Step 27: Adjusting the Color of the Entire Poster
- Step 28: Remove Some Stars in Front of Our Planetary Objects
- Step 29: Add a High Pass Filter
- Tutorial Summary
- Download Tutorial Source Files
Share this article


Web Design Calculator
Use our free tool to get a free, instant quote in under 60 seconds.
View Web Design CalculatorMake estimating web design costs easy
Website design costs can be tricky to nail down. Get an instant estimate for a custom web design with our free website design cost calculator!
Try Our Free Web Design Cost Calculator


.jpg)