

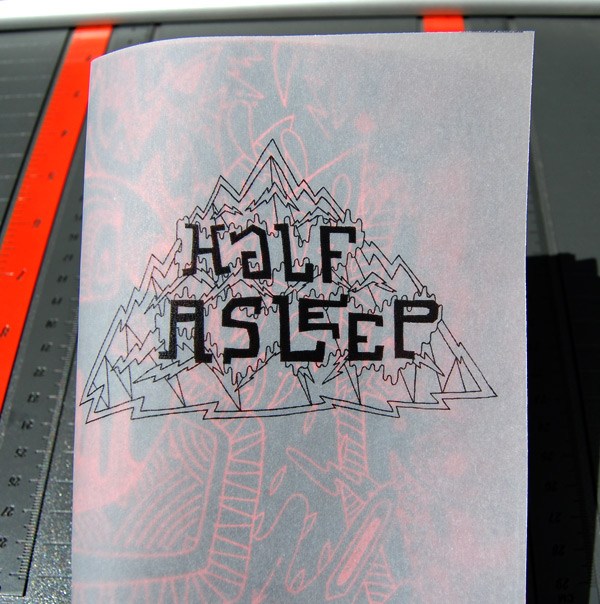
Preview
What You’ll Need
Before we start, let’s make a “checklist” of the resources we will need in order to create our zine.
Artwork
This is essential as it will be the main focus of your zine. Keep in mind that your artwork will be a representation of yourself as a way to self-promote your work.
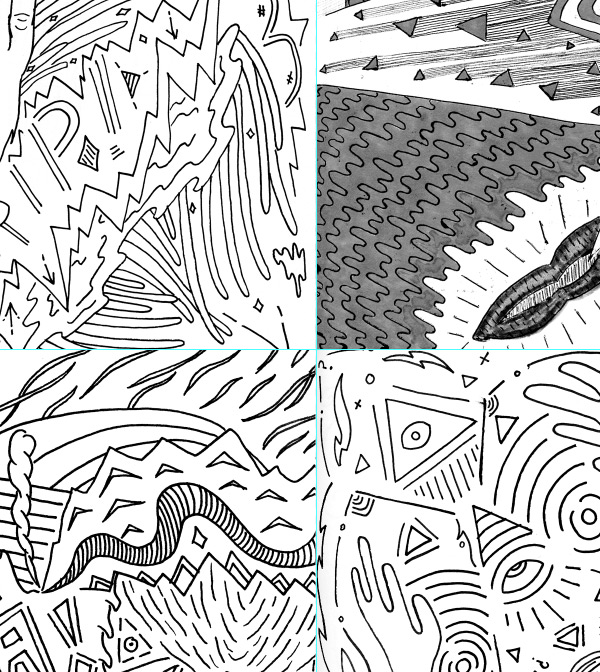
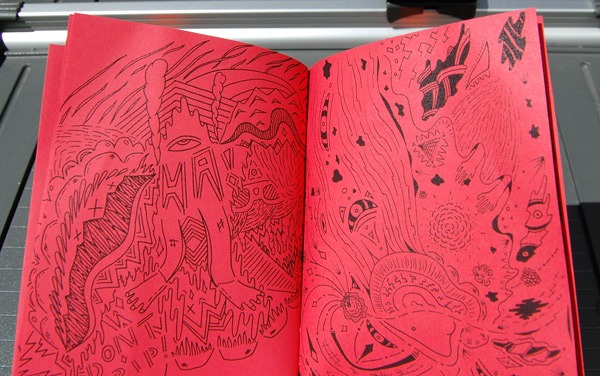
Dig through your sketch books, .PSDs, .AI files,JPGs, etc. and compile some of your favorite pieces as potential pages for your zine. I will be focusing on my own basic black and white line drawings for this tutorial.
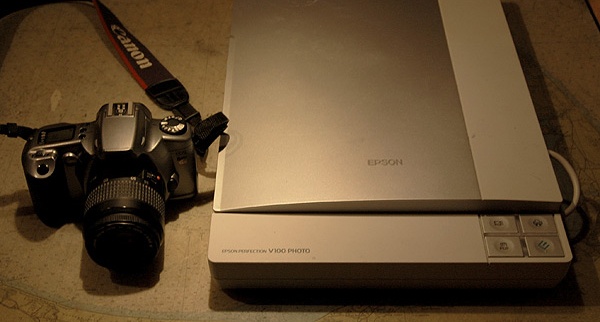
Scanner or Digital Camera
This maybe not be needed if you already have digital versions of your work, but if you have drawings, paintings, sketches, etc. that you would like to include in your handmade zine, having the ability to scan or photograph them will give you more artwork to draw from when laying out your pages. Line art with dark lines would be ideal for this project.
Office Printer
Once you have your pages laid out, you will need to print a few sheets of your predesigned zine pages. I will be using a black and white laser printer, but access to a photocopier would be ideal later to save on printer ink and time.
Basic Office Supplies
Like I mentioned before, we will need paper (preferably in white and various colors), a stapler and a paper cutter to finish the project.
As a personal recommendation, I would add vellum paper to the list for the cover, but this is just an option. Now double-check your list and let’s get started!
Step 1: Choose your artwork
For this zine, we will be creating a book with 16 pages.
Keeping this in mind, select as many pieces of artwork that best represents you and your style. Have fun and get inspiration by comparing your work side-by-side. Look for a theme and try finding something that ties your work together.
If you have digital artwork, place it in a new folder called “artwork” on your desktop to keep your work organized and make it easier to find. Go through an elimination process until you have 16 solid pieces. 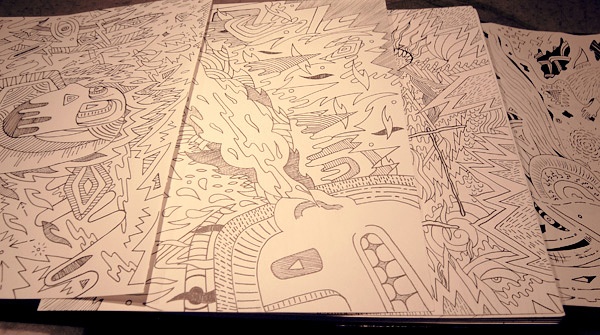
Step 2: Scanning or photographing your art
For those of you who already have a digital version of your artwork, you are a step ahead.
Scanning your art is one of the best ways to bring your work into Photoshop. Taking digital pictures of your artwork is also another option. As a rule, scan in your art at a resolution of at least 300 dpi to be used in print.
Step 3: Preparing cover sizing
For this project, we will be using standard 8.5 in x 11 in paper. The size of the cover will be around 5.5 in x 8.5 in, which is the size of paper folded in half, although depending on your printer settings, these proportions may be constrained, making the pages a little smaller. As long as each page prints to scale, we can still work with the aspect ratio.
For this project, I already have a pre-scanned black-and-white drawing ready in Photoshop to be used for the cover. In the Layers Panel in Photoshop, I renamed the layer to “artwork” to keep organized. 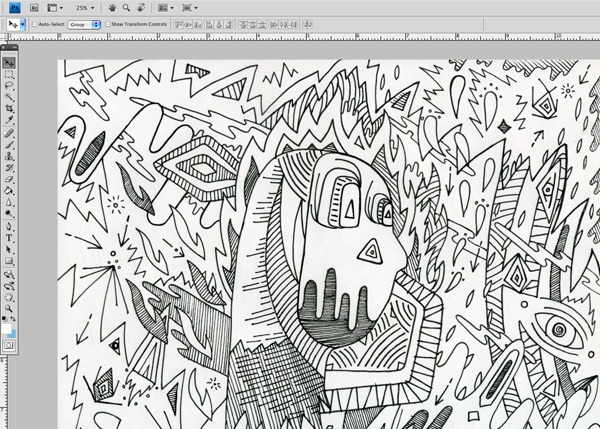
Step 4: Backing up your original artwork layers
This step is optional, but is handy if you happen to need layer comps or need to start from scratch.
To keep a backup of your cover art for future use, create a duplicate layer. To duplicate the layer, in the Layers Panel, just drag your “artwork” layer to the Create a new layer button at the bottom, which will create a duplicated layer on top of it. Rename the duplicated layer as “original”. Drag your “original” layer to the bottom of the layer stack and click the visibility off as we won’t need it for the rest of the tutorial. 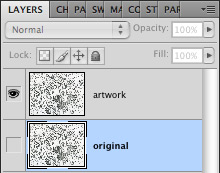
Step 5: Adjusting your cover art levels
Keeping your “artwork” layer selected in the Layers Panel, go to Image > Adjustments and then click Levels. Now, drag the left, right and middle slider around until you achieve an image with high contrast and bold lines.
This will be helpful later when we print the zine pages. Once you have it adjusted to how you like, go ahead and press OK. 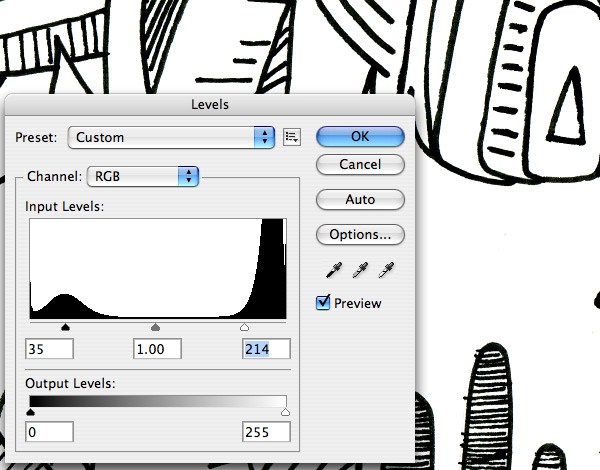
Step 6: Invert your cover image
Invert the colors of your cover image by pressing Cmd/Ctrl + I.
I chose to do this because I found that although it is simple, it creates a great effect when printed on color paper. Side note: I actually went through many color schemes for this cover, but I didn’t find a color combination that resonated with me more than keeping it simply black and white. Sometimes, less is more!
Now that we have our cover finished, save your artwork and let’s move to the page layout. 
Step 7: Creating your zine pages
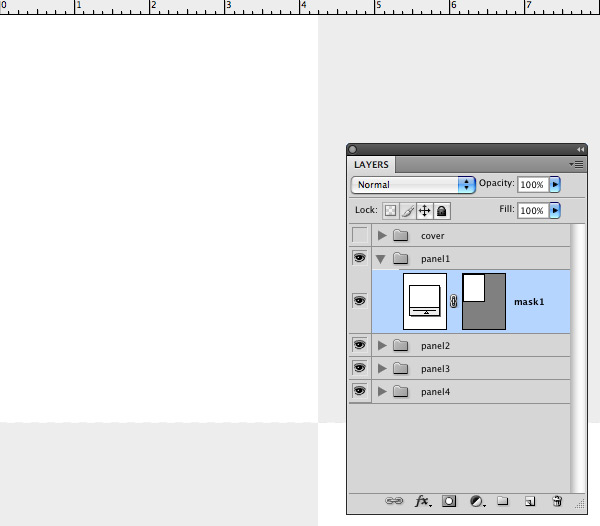
To make it easier, I created a preformatted template for you to drop your artwork into (which you can download at the bottom of this tutorial, under the Download Tutorial Source Files section). Open the source file (it’s called hand_made_zine.psd) in Photoshop.
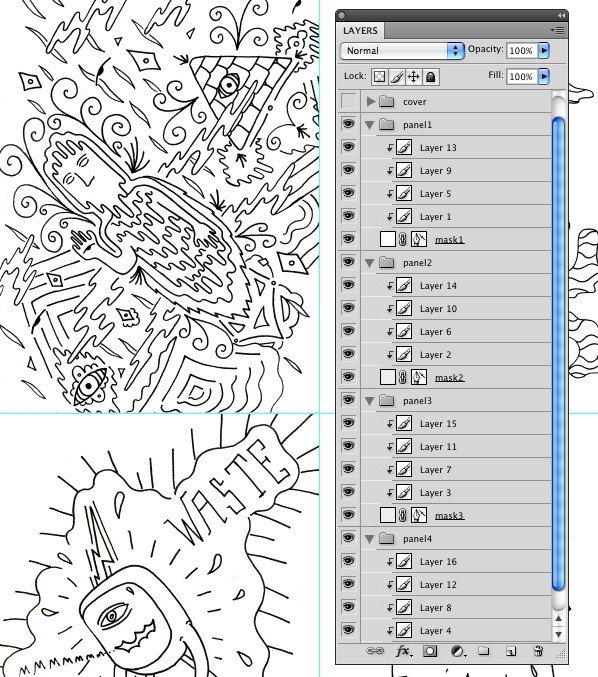
You will notice that I have each layer separated into a cover group and four different panel groups labeled “panel1”, “panel2”, etc. Within these groups, you will find shapes called “mask1”, “mask2”, etc. We will be masking our artwork within these shapes.
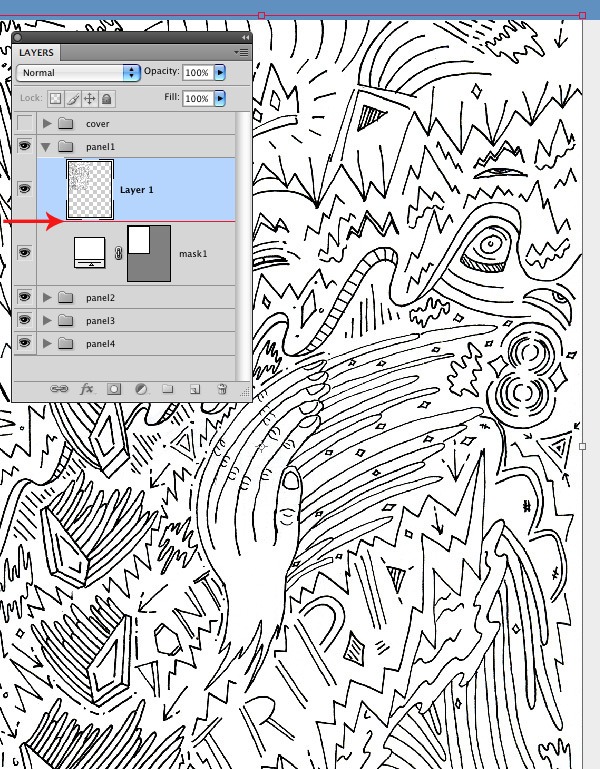
 Now, open one of your artwork files and drag it into a grouped folder so that it is positioned on top of a mask shape. You may find that your artwork is larger than your panel. Keeping your new layer selected, press Cmd/Ctrl + T.
Next, hold Shift while resizing your image to keep the aspect ratio in proportion. Once you have your artwork sized to the panel, press Enter to commit the transformation. To create a mask, hold down Cmd/Ctrl while pointing your mouse in between your new layer and mask1 within your Layers Panel.
Now an icon of a small arrow will appear with two overlapping circles. Once you see this, go ahead and left-click with your mouse. This will mask your artwork within the shape.
 Repeat this process for every panel. Once you have one mask created, you will be able to add additional images within the pre-masked artwork. Each shape will need four masked images so that we can print two pages, front and back.
 Note: For this project, page order is not so important, but is more of a catalyst to get you thinking about displaying your work in a tangible way. One way to plan page order is to first make a blank zine, and label each page with the corresponding artwork in mind. This way, when you bring it into Photoshop, you will already have a visual reference point.
Step 8: Creating your cover pages
You will notice that the cover group has the visibility switched off. Go ahead and switch the layer on. The principle is the same.
Drag your pre-prepped cover artwork into the cover group and repeat the process above. You will notice I placed two masked shapes to save paper when printing later. 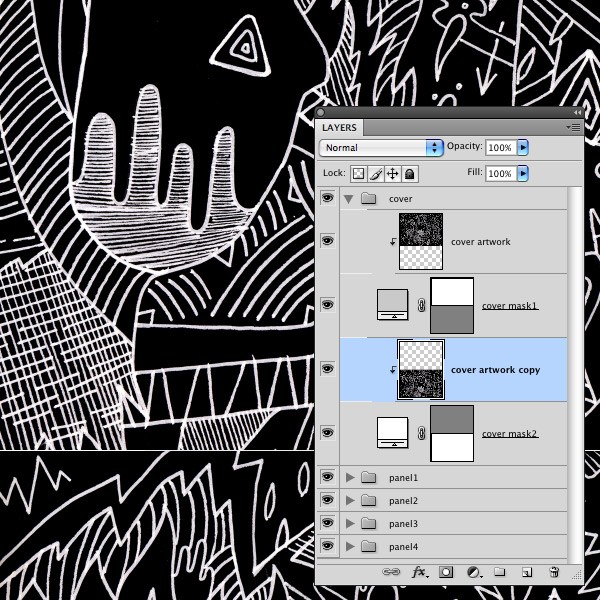 I will be including a paper vellum cover to my zine.
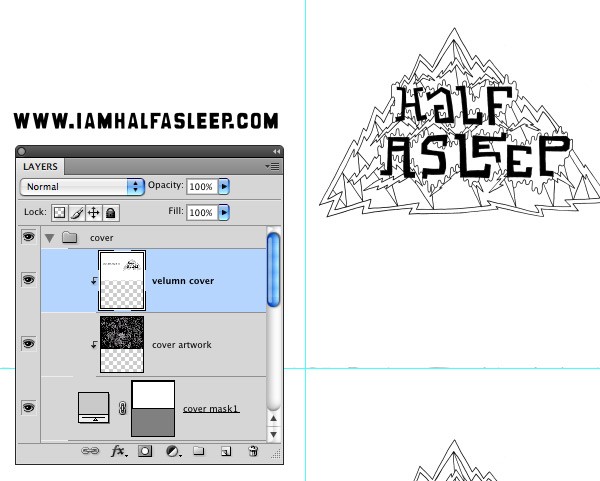
Whatever your intentions are, including contact information somewhere will give your viewers a way to check out more of your work and possibly contact you for a project. I will be adding my website and alias to the the vellum cover. I already have a pre-designed image for the vellum cover which I will layer on top of the masked cover artwork.
Step 9: Saving your pages for print
One method to save your zine pages is to first turn off the visibility on your cover group. Next, make sure that the visibility is turned on for all of your panels. Now that you have all your artwork visible for the top layer of each panel, this will become your first page.
 Now create a new folder on your desktop called “zine pages”. Go to File > Save As and select JPEG as your format. Now, name your first JPEG file as “Page 1 Front” (for organization) and hit Save.
 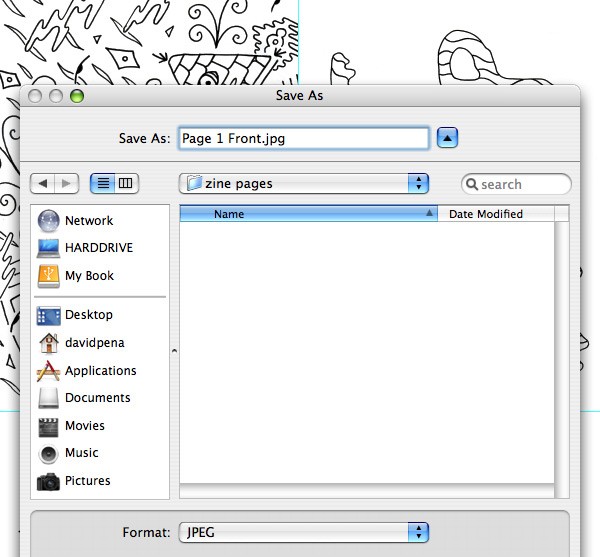 The next step now is to turn off the visibility on each top artwork layer of each panel, making the layers below them visible.
In the same way as discussed above, you will go to File > Save As, and select JPEG as your format. Now you will rename your second JPEG “Page 1 Back” and then hit Save again. At this point, you can see the trend in the process.
Go ahead and turn off the visibility of each layer, and save each page accordingly. 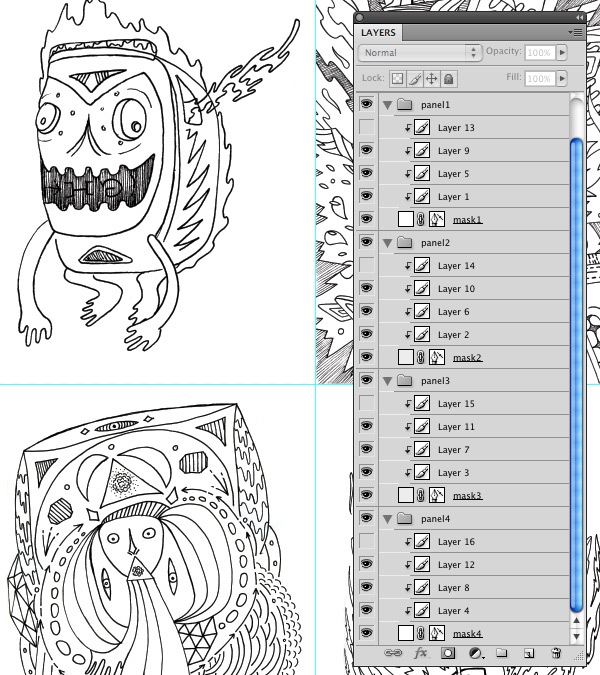
Step 10: Printing your zine pages
Since all of your pages are saved, we can now print them! My first suggestion is to figure out how your printer works by doing a few test prints if necessary.
Go ahead and print your first page. Next, figure out which way you need to put that page back into the printer to print on the backside and have it line up correctly. 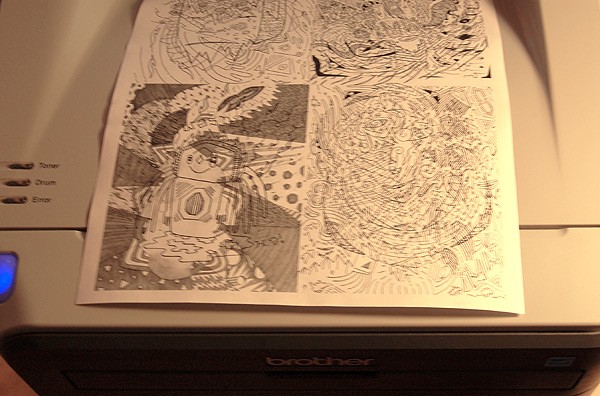 Each printer is different, so depending on your printer settings, you may face different challenges.
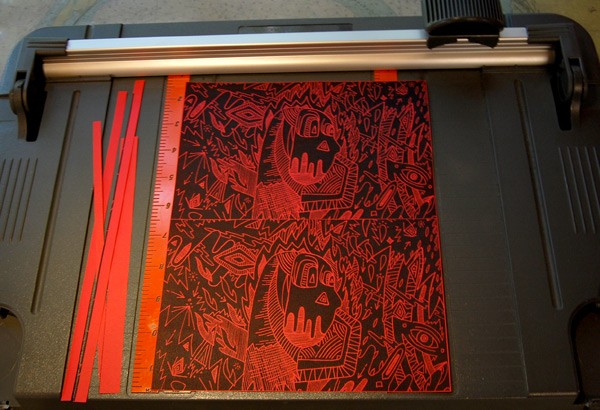
One thing to keep in mind is making sure that the aspect ratio of each page is the same, aligned, and that you are printing the entire image without any part being cut short. With most home printers, you cannot print on the entire page. This being the case, you will need to trim the borders around your zine off with a paper cutter or scissors.
 Once you’ve figured out your printer settings, print your interior and cover pages according to how many zines you would like to make.
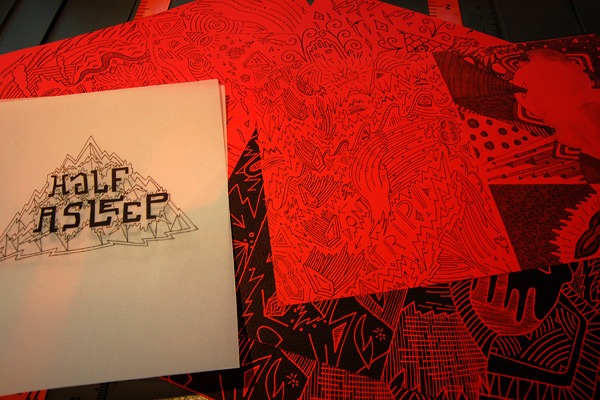
Step 11: Assembling and finishing your zine
At this point, you should have all of your zine pages precut to make the assembly process easier. Lining up all my corresponding pages in order from cover to interior, fold your zine in half, creating a crease to act as a guide for where to place your staples.
Place two staples appropriately-spaced apart in the center of your zine’s spine to make your binding. Unbelievably, now you have a finished zine! 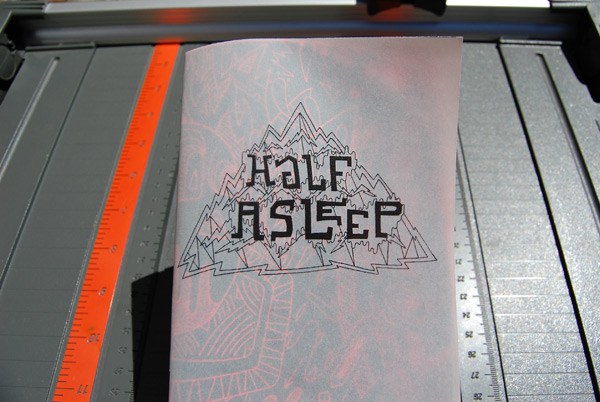

Tutorial Summary
This tutorial walked you through my process for creating a handmade zine from scratch.
We used Photoshop and basic office/home supplies to generate an art zine with the intention of sharing it with others as a form of self-promotion of your work. Below, you can download the template that you can use, free of charge, to create your handmade zines.
Download Tutorial Source Files
- hand_made_ezine (ZIP, 0.016 MB)
-
 Trevin serves as the VP of Marketing at WebFX. He has worked on over 450 marketing campaigns and has been building websites for over 25 years. His work has been featured by Search Engine Land, USA Today, Fast Company and Inc.
 -

WebFX is a full-service marketing agency with 1,100+ client reviews and a 4.9-star rating on Clutch! Find out how our expert team and revenue-accelerating tech can drive results for you! Learn more
Make estimating web design costs easy
Website design costs can be tricky to nail down. Get an instant estimate for a custom web design with our free website design cost calculator!
Try Our Free Web Design Cost Calculator
Table of Contents
- Preview
- What You’ll Need
- Step 1: Choose Your Artwork
- Step 2: Scanning or Photographing Your Art
- Step 3: Preparing Cover Sizing
- Step 4: Backing Up Your Original Artwork Layers
- Step 5: Adjusting Your Cover Art Levels
- Step 6: Invert Your Cover Image
- Step 7: Creating Your Zine Pages
- Step 8: Creating Your Cover Pages
- Step 9: Saving Your Pages for Print
- Step 10: Printing Your Zine Pages
- Step 11: Assembling and Finishing Your Zine
- Tutorial Summary
- Download Tutorial Source Files
Share this article


Web Design Calculator
Use our free tool to get a free, instant quote in under 60 seconds.
View Web Design CalculatorMake estimating web design costs easy
Website design costs can be tricky to nail down. Get an instant estimate for a custom web design with our free website design cost calculator!
Try Our Free Web Design Cost Calculator


