
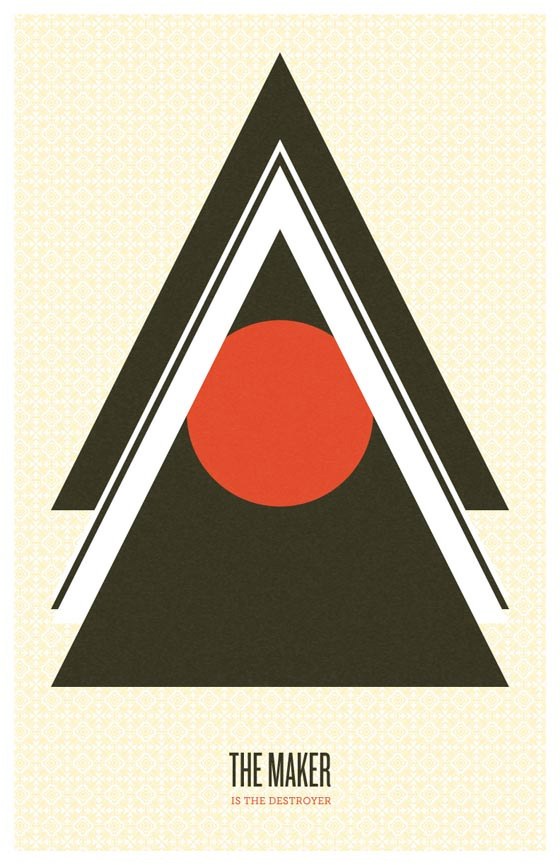
Preview
Tutorial Resources
- Vectors: Set 18 – Complete Vector Set by Go Media’s Arsenal
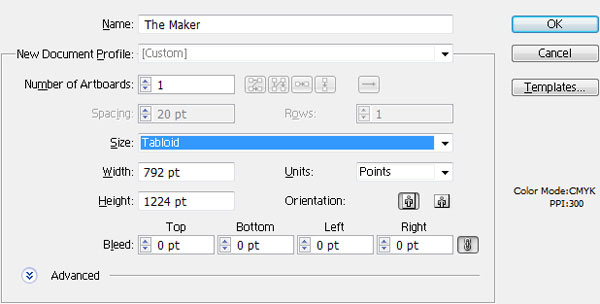
Step 1: Set Up the Artboard
In Illustrator, set your document’s dimensions to Tabloid (11x17in).
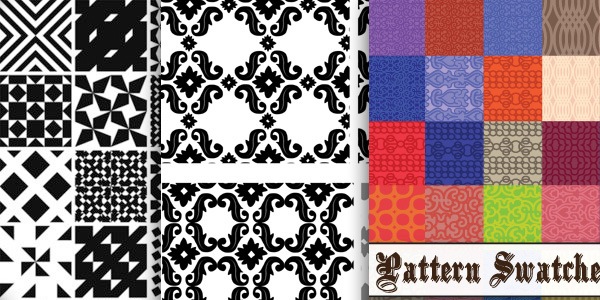
Step 2: Choose a Vector Pattern for the Background
We’ll start by preparing the background of our image. To start, find a vector pattern that you’d like to use for your background. I used one of the vector patterns from Set 18 – Complete Vector Set.
The set isn’t free for download, so feel free to improvise here and look for other vector patterns you want to use if you’re unable to gain access to the vector set.
For example, check out these options:
- Monochrome Geometric Patterns
- Floral Scrapbooking Patterns
- Flourishes Pack 1
- 54 Pattern Swatches
- Monochrome Panton Patterns
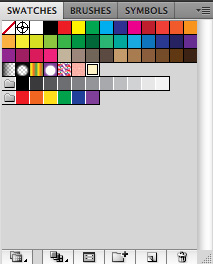
Step 3: Creating a Swatch for the Pattern
Paste your chosen vector pattern anywhere inside the artboard. Then, adjust the color as you see fit. I chose to use a light, muted yellow (R: 247, G: 225, B: 174).
Use the Selection Tool (V) to select the vector pattern, then drag it to the Swatches Panel.
A new swatch will be created from the pattern. To apply the pattern as a fill, we just select whatever we want to apply it to and then click on the pattern’s swatch in the Swatches Panel.

Step 4: Apply the Swatch
Using the Rectangle Tool (M), draw a rectangle that is the same size as your artboard (and as a reminder, the size of our artboard is Tabloid, 11x17in).
Select the rectangle we just drew and set the fill color by clicking the swatch of the pattern we created earlier. This fills the rectangle with the pattern.
Step 5: Create the Border of the Background
To create the border, set your stroke weight to 20px, and then set the stroke options as follows:
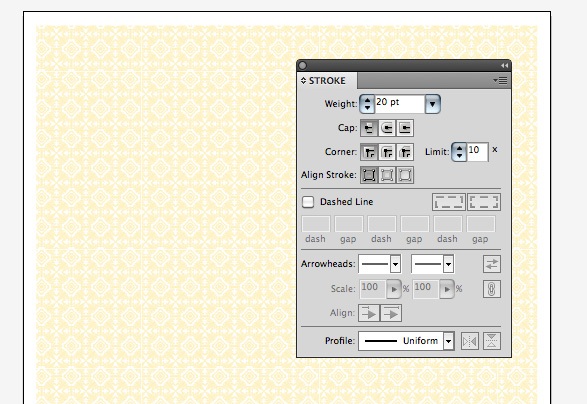
That’s it for our background.
It’s a good practice to lock this layer so that you don’t accidentally move it while working on the foreground elements.
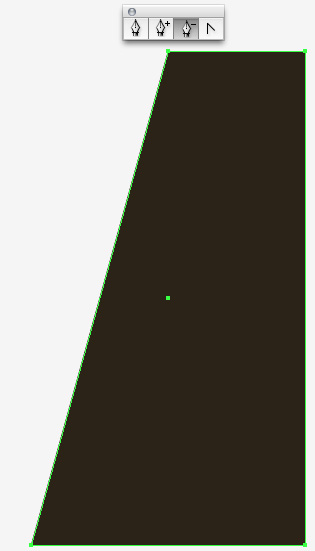
Step 6: Create the Triangles
Next, we’ll create the triangles. Using the Rectangle Tool, create a rectangle as wide and as tall as you like. Then, use the Add Anchor Point Tool (+) to create a new anchor point in between the two top points of the rectangle.
Finally, use the Delete Anchor Point Tool (-) to remove the two points beside the middle point you added.
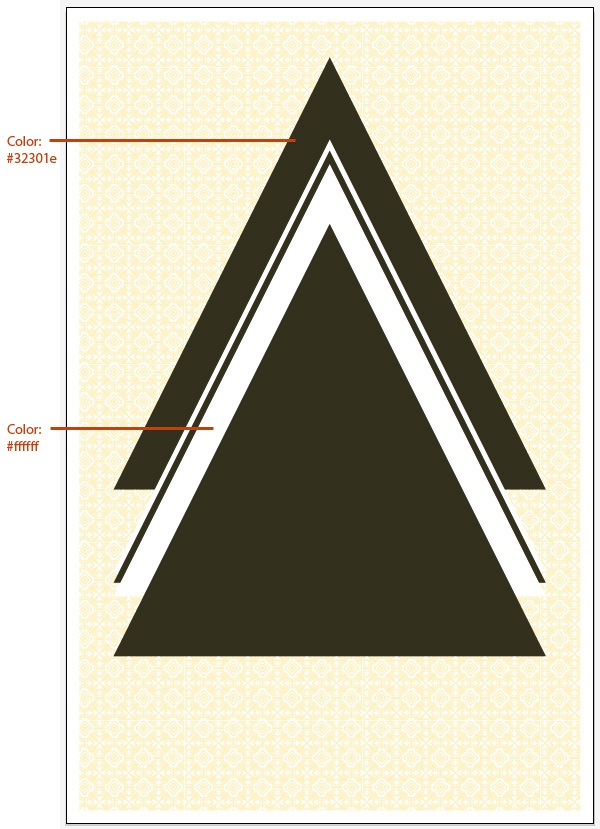
Now that we have our triangle, we’ll simply copy and paste it multiple times, position them, and change the fill colors of the triangles until we have the image we require:
Step 7: Create the Eye
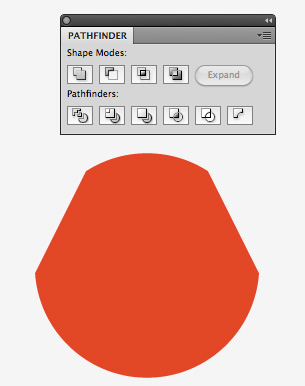
Now we’ll create the “eye” of the piece, which is the circular orange object in the center of the triangles.
To start, create a new layer, then copy and paste the centermost triangle into the new layer. Then, using the Ellipse Tool (L), draw a circle that extends a little outside the edges of the triangle.

Now we’ll work with the Pathfinder Panel (Window > Pathfinder or press Shift + Ctrl/Cmd + F9). First, use the Selection Tool to select the circle and the triangle that is behind it, and then click the Intersect button in the Pathfinder Panel.
This results in the triangle cutting off the corners of the circle.
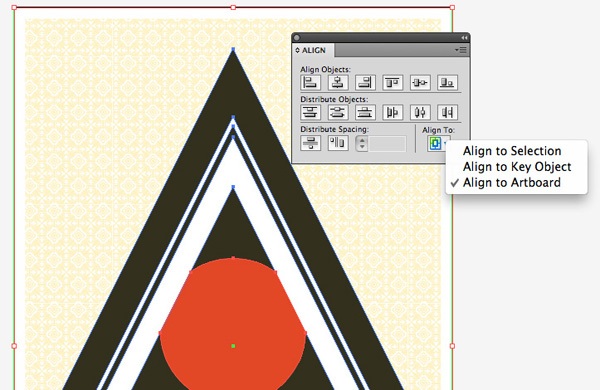
Step 8: Align the Vector Objects
To finish up, we will align the triangles and the circle. First, open up the Align Panel if you don’t have it open (Window > Align or press Shift + F7). Under the Align To option, choose Align to Artboard.
Select all the triangles and the circle, then click on the Vertical Align Center button to align the circle to the middle of the artboard.
That’s it, we’re done!
Tutorial Summary
This quick and simple tutorial walked you through the general process of creating an abstract, geometric graphic design. We used Adobe Illustrator to create a pattern swatch from stock vectors and arranged basic shapes to make an interesting art piece.
Download Source Files
- abstract_geometric_design (ZIP, 1.08 MB)
-
 Trevin serves as the VP of Marketing at WebFX. He has worked on over 450 marketing campaigns and has been building websites for over 25 years. His work has been featured by Search Engine Land, USA Today, Fast Company and Inc.
 -

WebFX is a full-service marketing agency with 1,100+ client reviews and a 4.9-star rating on Clutch! Find out how our expert team and revenue-accelerating tech can drive results for you! Learn more
Make estimating web design costs easy
Website design costs can be tricky to nail down. Get an instant estimate for a custom web design with our free website design cost calculator!
Try Our Free Web Design Cost Calculator
Table of Contents
- Preview
- Tutorial Resources
- Step 1: Set Up the Artboard
- Step 2: Choose a Vector Pattern for the Background
- Step 3: Creating a Swatch for the Pattern
- Step 4: Apply the Swatch
- Step 5: Create the Border of the Background
- Step 6: Create the Triangles
- Step 7: Create the Eye
- Step 8: Align the Vector Objects
- Tutorial Summary
- Download Source Files
Share this article


Web Design Calculator
Use our free tool to get a free, instant quote in under 60 seconds.
View Web Design CalculatorMake estimating web design costs easy
Website design costs can be tricky to nail down. Get an instant estimate for a custom web design with our free website design cost calculator!
Try Our Free Web Design Cost Calculator


