
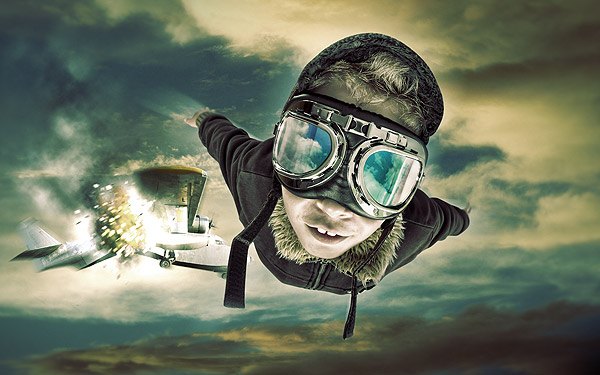
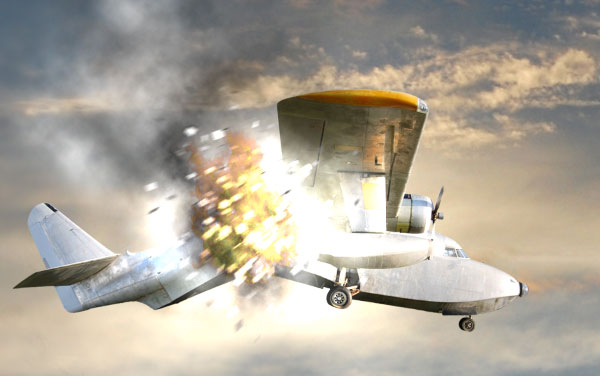
Preview
Click the image below to see it in full size.

Tutorial Resources
- Stock Image: Airplane – “Sea Plane” by Innerparty
- Stock Image: Explosion Particles by Sebastiano Guerriero (me)
- Stock Image: Fire – “campfire2 3” by Peter Ehrlich
- Stock Image: Kid pilot – “Boy dressed up in pilot’s outfit” from Shutterstock
Introduction
Before starting my work, I will already have a scene roughly outlined in my head — in this case, a superhero flying that has destroyed an airplane. In this composition, I envisioned the protagonist of the scene as kind of like Superman, but a funnier, comical version of him. I decided to develop the scene in the air to make it interesting and because an aerial composition is what comes to mind when I think of a flying hero like Superman.
With that in mind, let’s get started.
Step 1: Create the Background
As usual, we will start from the background.
Create a new document in Photoshop (mine is 1920x1200px).
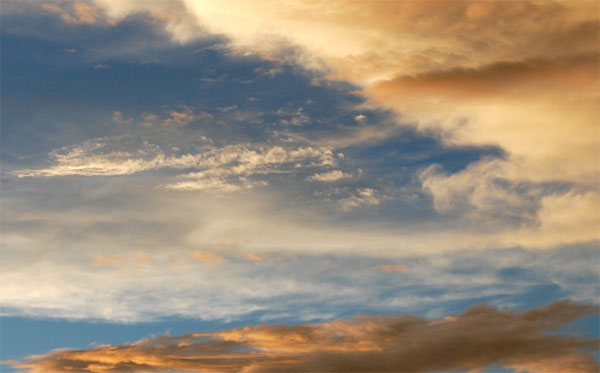
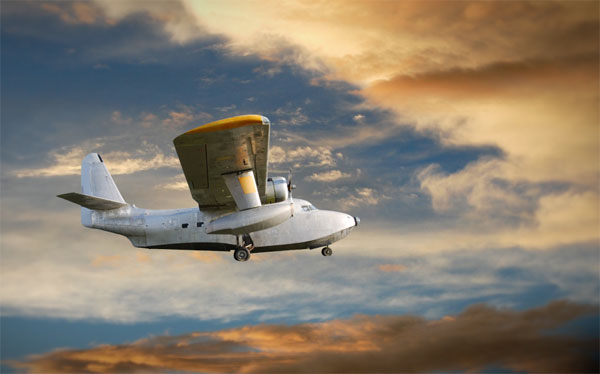
Look for a suitable image of a sky with some clouds. There are plenty online (for example, check out this collection of cloud images). What you want to use is an image that doesn’t intrude much with the foreground of our scene.
You can see the one I used below:
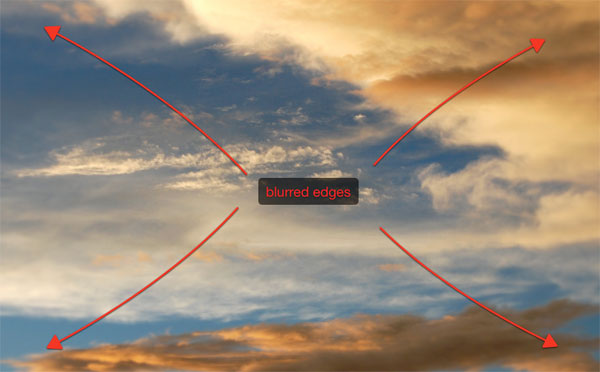
The focus of the scene is at the center, and there are some techniques we can use to drive the attention of the viewer towards the center of the canvas. For example, we can blur the edges of the image or we can add soft, darker edges (borrowing from a photographic technique called vignetting). We will use both methods.
To start, press Ctrl/Cmd + J to duplicate the sky image’s layer.
Then apply the Gaussian Blur filter (Filter > Blur > Gaussian Blur), with a Radius of 4-5px, to the duplicated layer.

Choose the Eraser Tool (E) from the Tools Panel. Use a large, soft brush to slowly erase the center of the blurred layer. In this way, we obtain blurred edges and a sharp center area.
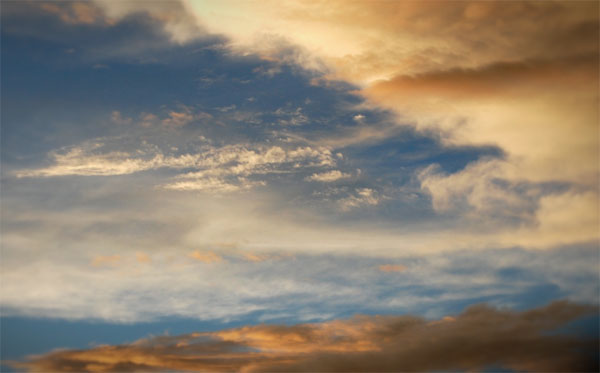
Now we will apply a very subtle vignette.
Create a new layer, grab a black (#000000), soft brush and paint over the edges of the canvas. Then reduce the layer’s Opacity until you obtain a satisfactory result.
Step 2: Extract and Place the Airplane in the Scene
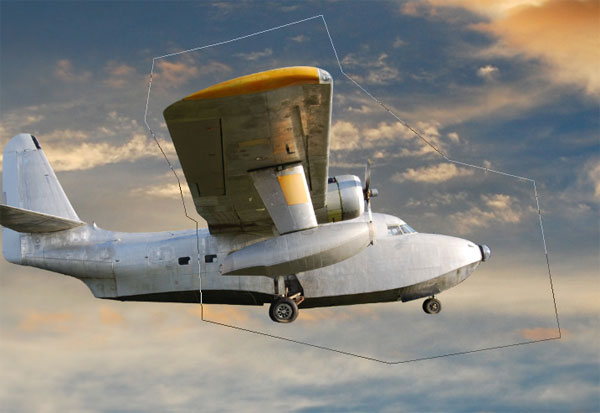
Download the Airplane stock image and open it in Photoshop. Extract the airplane from its background using the Pen Tool (P) and place the airplane into our composition.
I’ve glossed over this process because there are many methods for extracting subjects from their background. In case you are not familiar with this process, see my tutorial, which includes 7 techniques for extracting anything from its background using Photoshop.
Step 3: Splitting the Airplane in Half
It’s time for some cool photo manipulation techniques.
Our aim is to make an exploding scene, so the first thing we need to do is divide the airplane in two parts. To do so, start by choosing the Pen Tool (P), set its mode to Paths in the Options Bar, and then create a path that covers half of the airplane.
Press Ctrl/Cmd + Enter to convert the path to a selection and then press Ctrl/Cmd + J to copy the selected area in a new layer.
Now you have 2 layers: one containing the entire airplane (lower layer), and one with only the front of the airplane (upper layer). Now we need a layer with the back part.
So select the original airplane layer in the Layers Panel, Ctrl/Cmd + click on the front part layer to create a selection around it, and hit Delete whilst still in the original airplane layer. You should now be left with 2 layers that have roughly half of the airplane on each.
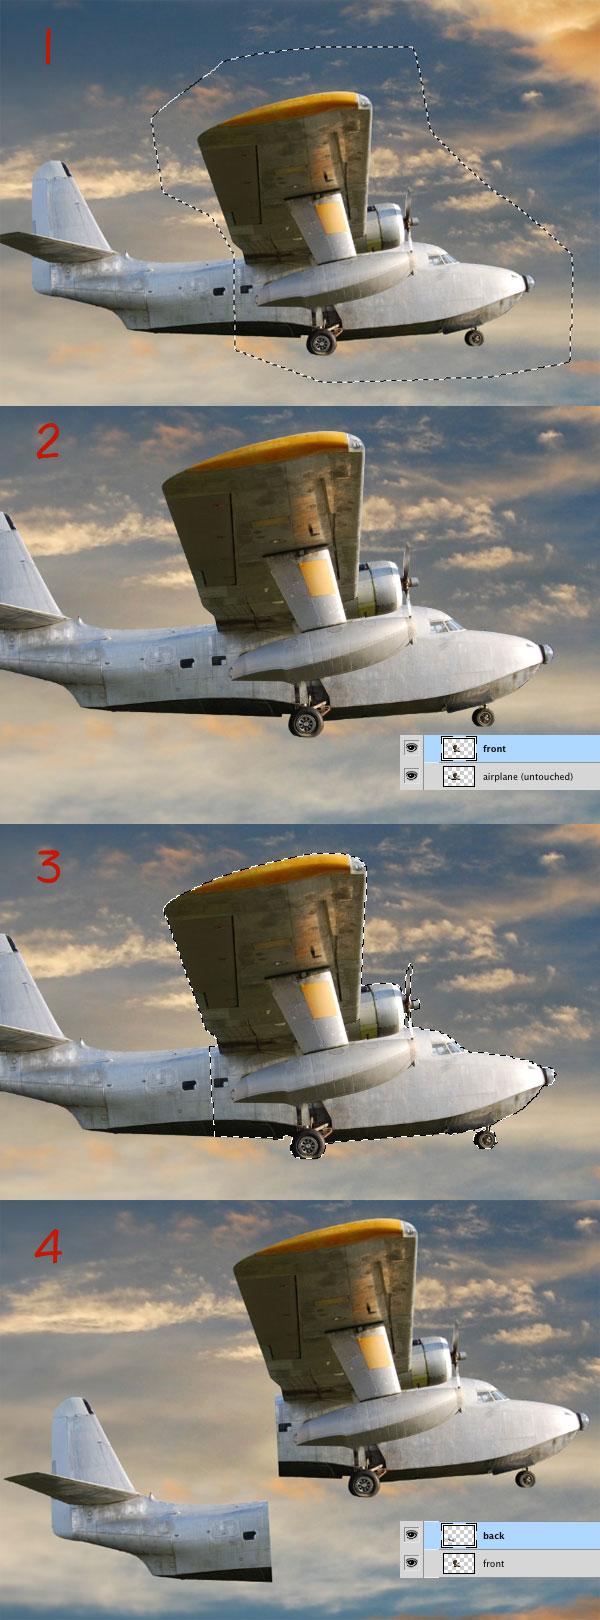
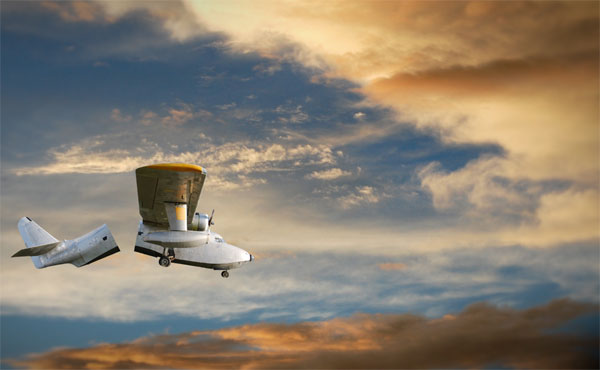
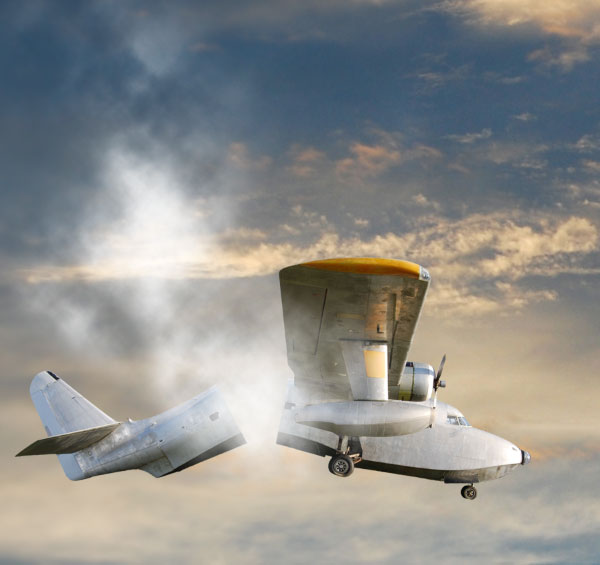
Now that you have the front and back of the airplane on 2 separate layers, you can move, resize and rotate them as you wish. Use Free Transform (Ctrl/Cmd + T) to make your modifications.
Step 4: Creating the White Smoke
The first thing we need for our explosion is smoke.
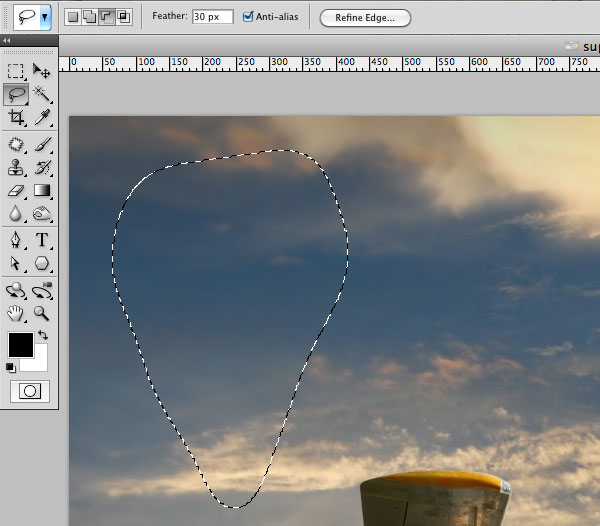
Smoke effects can be easily created with the help of the Lasso Tool and the Clouds filter. Let’s start this process by creating a new layer. Grab the Lasso Tool (L) from the Tools Panel and set the Feather on 30px.
Make an organic selection close to the airplane (the form is not important).
Go to Filter > Render > Clouds and then apply it by pressing OK. Press Alt/Opt + Ctrl/Cmd + F (shortcut to open the last filter’s dialog window) and apply the filter again to make it stronger.
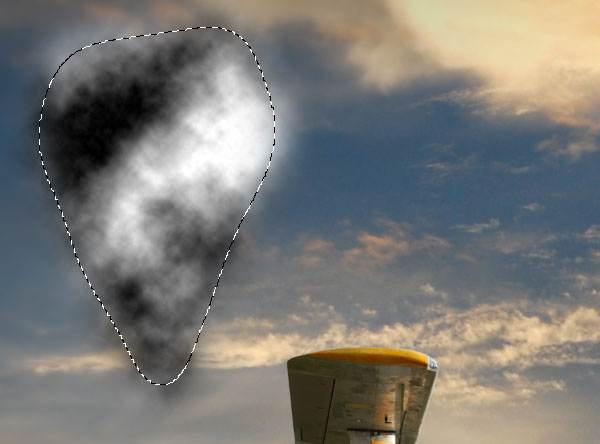
Press Ctrl/Cmd + D to deselect your lasso selection. Set the layer’s Blend Mode to Screen to remove the black parts of the smoke.
Use the Eraser Tool (E) and a large, soft (Hardness: 0%) brush to remove some areas of the smoke.
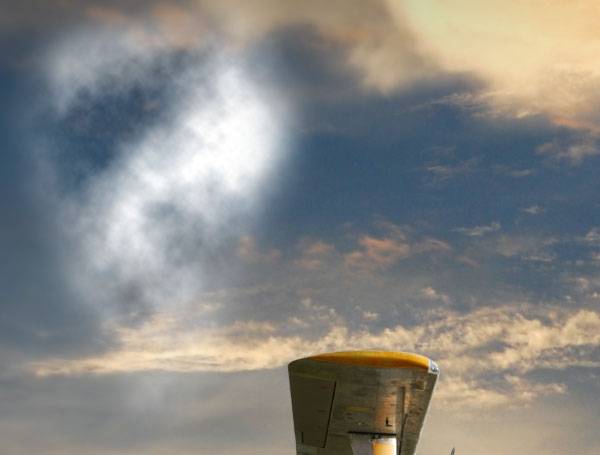
Place the smoke somewhere between the 2 parts of the airplane with the Move Tool (V).
Use the same technique to add more white smoke. Play with the layers’ opacities to create a realistic effect.
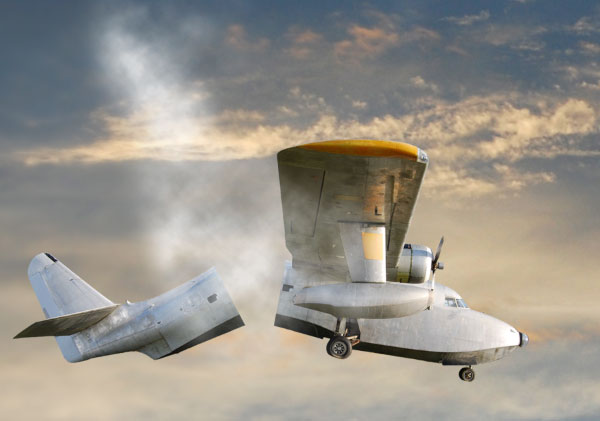
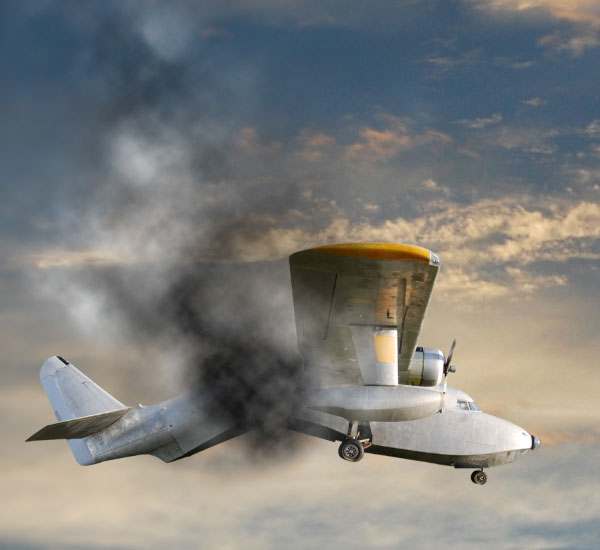
Step 5: Creating Black Smoke
To give the explosion the realistic look of burning material, we should also make some black smoke. The method to add black smoke to the airplane is almost identical to the previous step.
The only difference is that you need to set the layer’s Blend Mode to Multiply (instead of Screen) in order to retain black areas and remove white ones.
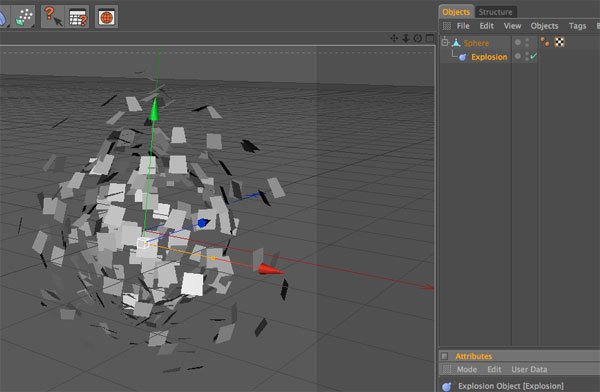
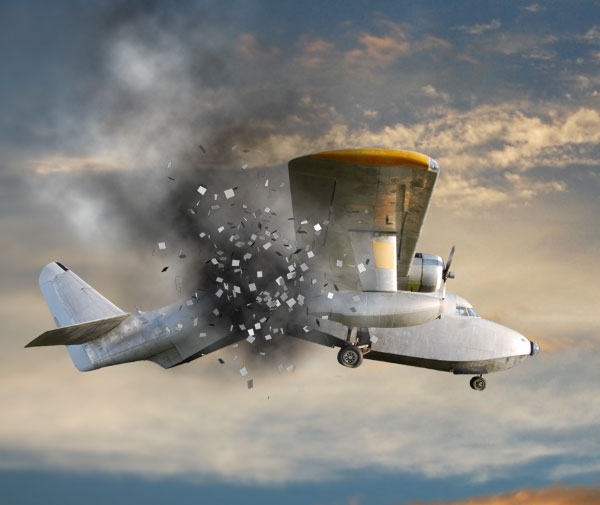
Step 6: Adding Explosion Particles
To make the explosion more realistic, we need small, broken pieces of the airplane floating vividly around the airplane itself. To create this effect, I’ve used Cinema 4D explosion objects. In case you don’t have Cinema 4D, don’t worry, I have included this file in the Tutorial Resources section above.
I still would like to cover this process (in brief) for those who have the software.
Simply add a primitive object of your choice, make it editable (C) and apply the Explosion object. Save it as a .tiff file. When you save a file in Cinema 4D destined for Photoshop, remember to check the Alpha channel option; this way, extracting the object from its background is very easy.
Open the Explosion Particles .tiff file in Photoshop.
Open the Channels Panel (Window > Channels). In this panel, you can see a separate alpha channel (Alpha 1), which carries over from our work in Cinema 4D. Simply Ctrl/Cmd + click on the Alpha 1 channel to select all the floating particles.
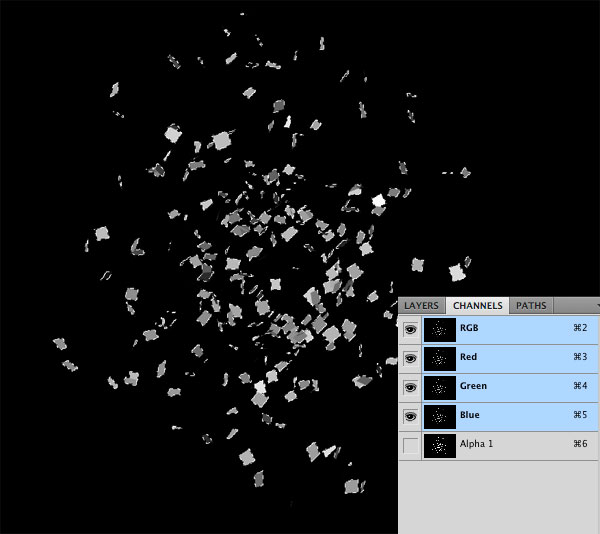
Copy (Ctrl/Cmd + C) and paste (Ctrl/Cmd + V) the selected particles into our scene.
Place the particles at the focal point of the explosion.
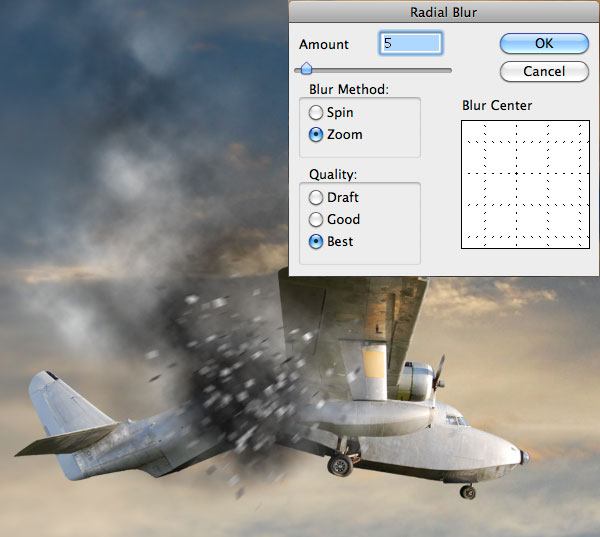
Apply the Radial Blur filter (Filter > Blur > Radial Blur) with an Amount of 5 to soften the particles and give them a feeling of motion and destruction.
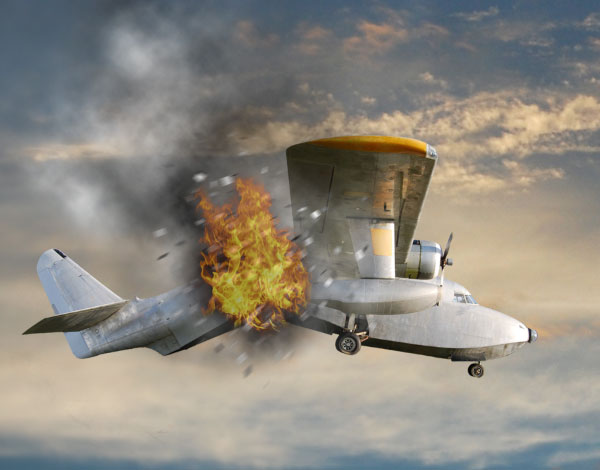
Step 7: Adding Fire
Download our Fire stock image and open it in Photoshop. As I explained in my first tutorial on Design Instruct, the easiest way to extract flames from the background is to Ctrl/Cmd + click on one of the flame’s color channels in the Channels Panel (use the Green channel in this case) to make a quick and easy selection. Then you can copy and paste the selection into our main Photoshop document.
If necessary, use the Eraser Tool (E) to eliminate the excessively exuberant parts of the extracted flame.
Step 8: Enhancing the Fire
The fire doesn’t look realistic!
Let’s try to improve the result with an easy light effect. Create a new layer group (Layer > New > Group) and switch the Blend Mode of the group to Color Dodge. Create a layer inside the layer group, select a soft, white (#ffffff) brush and then click once over the focal point of the explosion.
Reduce the Opacity of the layer to around 80%.
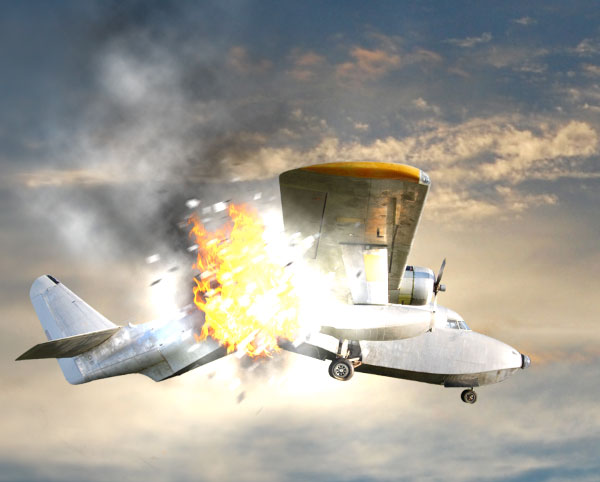
Much better now, even if the fire still looks surrealistic. Change the fire layer’s Blend Mode to Multiply. Now the fire looks great!
Step 9: Final Touches to the Airplane
The explosion seems to be complete, but I still think there’s something missing.
There isn’t a strong idea of movement. Even if there are floating particles and a nice fire and smoke effect, the two parts of the airplane should give the impression of being in motion too.
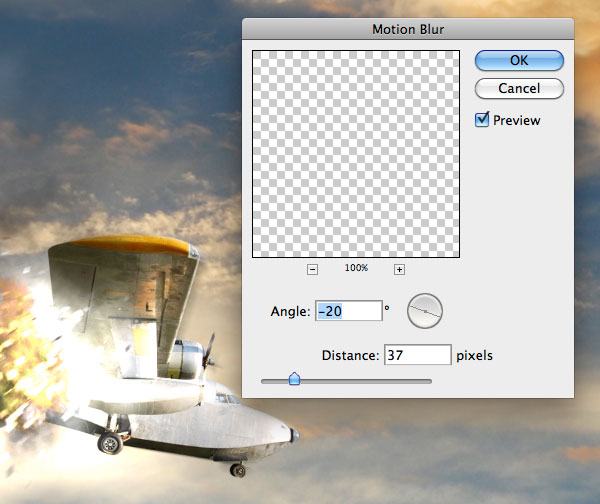
Let’s start at the front part of our broken airplane. Duplicate the front part’s layer and move the duplicated layer below the original layer.
With the duplicated layer still active in the Layers Panel, go to Filter > Blur > Motion Blur and use the settings displayed below.
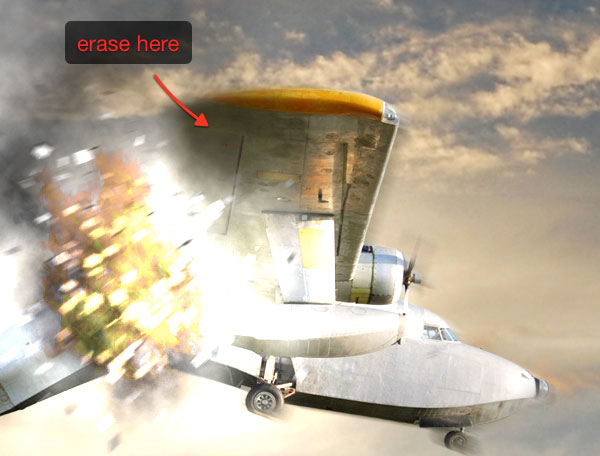
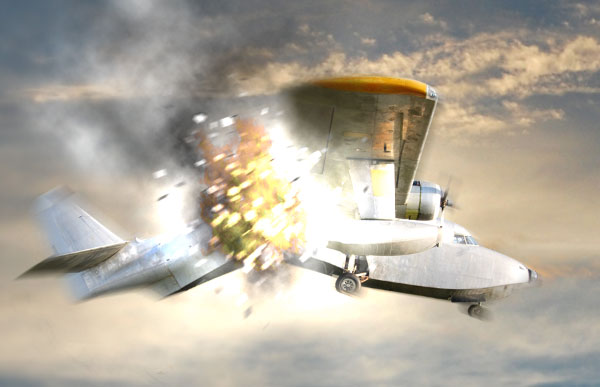
With the Eraser Tool (E), gently erase some parts from the original layer, letting a bit of the motion-blurred layer beneath it show through. We have to merge the original part of the airplane and the one modified with the motion blur better, so try different Eraser settings, such as different opacities, hardness, and brush sizes. The image below will help you understand the concept of what we are trying to do.
Use the same technique on the other half of the airplane.
Step 10: Add Our Superhero!
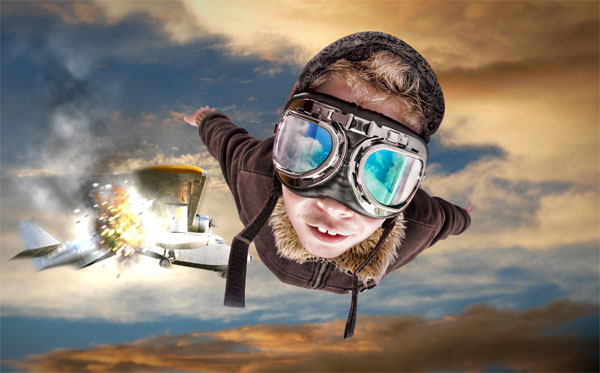
The scene is almost complete.
But don’t forget Super-Kid! After searching for a great deal of time for an image of someone flying in a nice position, I came across this stock image of a super kid, and the moment I saw it, I had no doubts: He is perfect!
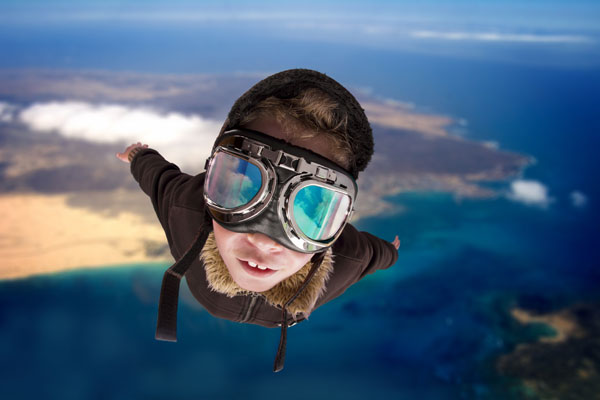
Extract Super-Kid from his background and paste him into our scene. You should notice that he perfectly matches our scene, also creating a great perspective!
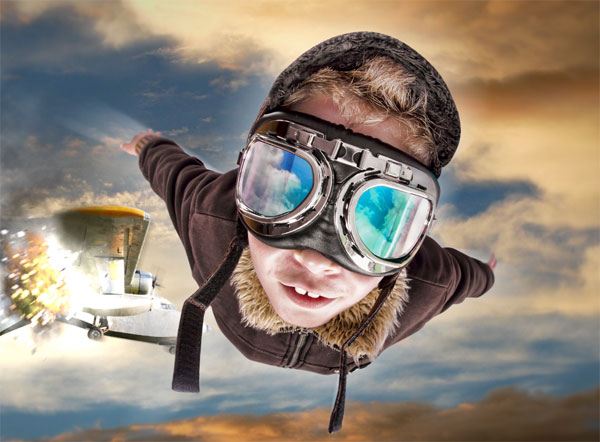
The only detail we can add to our Super-Kid is a kind of motion effect that gives off the sensation of movement.
To do so, duplicate our subject’s layer (Ctrl/Cmd + J) and move the duplicated layer below the original layer.
On the duplicated layer, use a layer style (right-click on the layer and choose Blending Options) to add a white (#ffffff) Color Overlay to the duplicated layer. Then go to Filter > Blur > Radial Blur as we did with the explosion’s particles, but this time enter an Amount of around 10.
You can now see that there are some streaks emanating from Super-Kid, giving the impression that he is moving fast.
Step 11: Final Image Adjustments
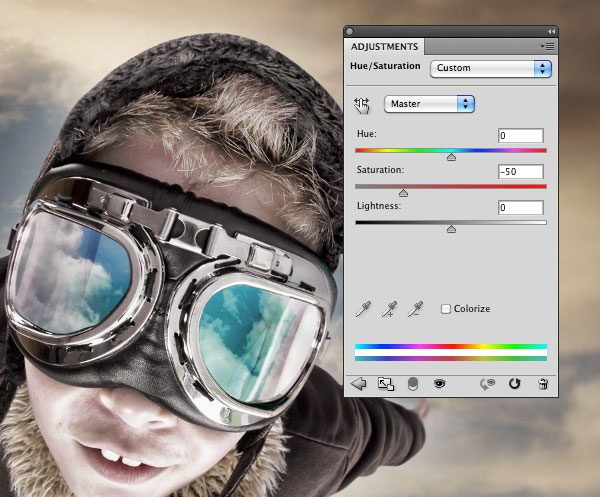
To complete the scene, we only need a couple of adjustment layers that will enhance the colors of the entire image. Our goal is to make the scene dramatic and big, blockbuster-movie-like.
Let’s start by desaturating a lot the image. Go to Layers > New Adjustment Layers > Hue/Saturation, then set Saturation to -50.
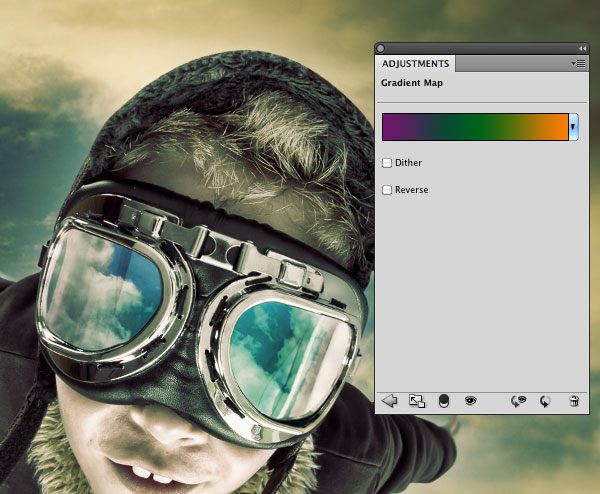
To finalize the work, let’s add a second adjustment layer: a Gradient Map. Go to Layers > New Adjustment Layers > Gradient Map and add a gradient going from purple (#6f156c) to green (#00601b) to orange (#fd7c00).
Tutorial Summary
Finito!
The scene is complete! I hope you’ve learned something new, like how to transform an idea into a real scene with some simple Photoshop tricks. Often creativity and the ability to choose the correct images are more important than using a huge amount of techniques.
So try to create your own compositions, mix different objects and simple tools to give life to your scenes.
Download Source Files
- superhero_photo_manipulation (ZIP, 29.60 MB)
-
 Trevin serves as the VP of Marketing at WebFX. He has worked on over 450 marketing campaigns and has been building websites for over 25 years. His work has been featured by Search Engine Land, USA Today, Fast Company and Inc.
 -

WebFX is a full-service marketing agency with 1,100+ client reviews and a 4.9-star rating on Clutch! Find out how our expert team and revenue-accelerating tech can drive results for you! Learn more
Make estimating web design costs easy
Website design costs can be tricky to nail down. Get an instant estimate for a custom web design with our free website design cost calculator!
Try Our Free Web Design Cost Calculator
Table of Contents
- Preview
- Tutorial Resources
- Introduction
- Step 1: Create the Background
- Step 2: Extract and Place the Airplane in the Scene
- Step 3: Splitting the Airplane in Half
- Step 4: Creating the White Smoke
- Step 5: Creating Black Smoke
- Step 6: Adding Explosion Particles
- Step 7: Adding Fire
- Step 8: Enhancing the Fire
- Step 9: Final Touches to the Airplane
- Step 10: Add Our Superhero!
- Step 11: Final Image Adjustments
- Tutorial Summary
- Download Source Files
Share this article


Web Design Calculator
Use our free tool to get a free, instant quote in under 60 seconds.
View Web Design CalculatorMake estimating web design costs easy
Website design costs can be tricky to nail down. Get an instant estimate for a custom web design with our free website design cost calculator!
Try Our Free Web Design Cost Calculator


