

Tutorial Resources
- Font: Ultra by Astigmatic
- Font: Museo Slab by Jos Buivenga
- Stock Photo: Coffee Beans by Zsuzsanna Kilian
- Texture: Watercolor Texture by Lost and Taken
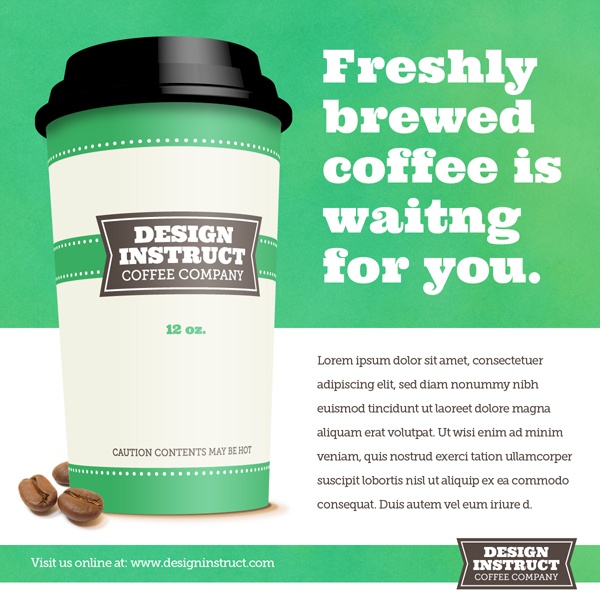
Preview
Step 1: Create Half of the Cup Shape
First, let’s open up Adobe Illustrator and create a new 1200x1200px document.
We’ll start off by creating half of the cup shape. Choose the Rectangle Tool (M) and click anywhere on the artboard. This should open a dialog window where you can type in the width and height of the rectangle you want to create.
Make a 220x695px rectangle.
After creating the rectangle, change its fill color to light gray: #F2F2E3.
Choose the Direct Selection Tool (A) and then click and drag a box around the bottom-left corner of the rectangle to select the anchor. While holding down Shift, click the Right Arrow key 4 times. This should angle the bottom-left corner inward.
This shape will be half of our actual cup:

Step 2: Create the Lid Shape
Now we’re going to make the lid of the cup.
To start making the lid, switch back to the Rectangle Tool (M) and click somewhere on the artboard to open up the dialog window.
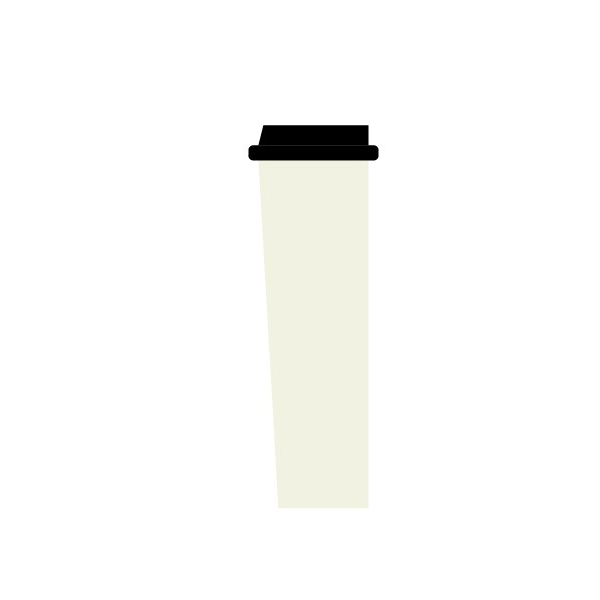
Create a 260x30px rectangle and change the color to black (#000000).
Line up the left edge of the black rectangle that we just created with the cup shape we made in Step 1.
Afterwards, while holding Shift, move the box to the left a little bit by pressing the Left Arrow key twice.
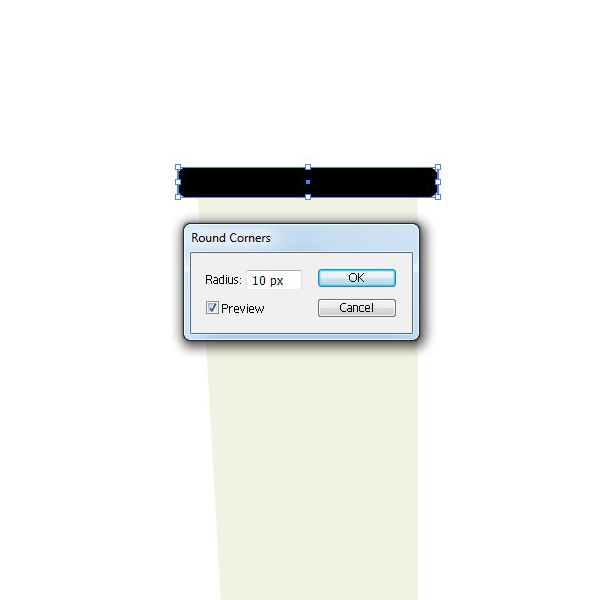
Next, with the black rectangle selected, go to Effect > Stylize > Round Corners. Change the Radius option to 10px.
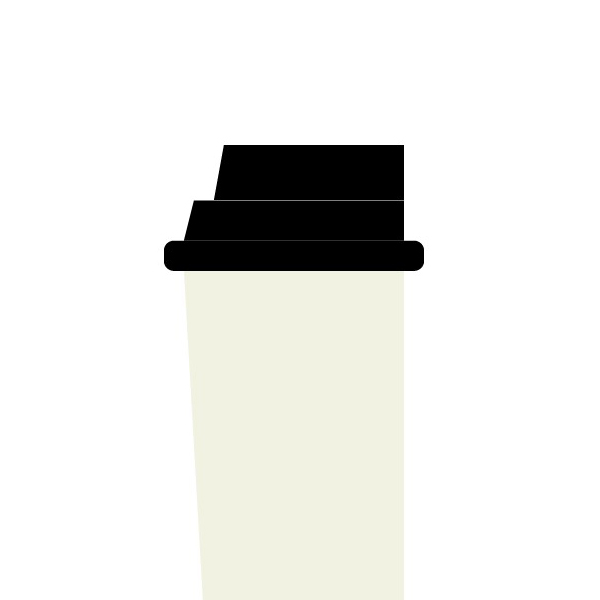
To make the second section of the lid, we’re going to use the Rectangle Tool (M) again to make a 220x40px black rectangle. Make sure that this new black rectangle is just above the first black rectangle and also that it’s lined up with the cup shape.
Now, using the Direct Selection Tool (A), click and drag a selection around the top-left corner anchor point and, while holding Shift, move it a bit to the right by pressing on the Right Arrow key once.
For the top section of the lid, make a black 190x55px rectangle and line it up with the middle black rectangle.
Using the Direct Selection Tool (A), click and drag a selection around the top-left corner anchor point and, while holding Shift, move it to the right by pressing the Right Arrow key once.
We want to clip the extra part of the bottom black rectangle of the lid shape.
Use the Rectangle Tool (M) to make a rectangle that covers the extra part of this black rectangle on the right.
Next, use the Selection Tool (V) to select both the black rectangle and the new rectangle you just created.
Hold down the Alt key, and, in your Pathfinder panel (if you can’t see this panel in your workspace, go to Window > Pathfinder), click on the Minus Front button. After that, click the Expand button on the right.
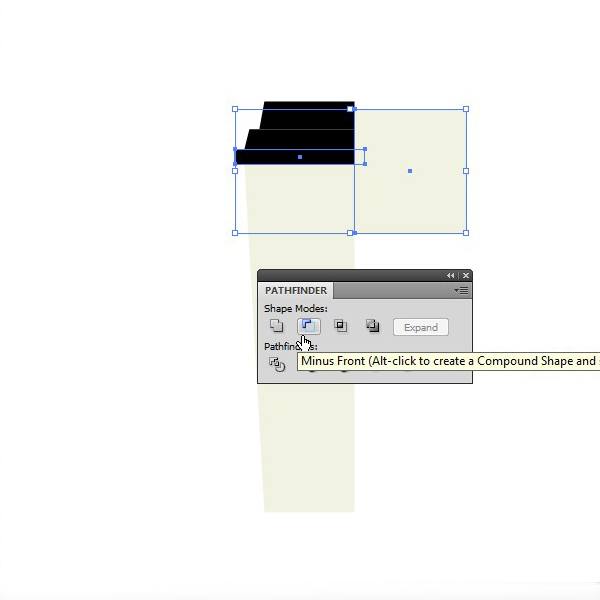
That should have clipped the right side of the black rectangle while also getting rid of the round corners on that side.
Step 3: Create the Coffee Cup Label
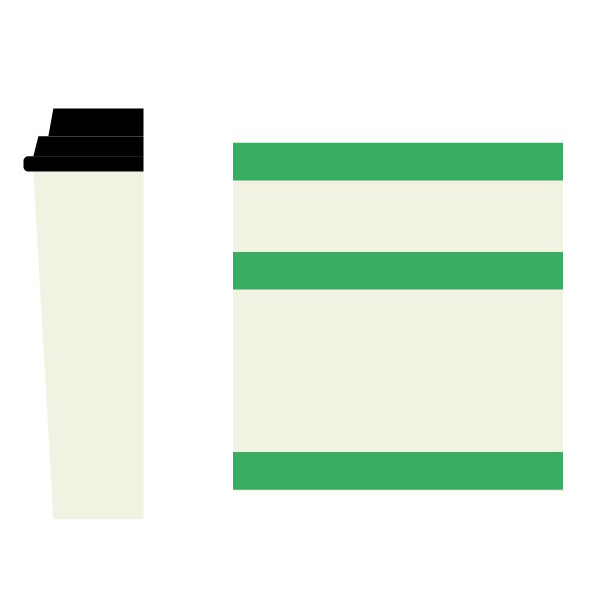
Next, we need to create our coffee cup’s label. We want to create a new rectangle with the Rectangle Tool (M) that’s 660x695px.
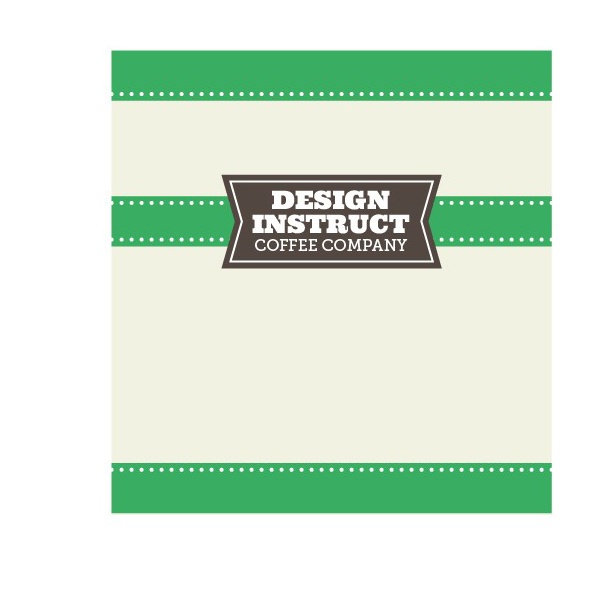
We’re going to create 3 green 660x75px rectangles and position them as shown in the following image:
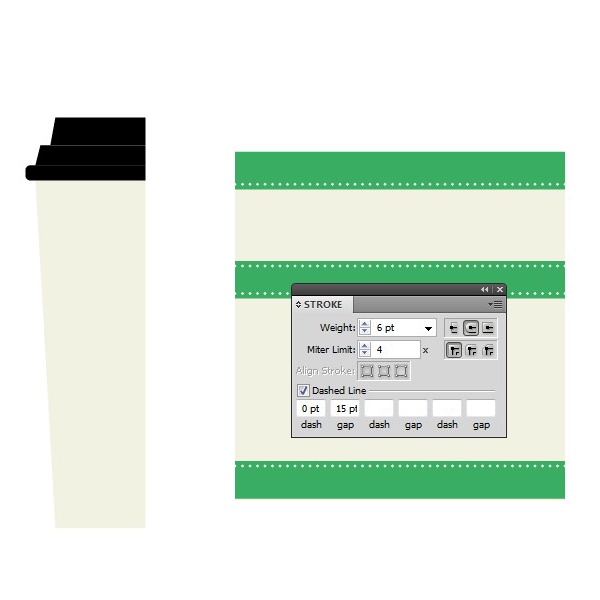
As a design flourish, let’s add dotted lines on the green rectangles.
We’ll make a total of 4 dotted lines:
- 1 dotted line for the top green rectangle
- 2 dotted lines for the middle green rectangle
- 1 dotted line for the bottom rectangle
To make a dotted line stroke, first make a white 6pt line on the bottom edge of the top green rectangle using the Line Segment Tool (\).
Tip: Turning on Smart Guides (View > Smart Guides) will help you accurately draw this line at the bottom edge of the rectangle.
Hold Shift and press the Up Arrow key once to move the line up by 10px.
In the Stroke panel (Window > Stroke), check the Dashed Line option and then set the first dash option to 0pt and the first gap option to 15pt. Set the Cap option to Round Cap.
Step 4: Create the Coffee Cup Logo
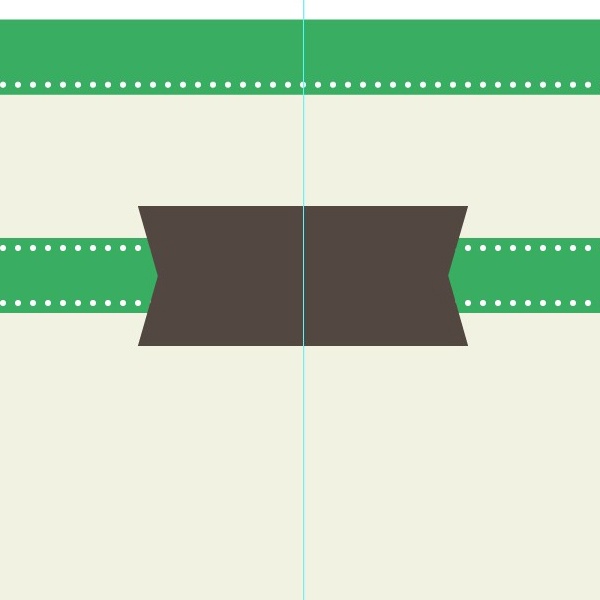
Drag a vertical ruler to the middle of the label.
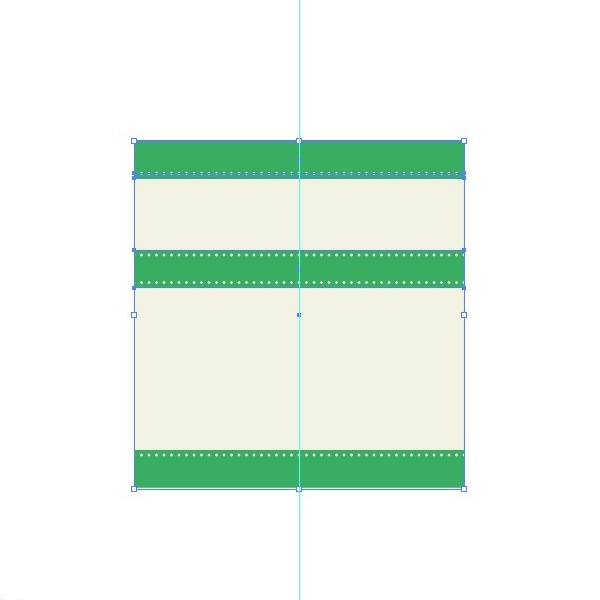
Use the Rectangle Tool (M) to make a new rectangle that’s 330x140px in width and height.
Set the Fill color of the new rectangle to a dark gray: #534741.
Switch to the Pen Tool (P). Hold down Shift, click on the left-middle anchor point of the rectangle and then move it in a bit by pressing the Right Arrow key twice.
Do the same with the right-middle anchor point, but instead, press the Left Arrow key to move it in.
What we end up with is the coffee cup logo’s background:
Let’s give the logo’s background a solid stroke inside of it. Switch to the Selection Tool (V) and click on the shape to select it. Then go to Object > Path > Offset Path (this will open the Offset Path dialog window).
In the Offset Path dialog window, set the Offset option to -10px.
Afterwards, go to the Stroke panel and change the Weight option to 3pt.
Finally, change the Stroke color to white (#FFFFFF); you can do this at the bottom of the Tools panel.
To finish our logo, I’ll just type in some text with the Type Tool (T).
I put “DESIGN INSTRUCT” using the Ultra font and “COFFEE COMPANY” with the Museo Slab font.
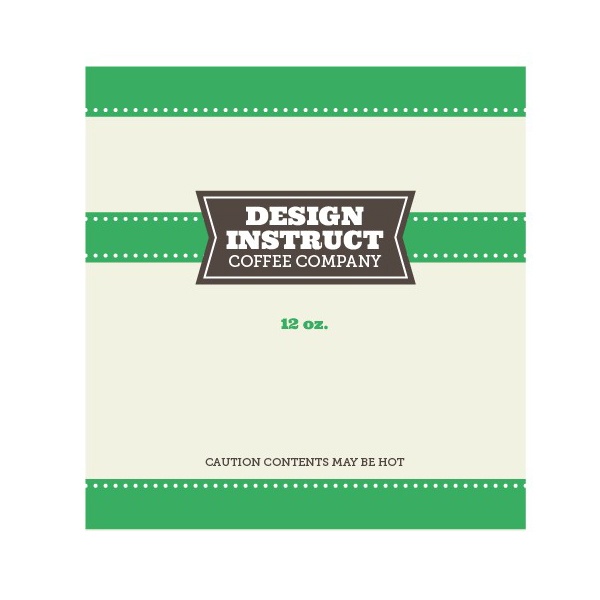
Step 5: Label Finishing Touches
Below the logo, we’re going to put “12oz”, and at the bottom, we’ll put “CAUTION CONTENTS MAY BE HOT”.
Step 6: Preparing to Create the 3D Coffee Cup
Now we want to duplicate this label so it goes all the way around the coffee cup. Select all the components of the coffee cup label and then go to Edit > Copy and then go to Edit > Paste in Front.
On this duplicated label, I’m going to delete the “12oz” text and logo. Then I’m going to place it at the right side of the original label.
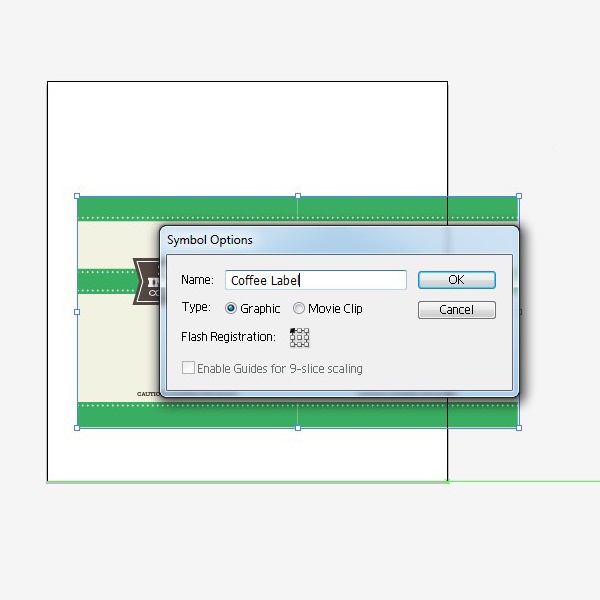
We want to be able to access this label when we create our 3D shape; we’ll do is by creating a Symbol.
Open up the Symbols panel (Window > Symbols) and drag our label into the window.
Step 7: Create the 3D Coffee Cup
Select both the cover and lid and go to Object > Group to group these two elements together.
Make sure the group is still selected, then go to Effect > 3D > Revolve. Use the following settings in the image below:
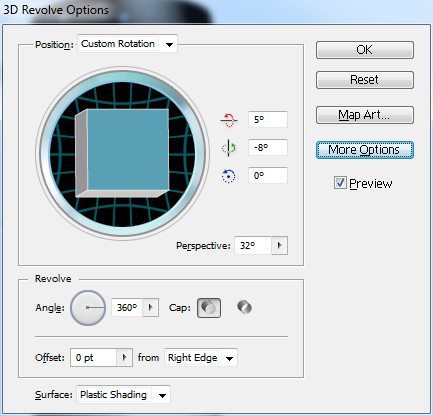
Click on the Map Art… button (it’s on the right of the dialog window); the cup’s surface should come up. If it doesn’t come up, you can scroll through until you find the big rectangle.
In the Symbol dropdown option, scroll all the way down to the bottom and click the coffee label symbol that we created in the previous step. Afterwards, click on Scale to Fit button at the bottom of the dialog window.

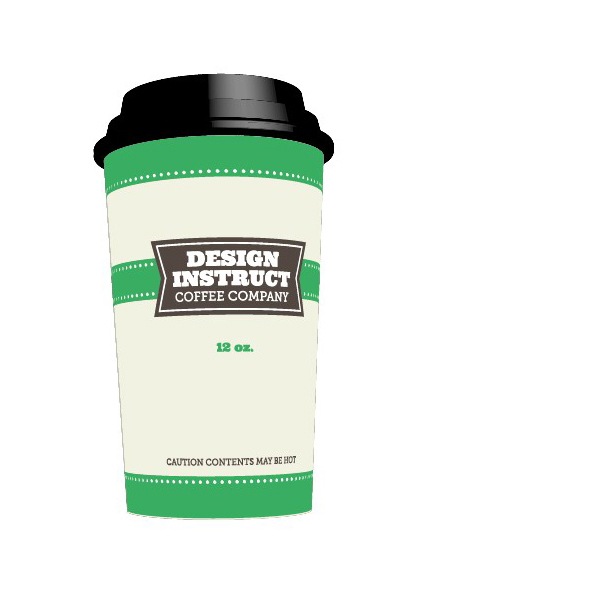
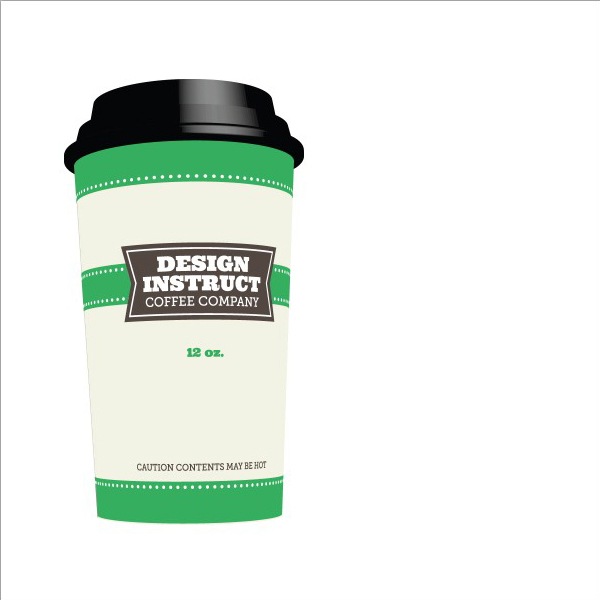
Here’s our work so far:
Step 8: Bring the Coffee Cup into Photoshop
Since our coffee cup is finished, we can now bring it into Photoshop. Open up Photoshop and create a new 1200x1200px document.
Select the coffee cup in Illustrator, copy it, and then paste in our cup in Photoshop as a Smart Object.
Step 9: Create the Base Layout of the Coffee Poster
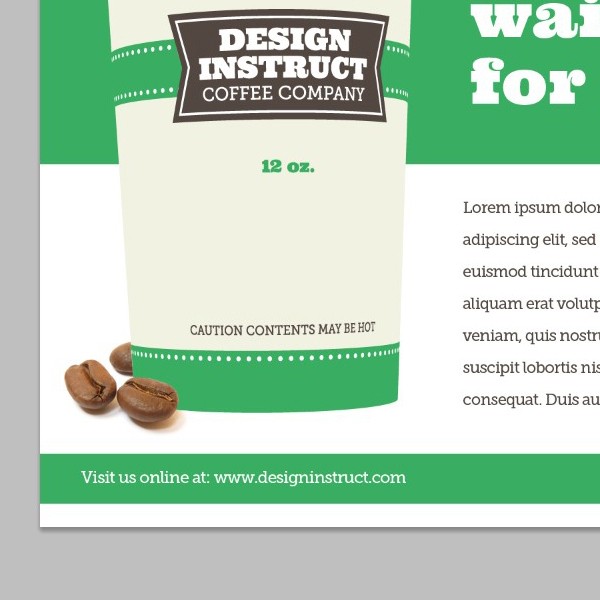
Before we add any finishing touches on our coffee cup, we want to lay out our poster so we can figure out how big the cup should be and where it should go.
Below is a rough image of the poster:
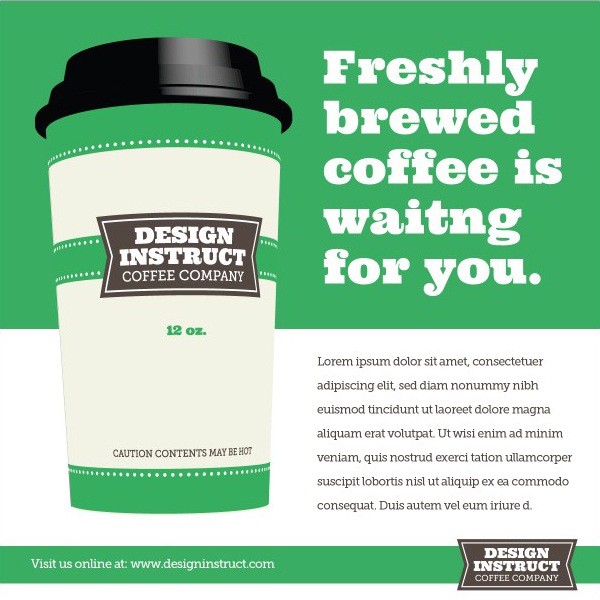
As you can see above, I used the same fonts and colors from the coffee cup. I duplicated the coffee cup logo, made it smaller and then placed it at the bottom-right corner of the layout. I added a tagline that says “Freshly brewed coffee is waiting for you.” and some dummy copy using the Horizontal Type Tool (T).
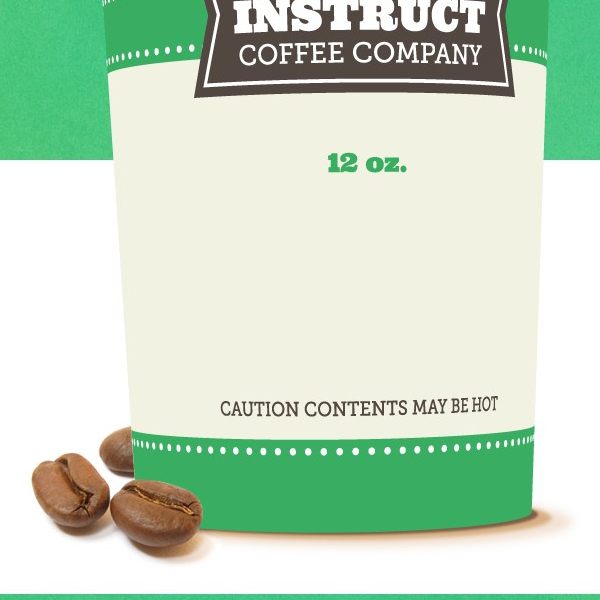
Step 10: Adding Coffee Beans to the Coffee Poster
Let’s add some coffee beans at the bottom of the coffee cup to lend a bit of realism to our artwork.
I just used a coffee beans stock photo for this part.
Open the coffee beans stock photo in Photoshop.
Switch to the Pen Tool (P). In the Options bar (located at the top of the Photoshop workspace) click on the Paths button.
Now, draw around the top coffee bean using the Pen Tool.
Next, in the Paths panel (Window > Paths), right-click on the coffee bean path and then choose Make Selection in the contextual menu that appears to convert the path into a selection.
Next, go to Layer > Layer Mask > Reveal Selection. This will mask out everything but the coffee bean.
To see the rest of the beans, this is what we need to do: First, click on the Cup layer in the Layers panel to make it the active layer and then go to Select > Load Selection to make a selection around the coffee bean again.
Then, click on the layer mask thumbnail to switch to the layer mask. Go to Select > Inverse, and fill the inverted selection with white, which will reveal the selected area.
Step 11: Adding Texture to the Background
To make our poster more interesting, let’s add a texture to our background.
We’ll use this watercolor texture. Open up the watercolor texture and place a selection around a solid watercolor section out of the texture.
Copy the selection and paste it into our main Photoshop document.
Move the texture layer just on top of the green bar at the top of our poster.
Load a selection around the green bar, click on the watercolor texture layer to make sure it’s the active layer, and then go to Layer > Layer Mask >Reveal Selection. This will hide all the parts of the watercolor texture outside of the selection.
Do the same for the green bar at the bottom of the screen.

Step 12: Creating Shadows on the Coffee Bean
First we want to mimic the coffee bean’s color and angle. Use the Elliptical Marquee Tool (M) to make a circle that’s about the same shape as the bottom of the cup and then fill with #7C5F48, which is the same color as the dark part of the coffee beans.
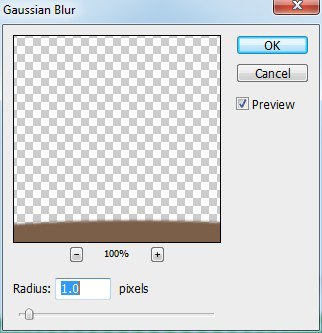
To soften up the elliptical shape and make it look like a shadow, go to Filter > Blur > Gaussian Blur, change the Radius option to 1px, and then click OK to apply the filter.
We’re going to create a lighter color of that shadow.
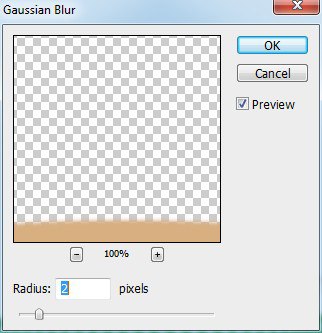
Make another ellipse with a lighter brown color (#D7AF81) and apply the Gaussian Blur filter to it, but this time set the Radius at 2px.
We’re now going to create an even lighter part of the shadow. Do the same process, but fill this ellipse with a pinkish brown color (#F1DFD0) and use 4px as the Radius of the Gaussian Blur filter.
Step 13: Give the Cup a Light Reflection
We’ll give our coffee cup a light reflection to mimic a light source being cast upon it.
In the Layers panel, click on the Cup layer to make it the active layer.
Afterwards, load a selection around the cup by going to Selection > Load Selection.
In the Tools panel, make sure white (#FFFFFF) is your Foreground color.
Choose the Gradient Tool (G) and in the Options bar, click on the Gradient Editor which will open up a dialog window. In the dialog window, under Presets, choose the Foreground to Transparent gradient preset.
Create a new layer on top of the Cup layer (Layer > New > Layer).
On the new layer, use the Gradient Tool (which we’ve already set up the way we want) to create a gradient in the area where we want the light reflection to be.
Afterwards, change the layer’s Blend Mode to Soft Light.
Using the Eraser Tool (E) erase the gradient on the lid.

Step 14: Creating the Coffee Cup Lid’s Shadow
Shadows really give our artwork some depth.
In this step, we’ll create a shadow being cast by the coffee cup lid.
Using the Pen Tool (P) in Paths mode, create a line along the rim of the lid.
Switch to the Brush Tool (B) and then in the Options bar, change the brush Size to 70px and Hardness to 0%.
Create a new layer.
Then, in the Paths panel, right-click on the Pen Tool path that we just created, and choose Stroke Path in the contextual menu that appears. This will create a stroke on the new layer we just created and it’ll represent the shape of our lid’s shadow.
In the Layers panel, change the Blend Mode of the layer to Multiply and lower the layer’s Opacity down to 40%.
Use the Eraser Tool (E) to remove parts of the lid’s shadow that’s outside the cup.
Here’s how the lid’s shadow should look like:

Tutorial Summary
In this tutorial, we created a 3D coffee cup from scratch using Illustrator. We used vector shape tools and the 3D > Revolve effect to create the coffee cup’s shape and labels.
In Photoshop, we laid out our coffee cup in an ad poster and added details such as coffee beans and shadows.
I hope you were able to gain some useful tips and techniques in this tutorial. If you have any questions, please post them in the comments section bellow.
Here’s the final result:
Download Tutorial Source Files
- 3d_coffee_cup_illustrator_photoshop (ZIP, 3.90MB)
-
 Trevin serves as the VP of Marketing at WebFX. He has worked on over 450 marketing campaigns and has been building websites for over 25 years. His work has been featured by Search Engine Land, USA Today, Fast Company and Inc.
 -

WebFX is a full-service marketing agency with 1,100+ client reviews and a 4.9-star rating on Clutch! Find out how our expert team and revenue-accelerating tech can drive results for you! Learn more
Make estimating web design costs easy
Website design costs can be tricky to nail down. Get an instant estimate for a custom web design with our free website design cost calculator!
Try Our Free Web Design Cost Calculator
Table of Contents
- Tutorial Resources
- Preview
- Step 1: Create Half of the Cup Shape
- Step 2: Create the Lid Shape
- Step 3: Create the Coffee Cup Label
- Step 4: Create the Coffee Cup Logo
- Step 5: Label Finishing Touches
- Step 6: Preparing to Create the 3D Coffee Cup
- Step 7: Create the 3D Coffee Cup
- Step 8: Bring the Coffee Cup into Photoshop
- Step 9: Create the Base Layout of the Coffee Poster
- Step 10: Adding Coffee Beans to the Coffee Poster
- Step 11: Adding Texture to the Background
- Step 12: Creating Shadows on the Coffee Bean
- Step 13: Give the Cup a Light Reflection
- Step 14: Creating the Coffee Cup Lid’s Shadow
- Tutorial Summary
- Download Tutorial Source Files
Share this article


Web Design Calculator
Use our free tool to get a free, instant quote in under 60 seconds.
View Web Design CalculatorMake estimating web design costs easy
Website design costs can be tricky to nail down. Get an instant estimate for a custom web design with our free website design cost calculator!
Try Our Free Web Design Cost Calculator


